Start With the Substrate, Not the Ink
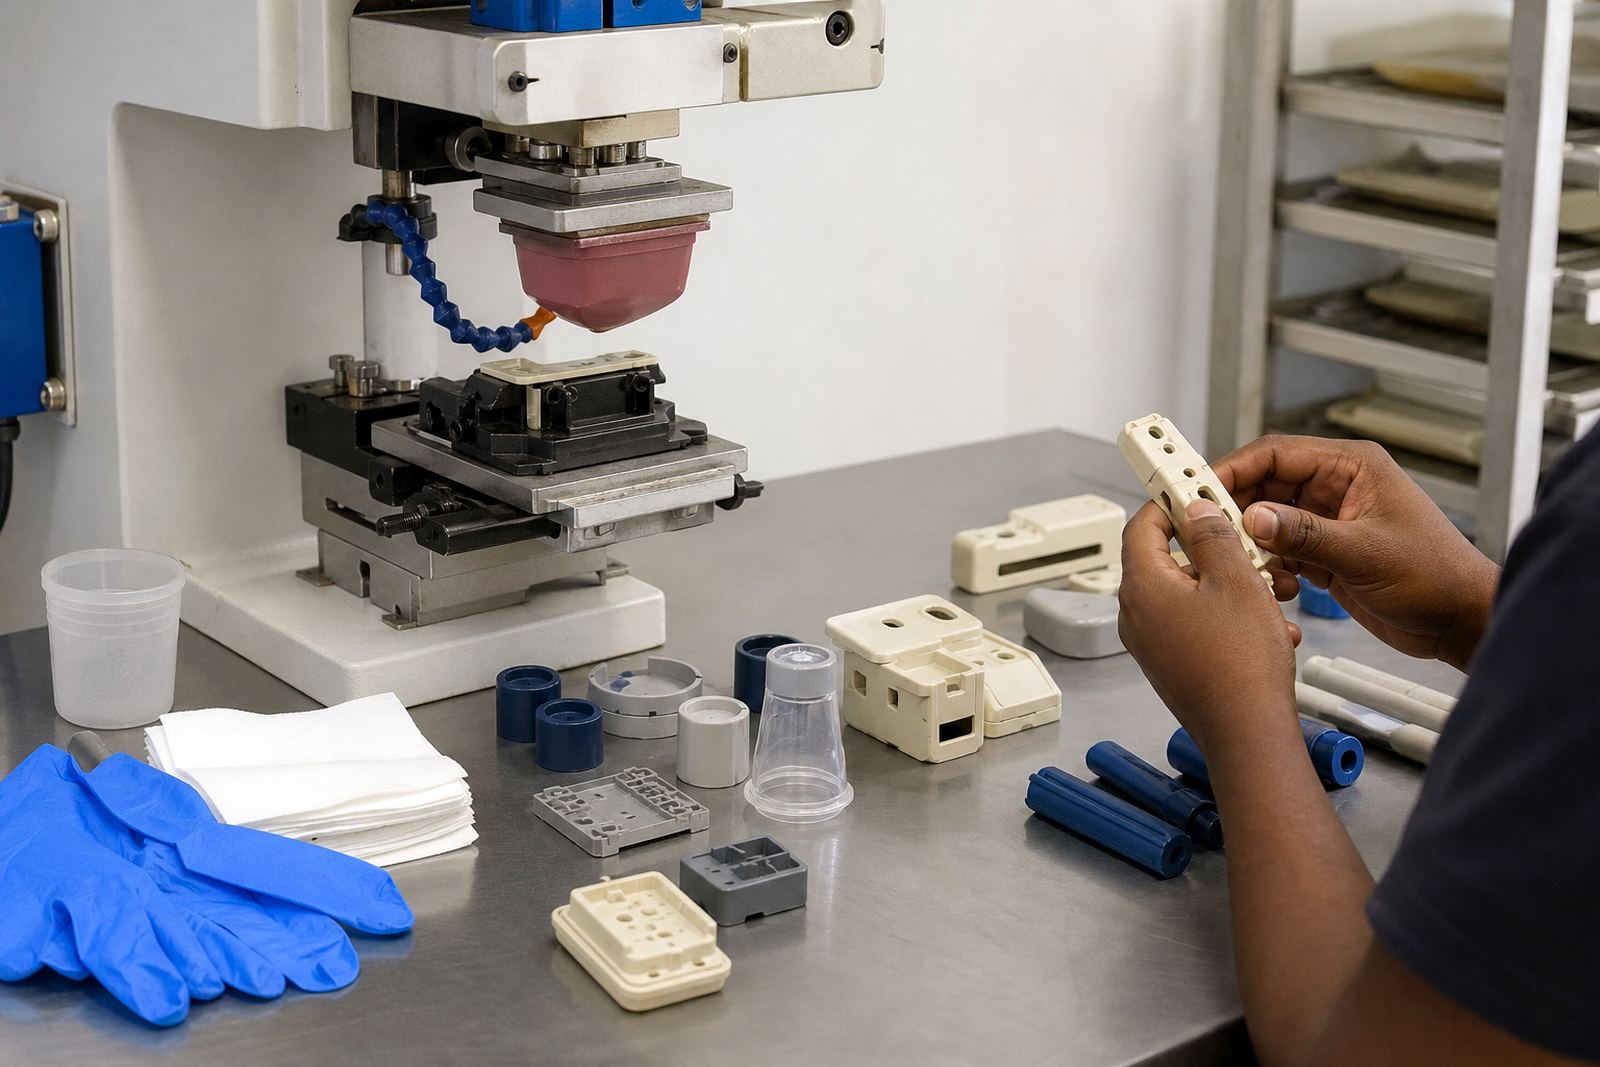
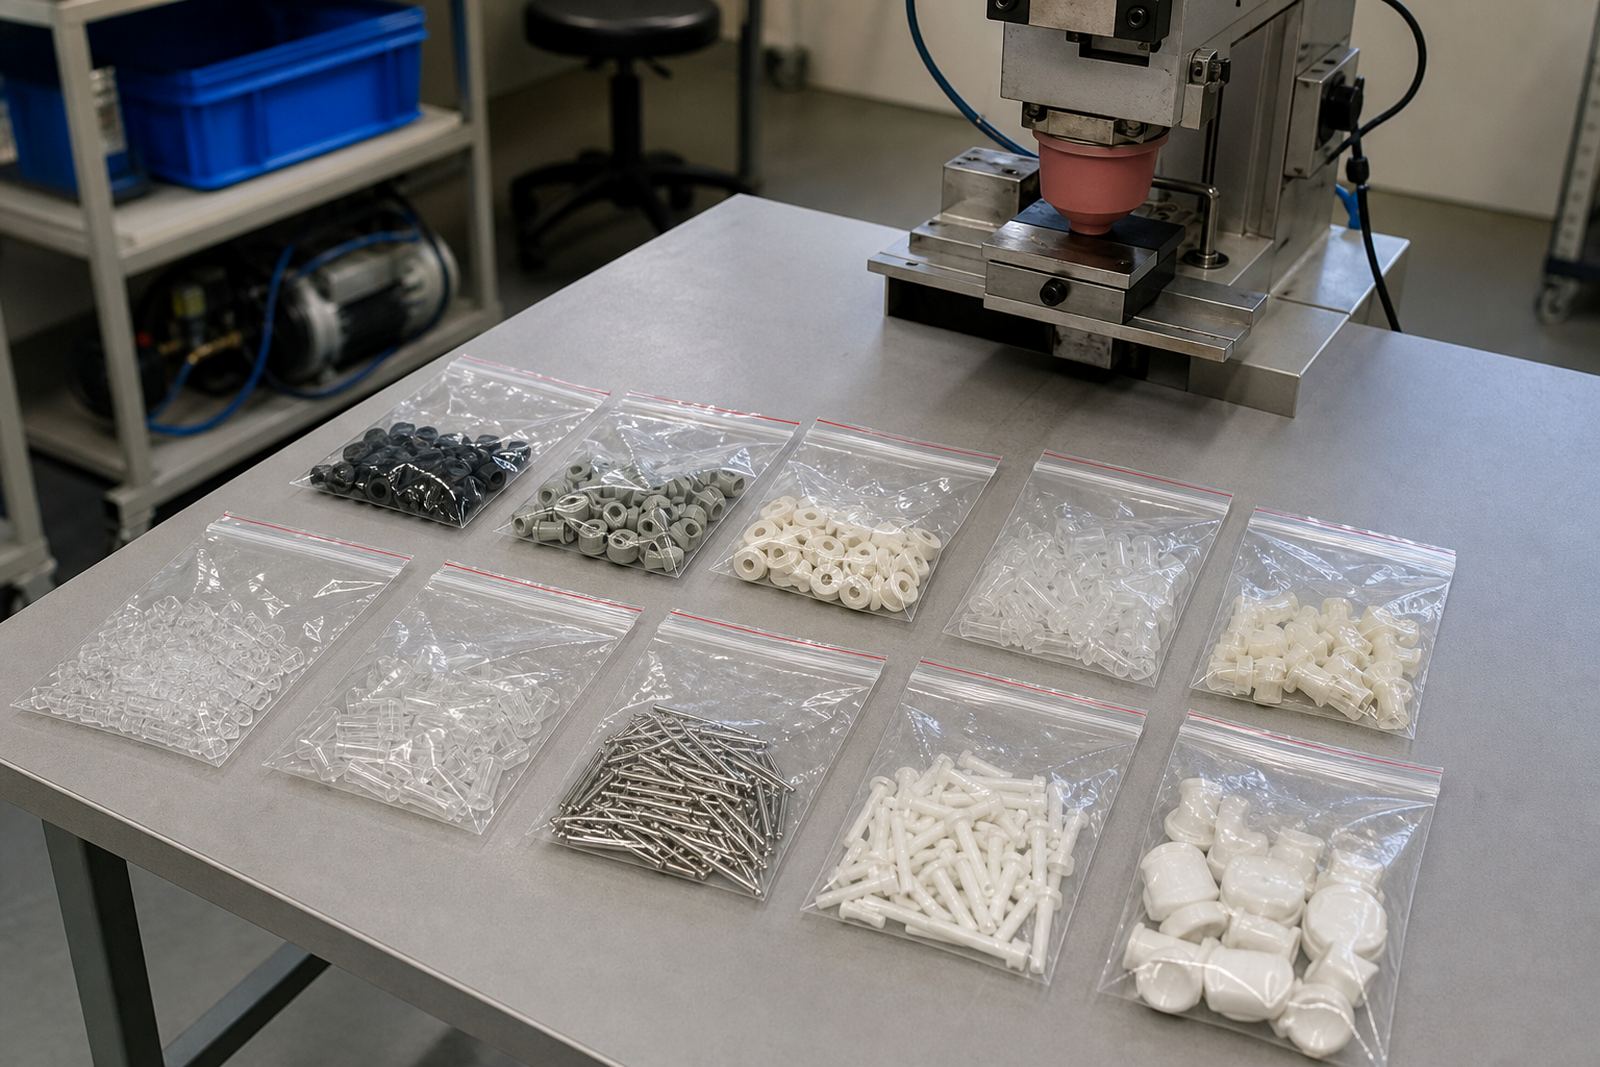
Before anyone mixes ink or exposes a plate, identify the base material. A pad printed mark behaves differently on plastics, coated metals, glass, silicone, and engineering compounds. Smooth surfaces can give clean transfer, while low surface energy plastics may need extra surface treatment or careful adhesion testing. If the part flexes, the ink also has to move with it without cracking or lifting.
The substrate matters on medical and electronic parts because the same mark may need to hold up through handling, sterilisation steps, alcohol wipes, heat, or repeated assembly. A housing for a monitor button is not treated the same as a small internal component or a labelled control face. The more you know about the base material, the less trial and error later.
- Ask what the part is made from, including any coating or additive.
- Confirm whether the surface is glossy, textured, painted, plated, or moulded plain.
- Check if the part flexes, heats up, or carries static during use.
- Request a sample part before the full run if the surface is unfamiliar.
Match Durability to the Real Use of the Part
Durability is not just about scratching. A mark may need to survive finger contact, repeat cleaning, shelf storage, assembly oils, or contact with mild solvents. Medical and electronic products often live in busy environments where parts get wiped down often, packed tightly, and handled by many people before final use. If the ink system is too soft, the image can fade fast. If it is too hard for the part, it may chip or flake.
Think about where the print sits. A logo on the visible face of a handheld device may need a sharper finish than a tiny identifier on the underside of a component. Fine text and symbols also need a stable ink film so the edges stay clear. That means testing the ink against the actual use case, not only against the appearance in the tray.
- Will the part be wiped with alcohol, detergents, or disinfectants?
- Does the part get touched daily or only during assembly?
- Is the print decorative, functional, or used for identification?
- Does the client need the mark to stay readable after repeated handling?
Cleaning Exposure Changes the Ink Choice
Cleaning agents are one of the most common reasons a print fails. A mark that looks fine on day one can soften, stain, or lose adhesion after exposure to alcohol wipes, surface cleaners, or controlled wash-down routines. In some production areas, parts are also cleaned before assembly, which can interfere with ink if the print has not fully cured.
Ask which cleaning products are used and when they are applied in the process. If the part is wiped before final packing, the ink must tolerate that stage. If the product reaches a clinic, lab, or electronics workspace, the print may face regular cleaning for the life of the item. The safest approach is to test the print under the same conditions it will face in the field. A quick sample run can save a costly rerun job later.
Choose a Curing Method That Fits the Production Line
Pad printing inks can cure in different ways depending on the system and the part. Some dry by solvent release, while others need heat or a controlled curing stage to reach full strength. The right choice depends on the material, line speed, available equipment, and how much handling the part will see before it leaves the factory. If the curing method is not matched to the job, the print may look dry on the surface but still be vulnerable underneath.
On busy production floors in Pinetown, Durban, Johannesburg or Pretoria, curing also has to fit the pace of the line. A part that needs longer cure time may require better fixture making, planned drying space, or a different dispatch sequence. In coastal areas like Durban and Gqeberha, humidity can also affect drying times, so the setup should account for that from the start.
- Confirm whether the ink cures by air dry, heat, or another method.
- Check if the line can support the required dwell time.
- Ask whether fixtures are needed to keep the part stable during curing.
- Test the mark after full cure, not only after initial drying.
Practical Sample Run Checklist Before Full Production
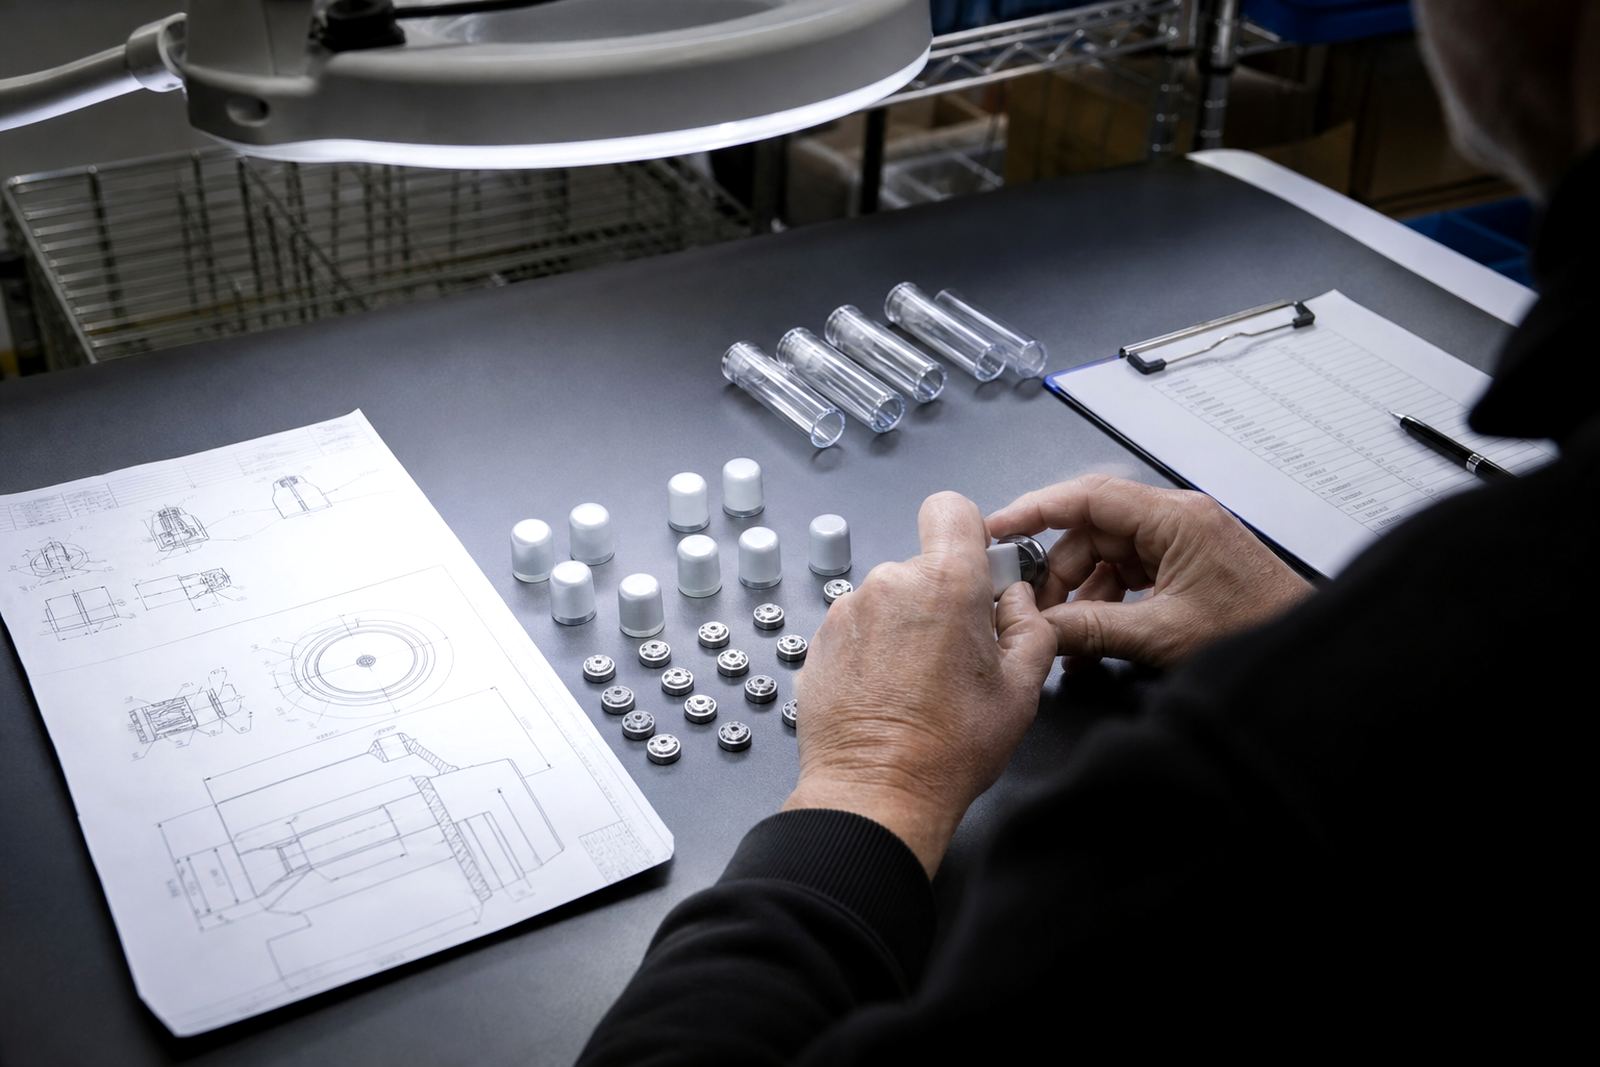
A proper trial sample run gives you more than a pretty print. It tells you whether the artwork transfers cleanly, whether the ink sits correctly on the part, and whether the adhesion holds after curing. It also shows whether the fixture, plate exposure, and print area planning are correct for the actual component. That is especially important when the part is small, curved, or has tight tolerances.
Use the sample stage to check edge clarity, colour match, alignment, and drying behaviour. If the part is going into a medical or electronic assembly, also check whether the print affects fit, contact points, or moving surfaces. A small adjustment at sample stage is far easier than sorting out a batch after packing.
- Inspect registration and logo placement on at least one full sample set.
- Rub test the print only after curing is complete.
- Confirm there is no tackiness, smudging, or lifting.
- Check that the mark remains legible under normal light and angle.
Questions to Ask Before You Sign Off the Ink System
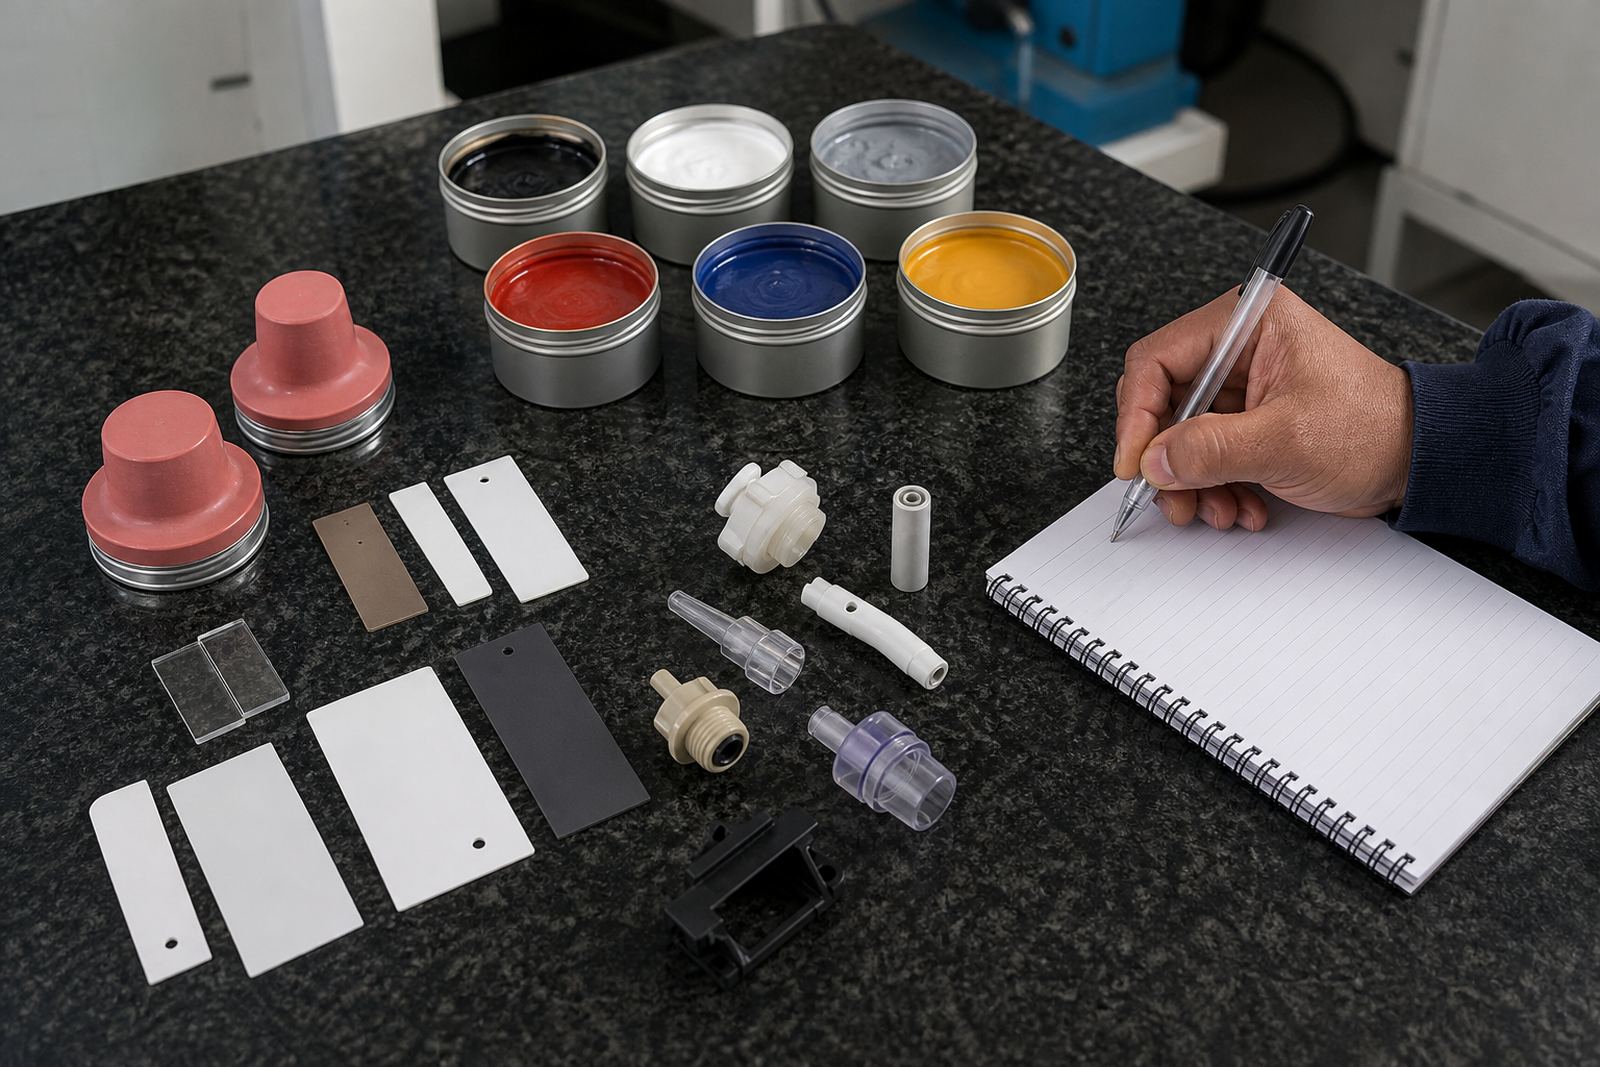
Good ink selection comes from clear questions. The client stays responsible for device compliance, but the print house should still help identify where risk may sit. If you know the substrate, the cleaning regime, the required service life, and the curing method, you can narrow the options quickly and avoid unnecessary rework.
For manufacturers in Westmead, New Germany, Westville and across South Africa, this is the point to ask for adhesion test samples and rerun job control on any repeat order. If the part is for a production line already running, keep one standard approved sample on file so the same print can be matched later without guesswork.
- What material is the part made from, and what surface treatment has it had?
- What cleaning agents will it meet during production and use?
- What level of wear, heat, or flexing must the print withstand?
- Which curing method fits the part and the production schedule?