How Silicone Pads Move Ink Onto Small Parts
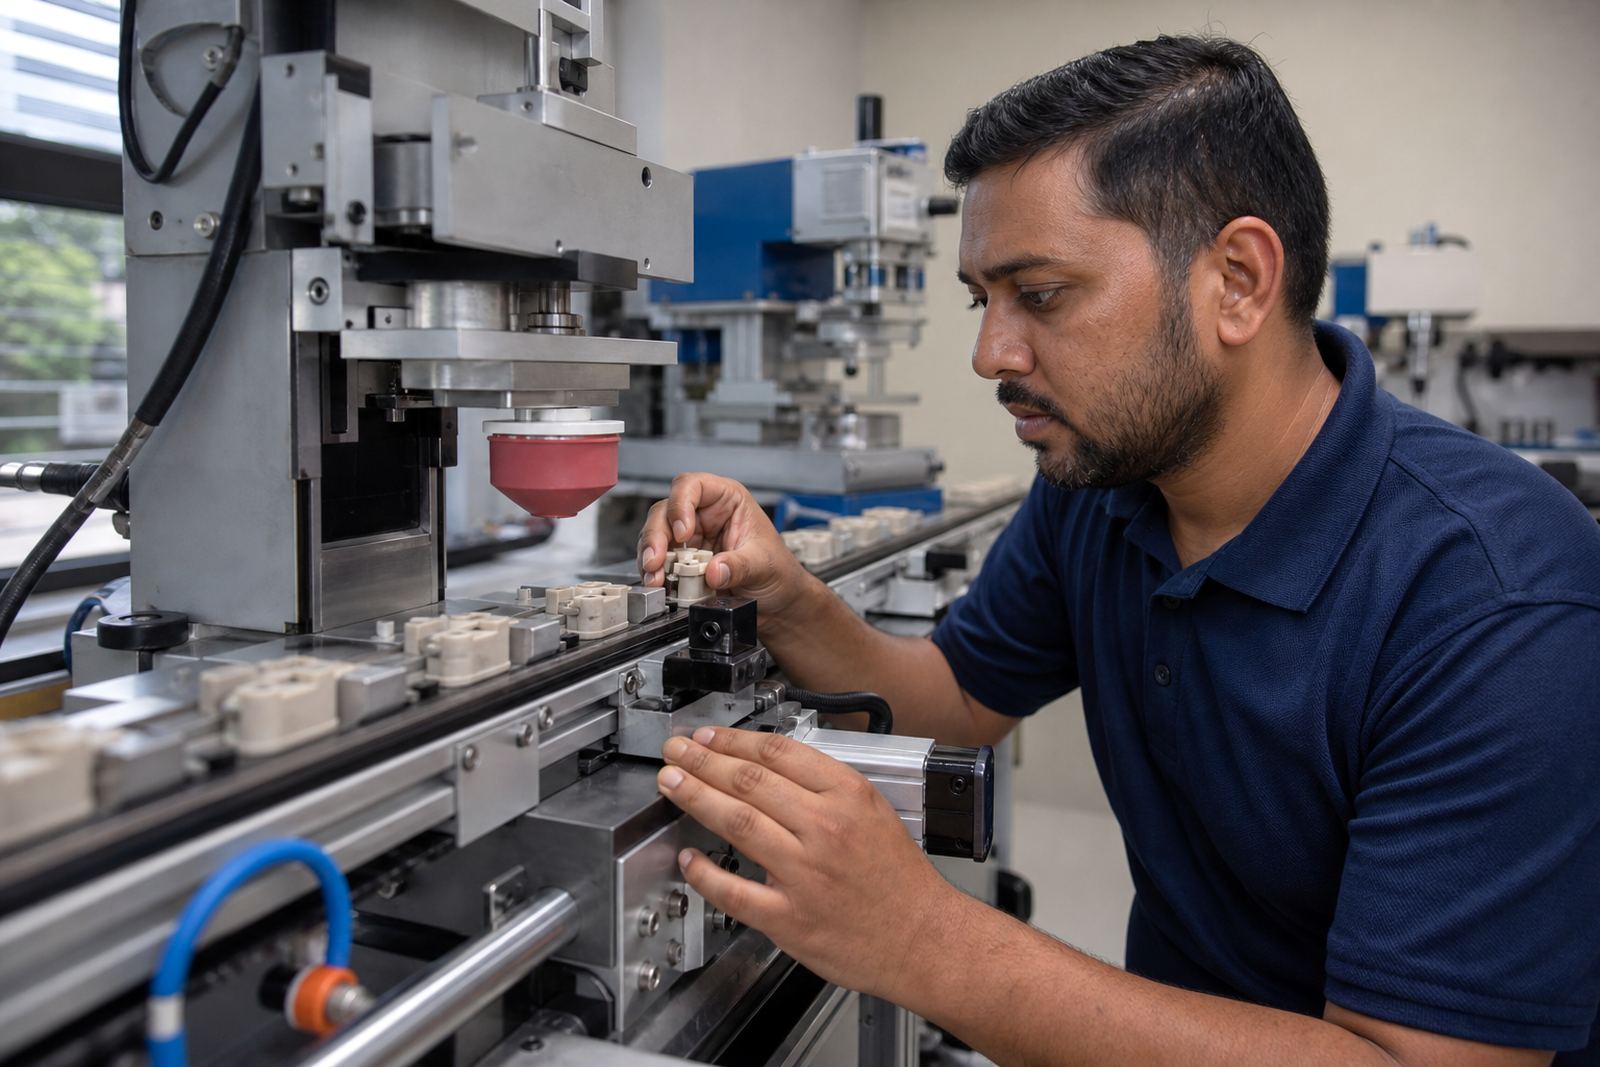
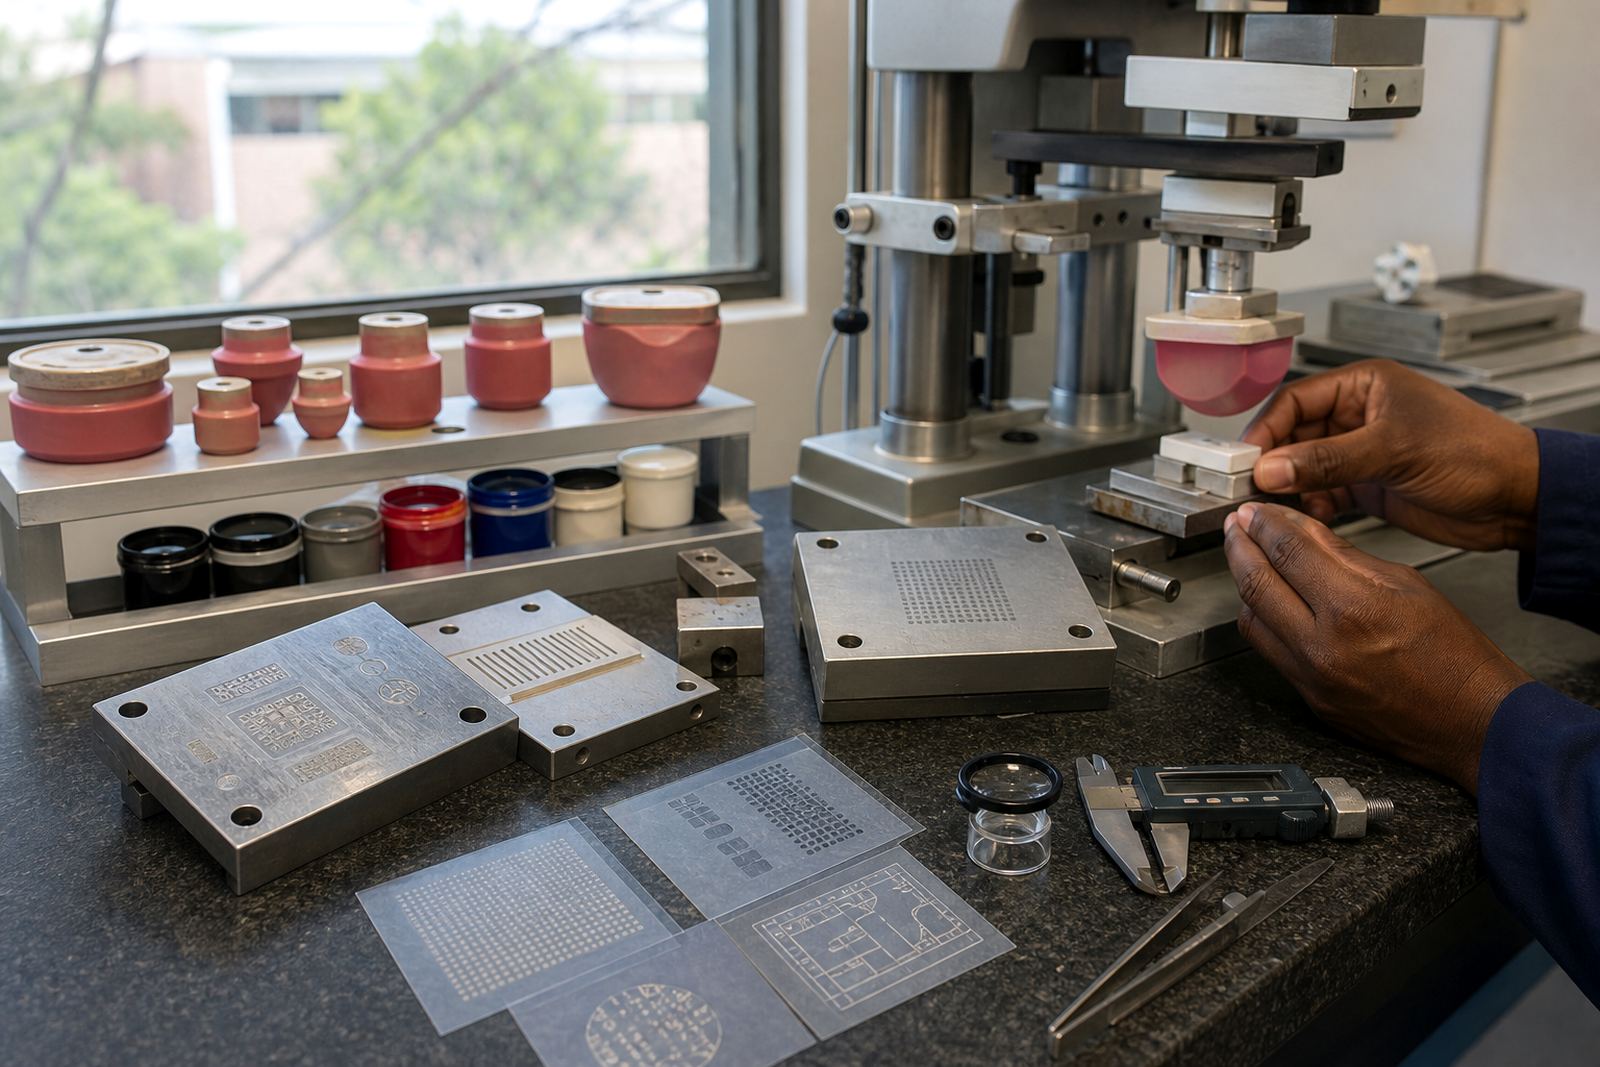
A silicone pad picks up ink from the etched plate and transfers it to the part by controlled compression. The pad must deform enough to follow curves, ribs and shallow pockets, then return to shape quickly so the image lands in the right place. On medical and electronic components, that consistency matters because markings are often small, light in tone and placed on plastics, coated metals or moulded parts with limited flat space.
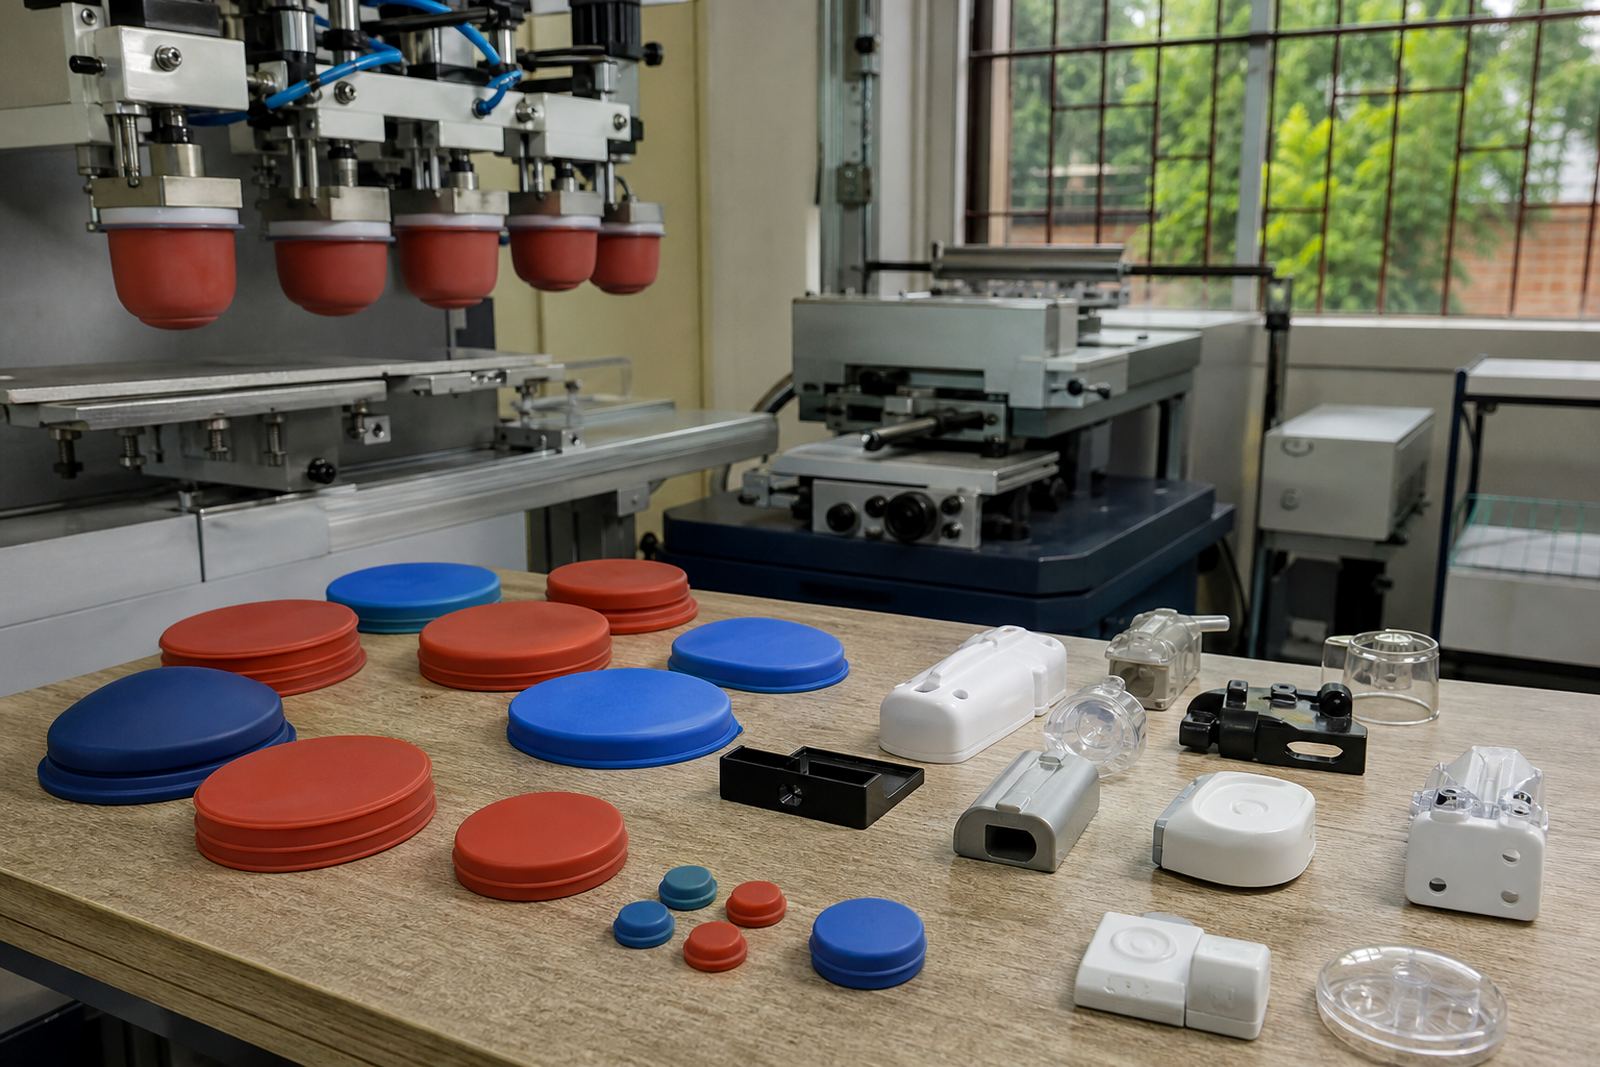
The pad itself is usually made from cured silicone rubber in a moulded shape such as round, oval, rectangular or tapered. The shape affects how the pad enters a recess, where it releases the ink and how well it copes with a raised edge. A harder pad may hold sharper detail on flatter parts, while a softer pad can help on uneven surfaces and deep features. The right choice is not just about size, it is about the whole transfer path from plate to cure.
For medical and electronics work, we look closely at the printed image, the part finish and the ink behaviour. Some parts need a gentle touch so the print does not smear. Others need a firmer pad so the image reaches into a narrow recess. Getting this balance right reduces trial waste and helps keep repeat jobs steady lot after lot.
Pad Shapes, Hardnesses and Sizes We Match
There is no single silicone pad that suits every component. We select from a range of pad profiles and durometers to suit the artwork size, the component shape and the available machine stroke. A small contact area can print tiny legends on electronic housings, while a larger pad may be needed for wider logos, warning text or reference marks on medical consumables and assemblies.
- Shape: round, oval, block, cone, pointed or special profiles for recesses and curved edges
- Hardness: softer pads for uneven surfaces, firmer pads for finer detail and flatter parts
- Size: matched to image size plus transfer margin, with allowance for deformation
- Print depth: selected for shallow or deeper features where the pad must enter and release cleanly
- Material behaviour: chosen for ink release, recovery speed and resistance to the expected production pace
As a rule, the pad should be large enough to cover the image and stable enough to avoid distortion, but not so large that it wastes ink or lands on nearby features. On very small marks, even a few millimetres of extra size can change the result. That is why we work from the actual part and not from a drawing alone, when possible.
Where Silicone Pads Suit Medical and Electronic Components
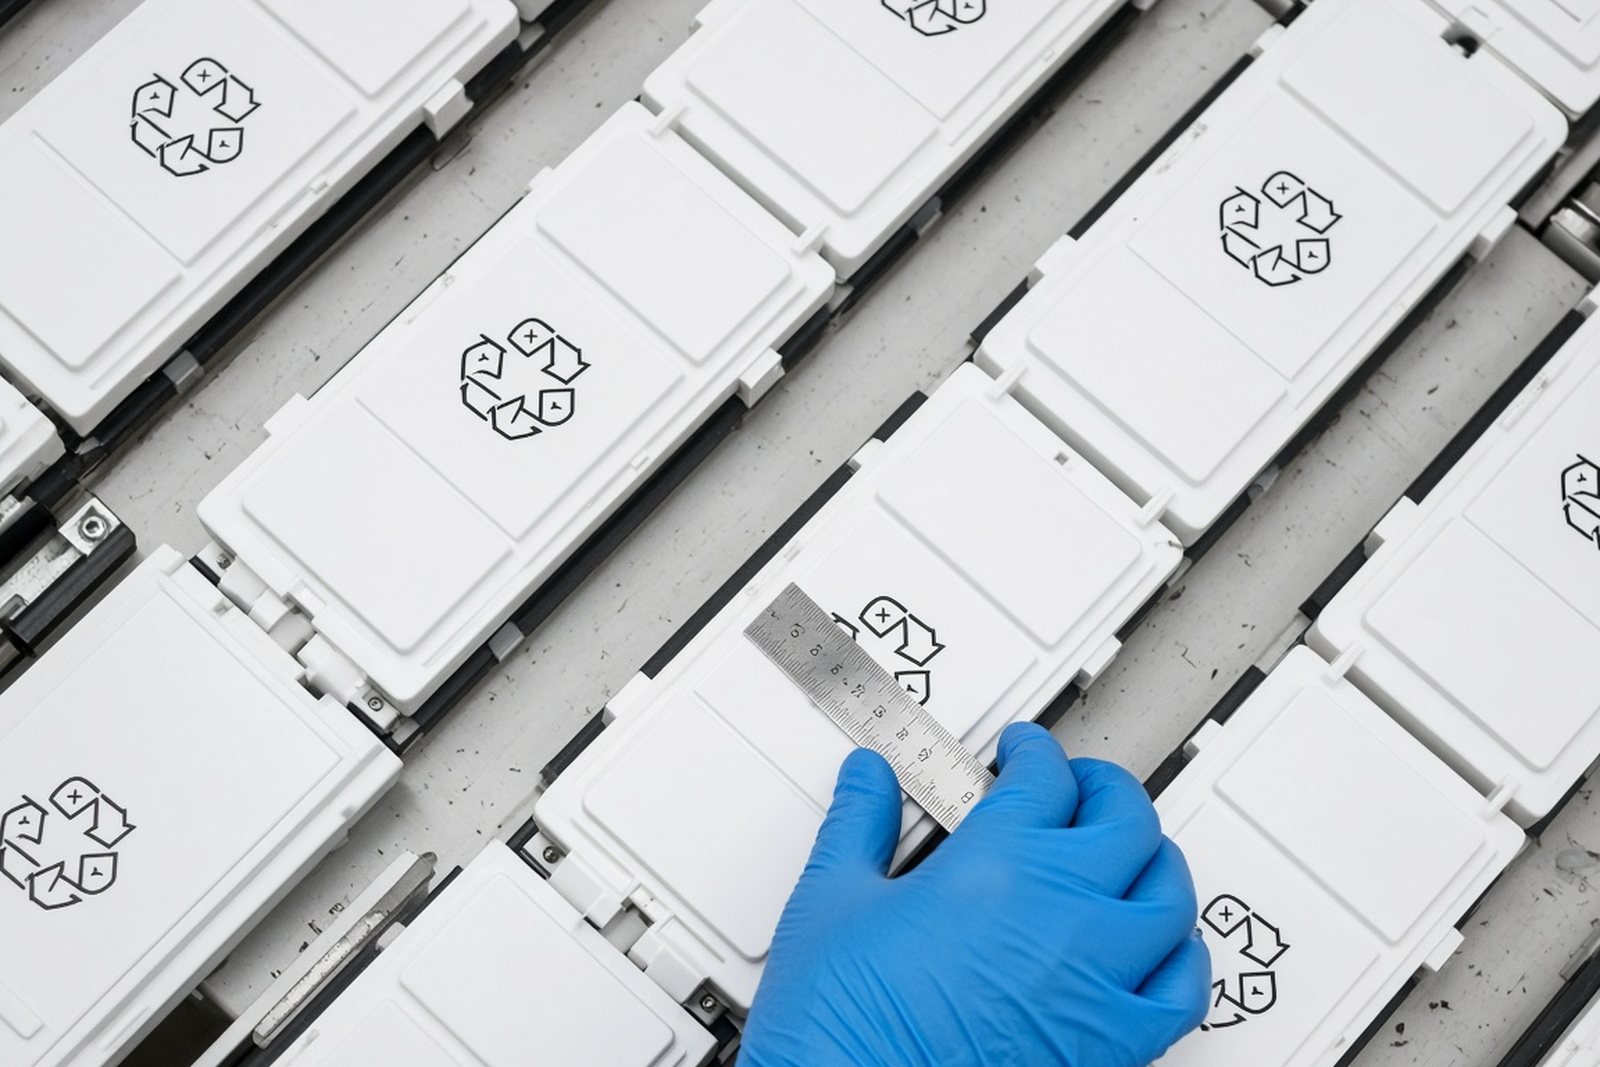
Silicone pad selection is especially useful where a flat printing method will not reach the target area. Typical parts include device housings, buttons, control panels, instrument covers, caps, clips, connectors and moulded enclosures. In electronics, the pad must often transfer text or symbols onto small surfaces with tight tolerances. In medical environments, the finish must be neat and legible, with good adhesion and no uncontrolled spread.
Because many parts are moulded from different plastics or include coatings, the ink and pad have to work together. A hard, glossy part may need different handling from a textured surface or a part with a slightly flexible wall. Coastal humidity in Durban can also affect drying and curing windows, so pad choice often sits alongside ink selection, open time and cure method planning. On some jobs we run adhesion test samples first so the print route is verified before full production starts.
- Compact parts with limited flat space
- Curved or angled surfaces
- Parts with raised ribs, grooves or recesses
- Short-run samples and repeat production jobs
- Medical and electronic components needing precise repeat marking
Care, Cleaning and Pad Life on Repeat Jobs
Silicone pads wear with use, especially where sharp detail, frequent cycles or stronger inks are involved. A pad that is starting to harden, crack or lose its original shape may still print, but the result often becomes less even. Regular inspection helps catch changes before they affect the whole run. We look for surface damage, swelling, pigment build-up and loss of rebound, then decide whether the pad can continue or should be replaced.
Cleaning must be gentle. Harsh solvents or rough wiping can damage the surface and change how the pad releases ink. The correct cleaning method depends on the ink system, the curing route and how often the job runs. If the pad is kept free of dust and residue, it lasts longer and gives steadier transfer. On production jobs, rerun job control is useful because it keeps the same pad, plate and setup notes together for the next batch.
- Wipe pads carefully after production while residue is still fresh
- Store away from direct sun, dust and sharp tools
- Check for cuts, flattening or sticky surfaces before reuse
- Replace worn pads before detail starts to fade
- Keep spare pads for high-volume repeat work
What To Check Before You Order a Silicone Pad
When ordering a pad, it helps to know the part dimensions, the image size, the surface finish and the number of prints expected per shift or batch. If the component has a curve, recess or stepped surface, say so clearly. We also need to know the ink type, curing method and whether the job is for a new product or a rerun. That lets us match the pad profile and hardness to the actual transfer need rather than guessing from a photo alone.
It is also useful to note whether the marking must fit within a fixed print area, avoid a screw boss, or align with another assembly feature. If there are multiple product versions, say which ones share the same pad and which need separate setups. For medical and electronic parts, the customer remains responsible for their own device compliance, so final marking requirements should always be checked against the device specification and the production brief. We can support the marking process with artwork preparation, plate exposure, plate etching, print area planning, colour matching, adhesion test samples and dispatch packing from our Westmead base.
Clients contact us through the quote form on our contact page, and we handle enquiries for Durban Manufacturers, Johannesburg Supply, Pretoria Supply, Cape Town Supply, Gqeberha Supply, Pinetown Printing Support, New Germany Support and Westville Support.
Run details
| Pad shapes | Round, oval, block, cone, pointed and special profiles |
|---|---|
| Hardness range | Selected to suit fine detail, curved parts and deeper recesses |
| Image compatibility | Small legends, logos, symbols and product markings |
| Typical use | Medical and electronic components, housings, caps, buttons and controls |
| Setup needs | Machine head alignment, stroke setting, fixture support and trial sample runs |