What instrument panel printing does on a finished part
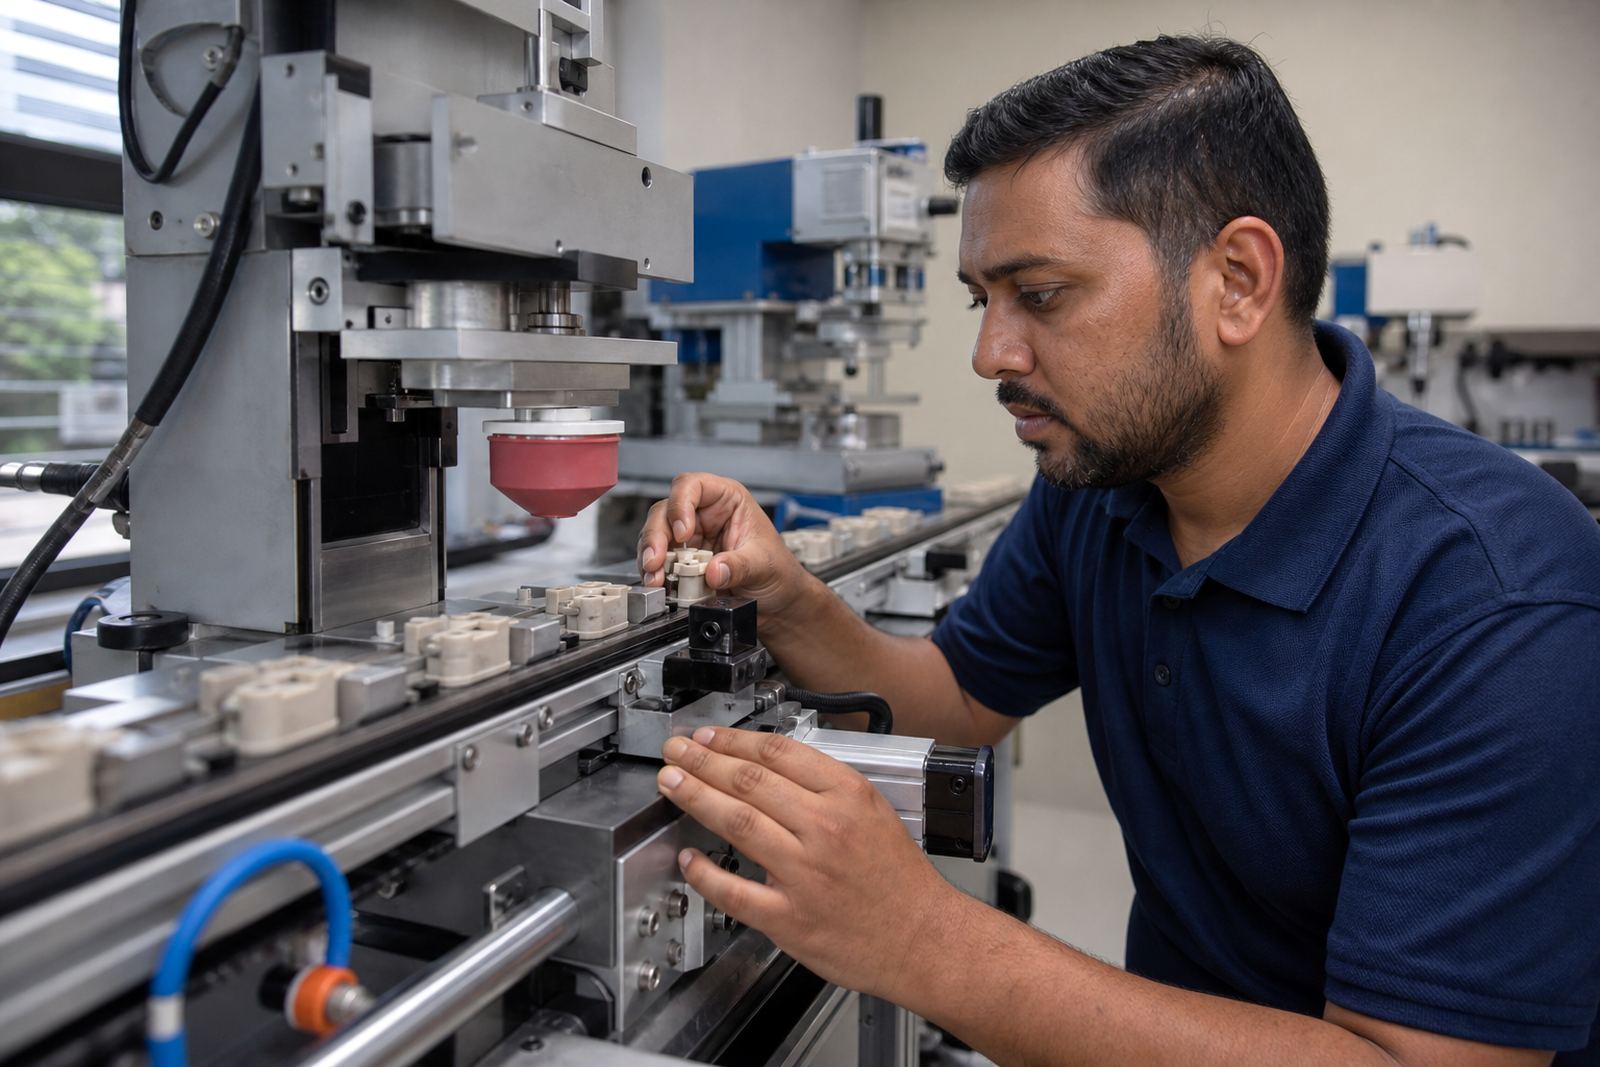
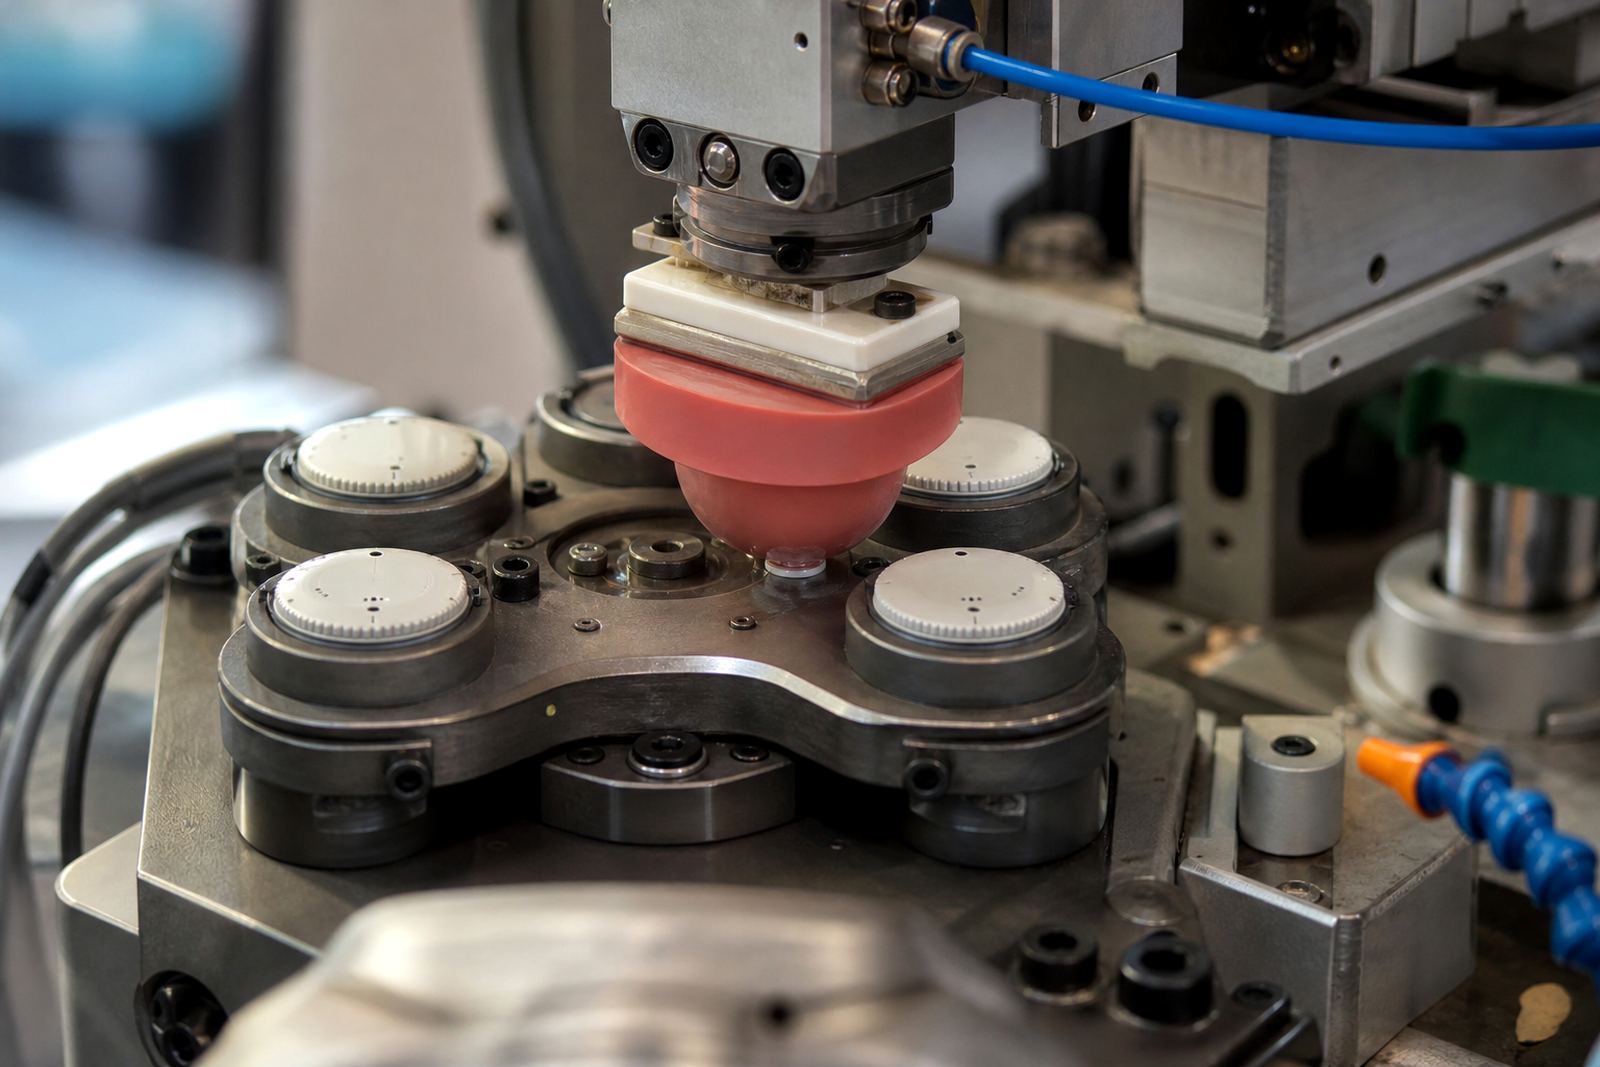
Instrument panel printing is the method used to place clear, permanent markings onto a control face, front panel or rigid overlay. In practice that means legends, icons, numbering, warning text, switch positions and alignment marks are transferred onto the part with a silicone pad from an etched plate. The process suits parts that need clean, repeatable marking on a formed or slightly uneven surface where screen printing is not the best fit.
Legibility is the main aim on medical and electronic assemblies. A good print must be readable at a glance, hold up to handling, cleaning and daily use, and sit neatly in relation to buttons, cut-outs and indicator windows. We work with the supplied substrate, the intended ink system and the final curing method to get the mark where it needs to be and keep it there. Customers remain responsible for the device compliance of their own product.
Panel formats, sizes and marking options
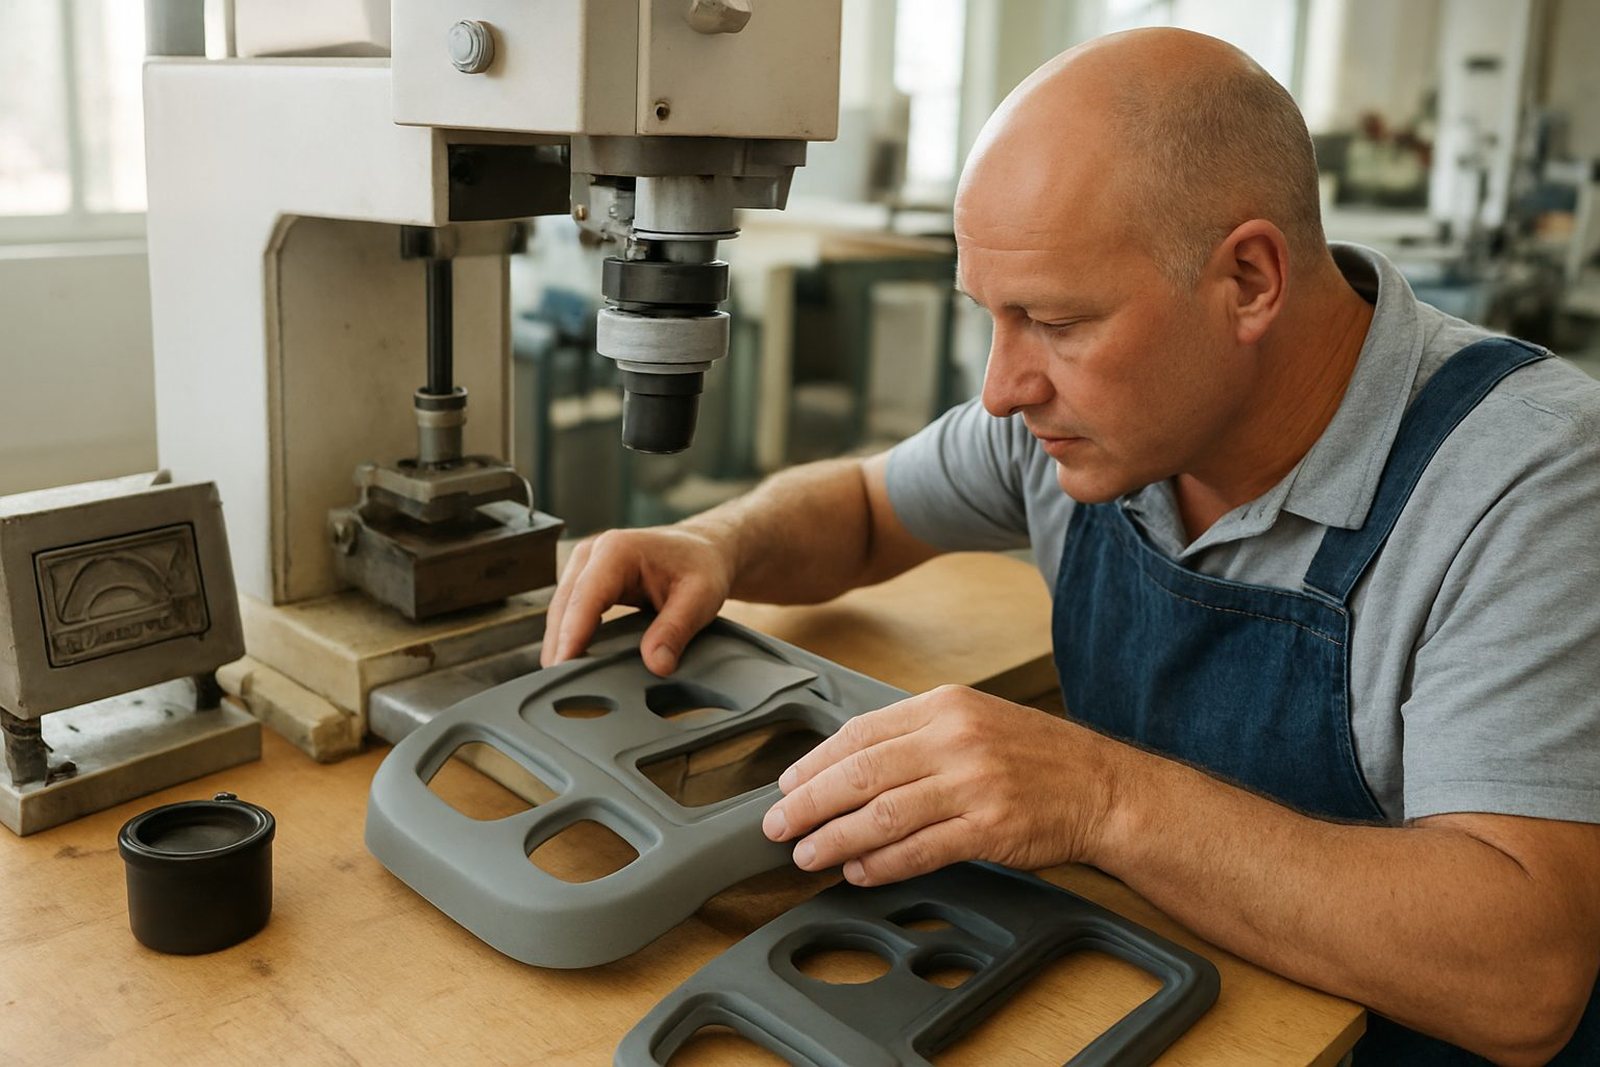
We print on many common panel types used by manufacturers across South Africa, including flat control faces, stepped panels, overlay sheets and rigid covers. The exact size depends on the part itself, but the process is suitable for small name panels and compact electronic fascias through to larger operator panels with several legends. On multicolour work, each colour is applied as a separate pass with careful registration between layers.
Typical options include single colour legends, multi-colour identification, serial numbering, icons, logo marks and directional symbols. If the panel has recessed areas, rounded edges or a textured finish, we can assess whether a fixture, altered pad shape or changed curing method will be needed. Common requirements are:
- Black, white or other solid colour legends on painted or coated faces
- Fine text for switch labels, unit names and warning notes
- Repeated part marking across the same panel family
- Short production runs, rerun work and job control notes
Where this method suits medical and electronic assemblies
This service suits manufacturers that need precise marking on parts used in diagnostic units, control boxes, handheld equipment, switching panels and instrument housings. Pad printing works well where the mark must land on a specific spot and stay sharp around small details. It is also useful when the surface has slight curves, moulded edges or limited flat space. For parts in hospitals, laboratories or factory floors, the mark needs to survive regular wiping and handling without smudging.
Our clients often need the print to match the layout of the assembled unit, so we use artwork preparation and print area planning before sample work begins. That helps avoid legends sitting too close to a screw boss, a port opening or a membrane edge. In KwaZulu-Natal humidity or coastal conditions in Durban and Gqeberha, the ink choice and curing method become even more important for long term clarity.
How the printing process is set up
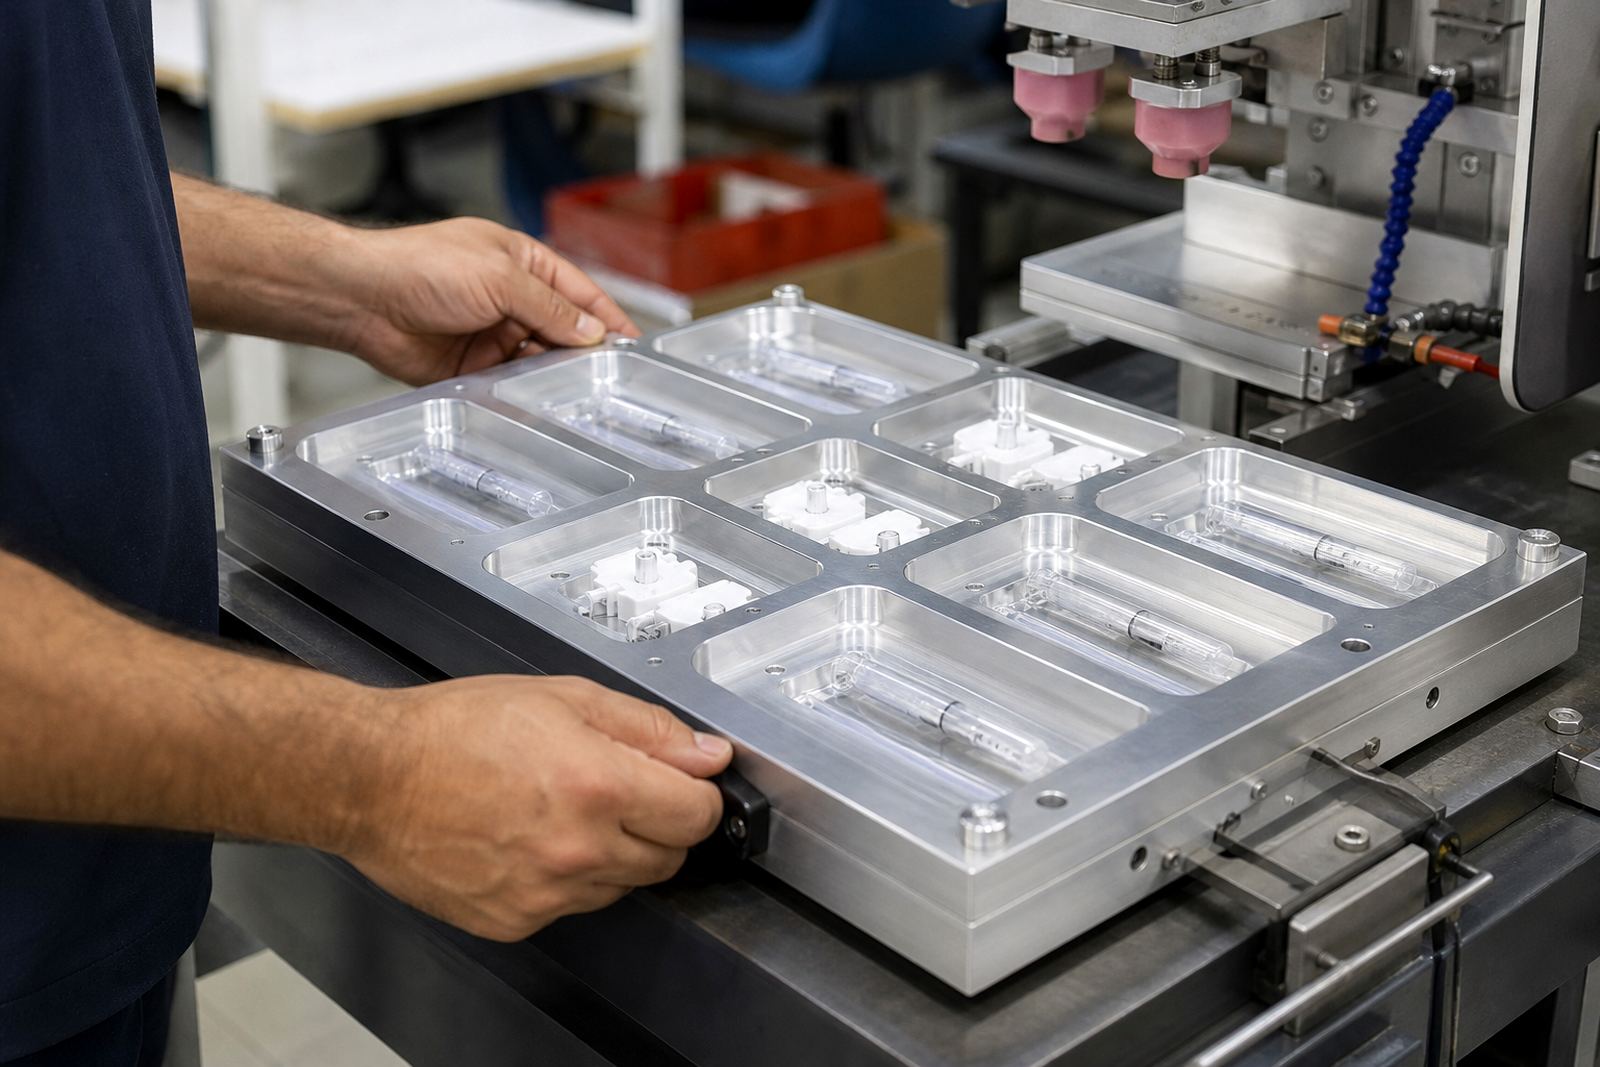
Each job begins with artwork review, then redraws if needed so the marks are suited to the actual print size. From there we prepare the plate, expose and etch the image, then build a fixture if the part needs holding support. Trial sample runs are then used to confirm position, coverage and legibility. If the print needs a stronger cure, we select the curing method accordingly, which may include air drying, heat assisted curing or a controlled process matched to the ink and substrate.
Pad printing uses a silicone pad to pick up ink from the etched plate and transfer it to the component surface. That versatility is what makes the method suitable for awkward shapes and fine detail. We also manage rerun job control so later batches match the approved sample as closely as possible. This helps manufacturers keep the same panel marking across multiple batches, with no drift in placement or colour.
- Artwork Preparation and Logo Redraws
- Plate Exposure and Plate Etching
- Fixture Making and Trial Sample Runs
- Colour Matching and Adhesion Test Samples
Sampling and setup
Instrument panel printing is usually a workshop process rather than an on-site fitting job, so the main installation consideration is how the component is presented for printing and then moved into assembly. Parts should arrive clean, dry and free from release residue, dust or machining oils. If the panel will later be bonded, clipped or screwed into an enclosure, the print position should allow for those operations without obstruction.
This is particularly important when a job has tight turnaround and a second colour or rerun depends on the first layer being properly cured. If your process is unusually sensitive, tell us early so we can plan the sample run around it.
Care, servicing and repeat order control
Once printed, panels should be handled with clean gloves or clean hands, especially before the ink has fully cured. Avoid aggressive solvents, abrasive pads and rough stacking while the mark is still fresh. For routine care, a soft cloth and a suitable cleaner approved for the printed surface is usually enough. If the panel forms part of a medical or electronic device, the end user should confirm the cleaning method against their own product requirements.
For servicing on repeat jobs, the important point is consistency. Keep an approved sample, the final artwork version and any fixture details together so the same marking can be reproduced later. If a legend changes, or the layout shifts after a housing redesign, we can update the plate and review the print area before the next run. That helps prevent wasted parts and keeps the marking aligned with the assembly.
What to check before placing an order
To quote and prepare the right setup, we need the part, the artwork and a clear understanding of where the print must sit. If the panel is for a medical or electronic device, note the face material, finish and whether the mark sits on a flat or curved area. For new work, it helps to share a sample component first so we can assess adhesion, clearance and print size. From our base in Westmead, Pinetown, we support Durban Manufacturers, Johannesburg Supply, Pretoria Supply, Cape Town Supply, Gqeberha Supply, New Germany Support and Westville Support.
Please have these details ready before sending an enquiry:
- Part dimensions and the exact print area needed
- Artwork files or a clear drawing of the legend layout
- Material type and any coating or texture on the surface
- Whether the job is one colour or multiple colours
- Expected quantity and whether further batches are likely
- Any special handling, curing or packaging needs for dispatch
If you need panel markings that are neat, readable and suitable for industrial use, we can assess the job and advise on the most practical print method.
Run details
| Print method | Pad printing with silicone pad transfer from an etched plate |
|---|---|
| Typical use | Front panels, overlays, rigid control faces and instrument markings |
| Marking type | Legends, symbols, numbering, warning text and identification marks |
| Surface suitability | Flat, slightly curved or lightly textured panel faces |
| Process support | Artwork redraws, colour matching, trial sample runs and adhesion test samples |