What Fixture Design Does On A Pad Printing Line
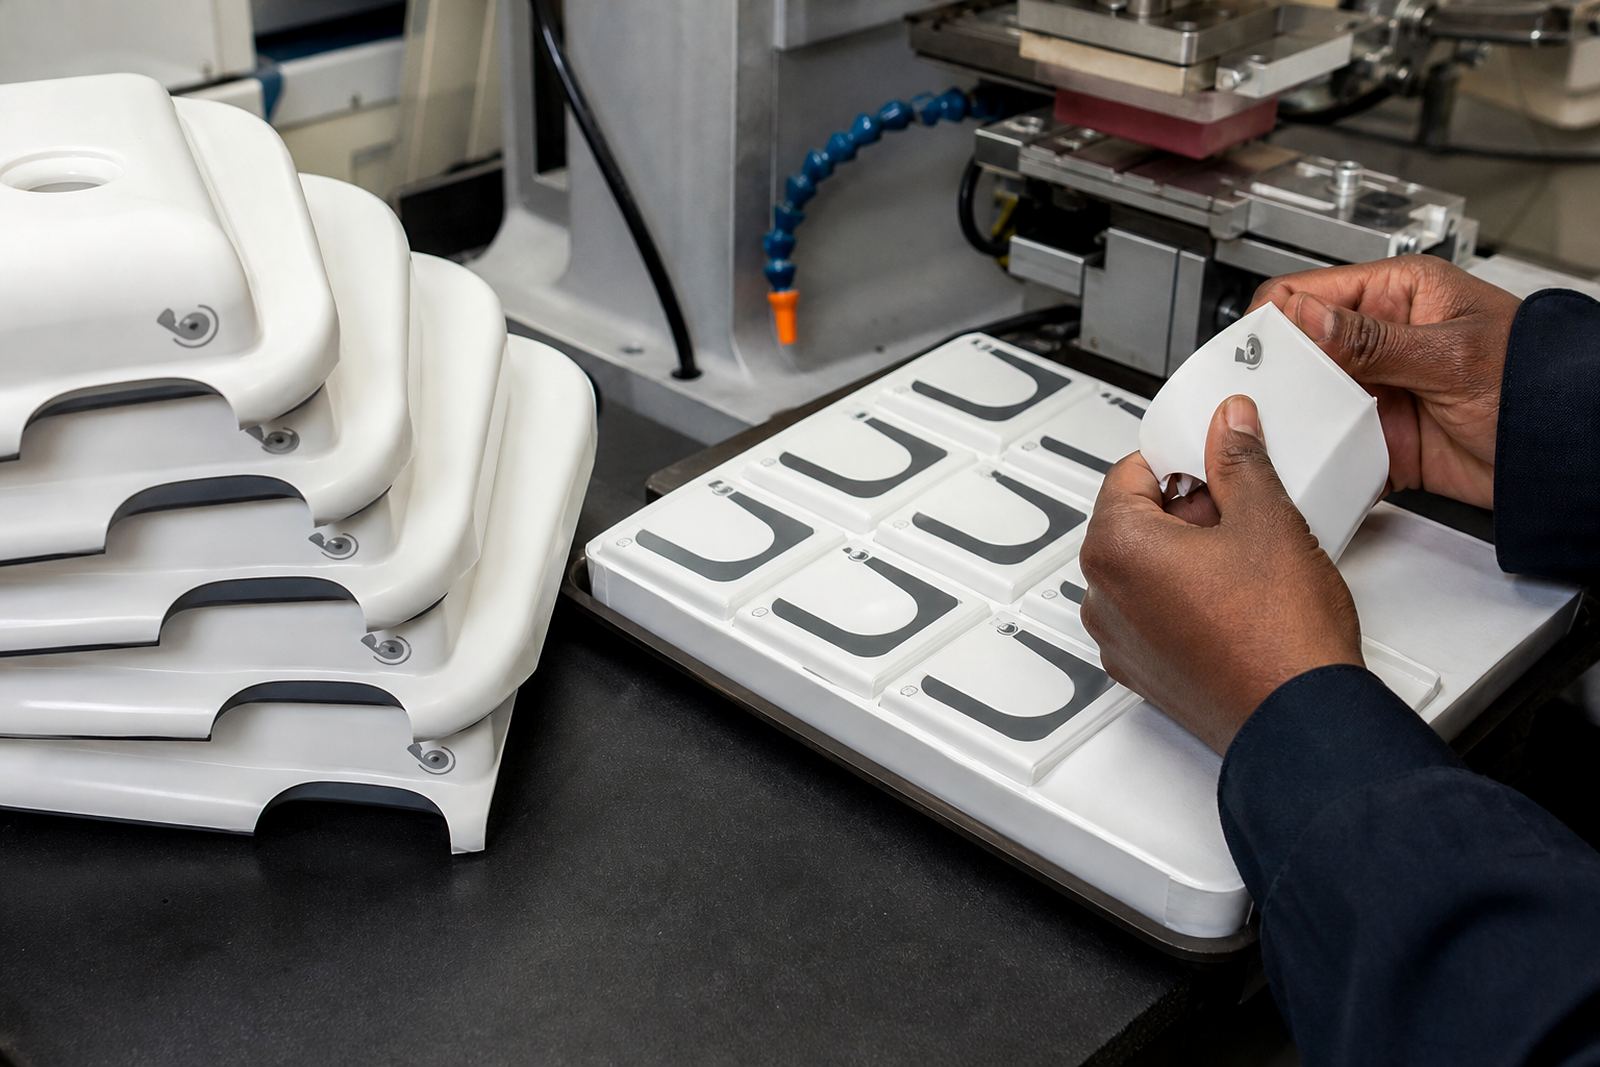
Fixture design is the part holding side of the job. It keeps each component in the same position every time, so the silicone pad meets the print area at the right angle and with the same contact pressure. That matters on parts with curved faces, narrow rims, shallow recesses or tiny marking zones where even a small shift can cause a blurred logo, a broken line or a crooked reference mark.
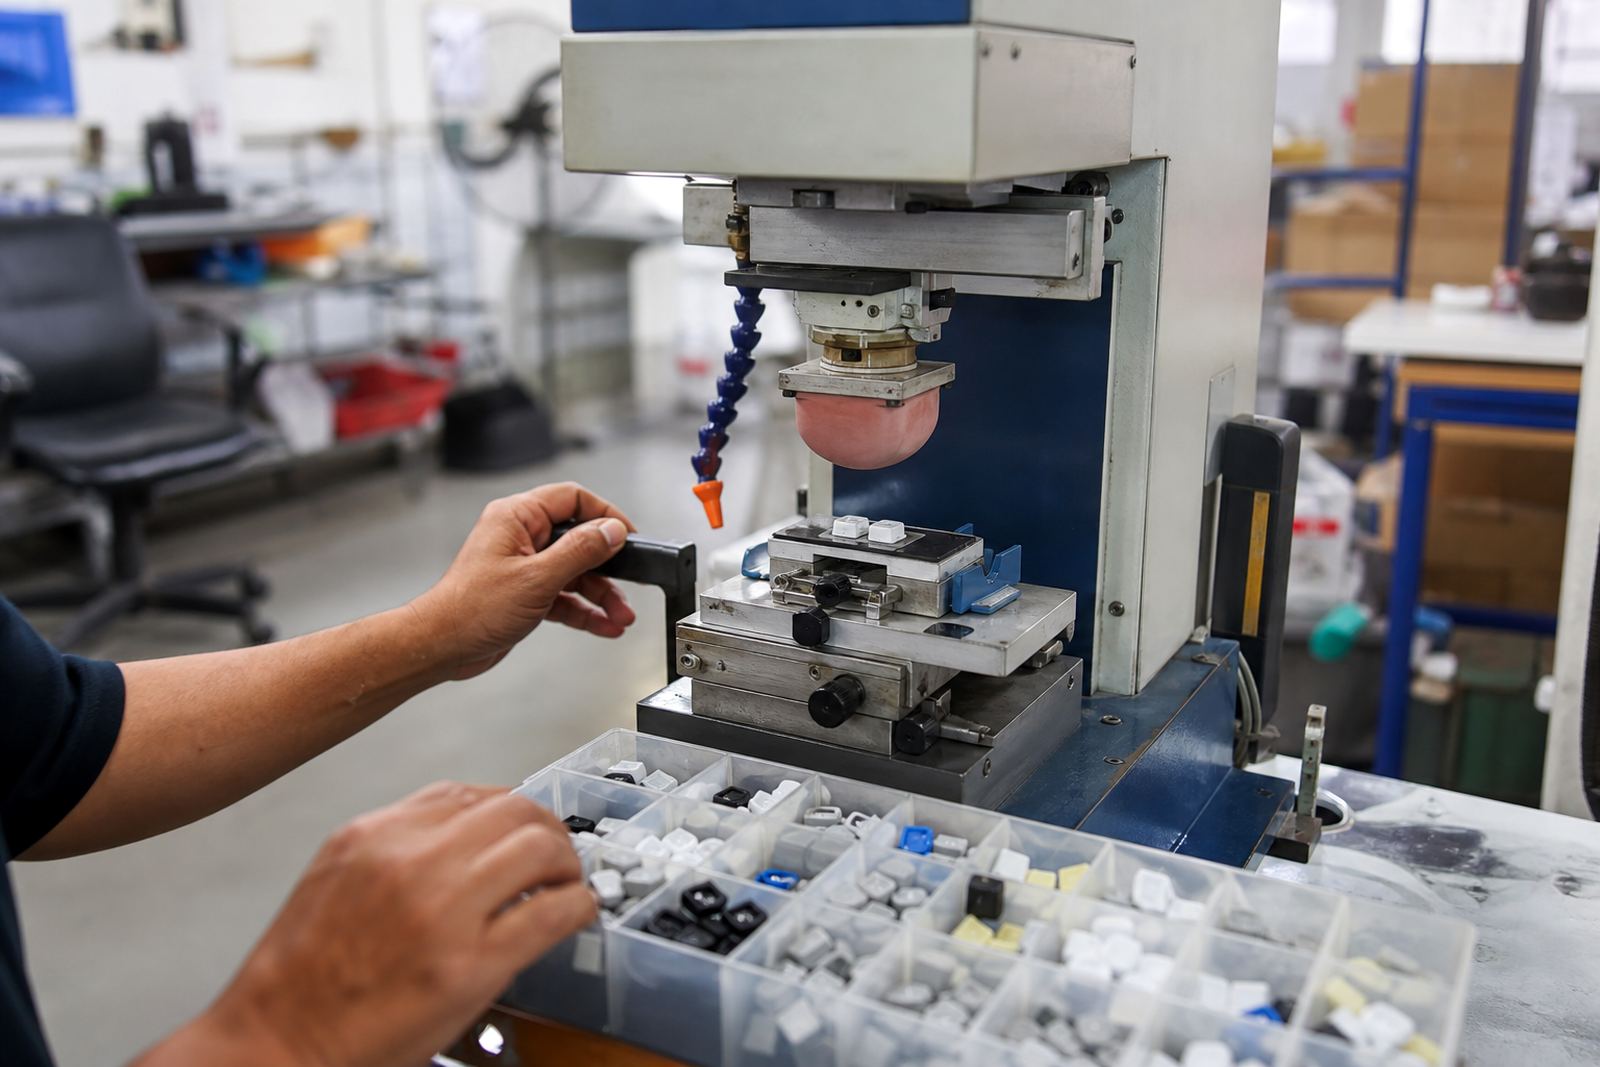
Fixture design for medical and electronic parts is usually based on the actual component shape, the ink deposit needed and the way the operator loads the part. We plan the location of locators, stops, clamps and nests so the part sits consistently from run to run. Where required we also allow for curing access, whether the ink is air dried, heat cured or UV cured after printing.
Fixture Types, Sizes And Options We Build
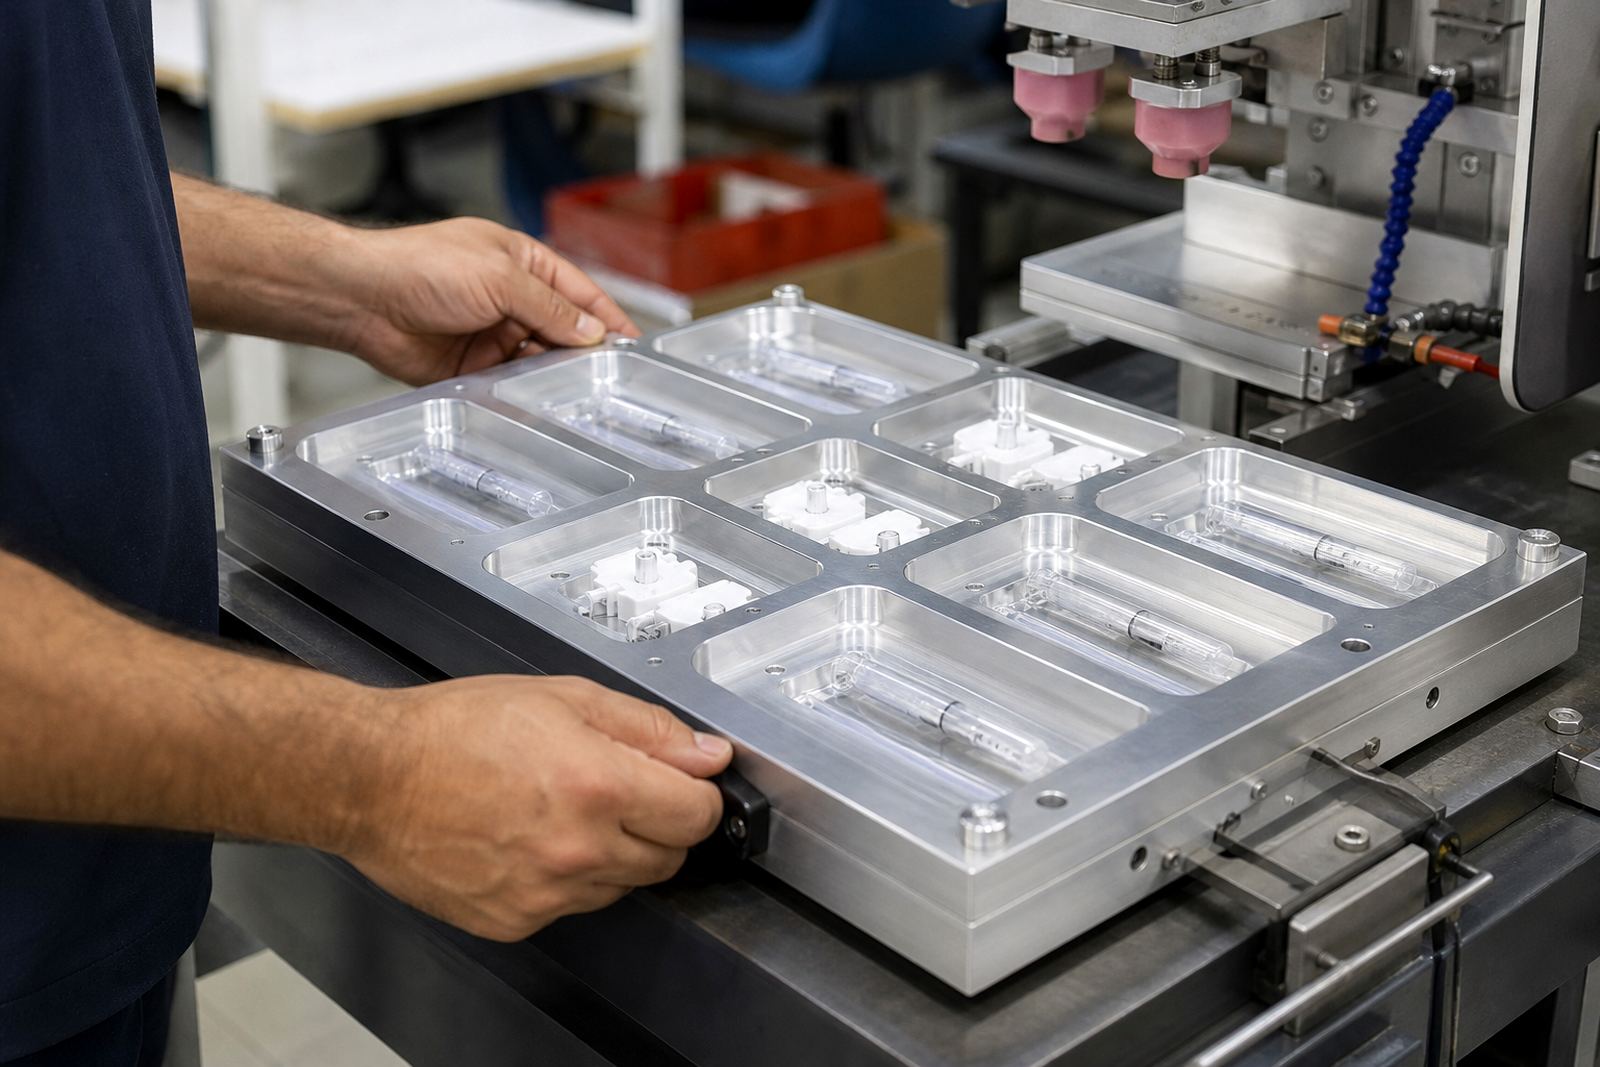
We make fixtures for small, light parts as well as larger housings. Common build styles include single-cavity nests for low volume work and multi-cavity fixtures for repeat production. The final setup depends on the shape of the component, the print area and the way the job is run on the line.
- Single part nests for delicate parts and close tolerance markings
- Multi-up fixtures for batch runs and consistent loading rhythm
- Manual clamp fixtures for simple parts and short changeovers
- Pneumatic assisted fixtures where quicker repeat loading is needed
- Change plate systems for families of similar parts
Typical working sizes are made to suit component envelopes from about 20 mm up to 350 mm in length, although the actual fixture footprint depends on the machine bed, transfer path and access needed for the pad stroke. We also build for flat, curved and stepped parts, plus parts with locating holes, ribs, bosses or snap features.
Where Fixture Design Suits Medical And Electronic Parts
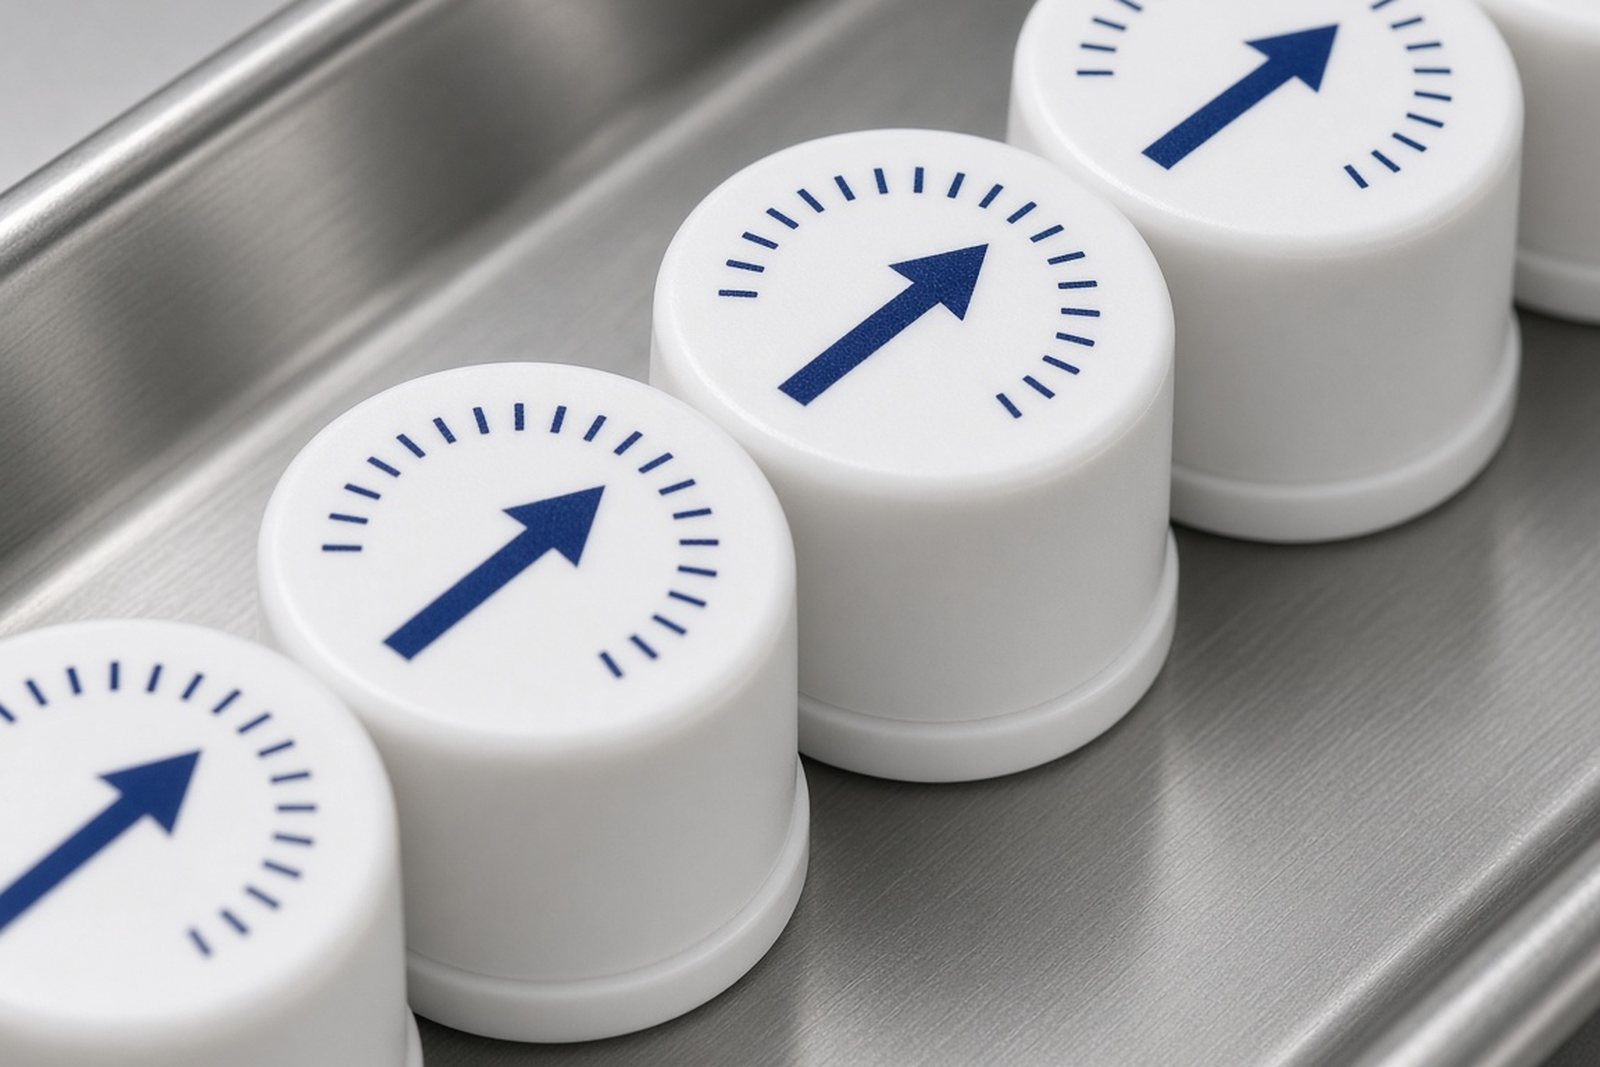
Fixture design is useful anywhere the same mark must land in the same place each time. In medical production that can include device housings, control panels, test components and small accessories where clear identification is needed. In electronics it suits switch housings, bezels, connector bodies, control knobs, sensor covers and other moulded parts that need clean, legible markings.
The fixture helps reduce handling marks and lowers the chance of ink smearing during transfer. It also helps when the part has a slippery moulded surface or a slight curve that would otherwise make loading uncertain. For Durban and coastal work, where humidity can affect drying time and handling, a good fixture setup also gives the operator a steadier cycle and less rush between print and cure.
- Parts with tight print windows
- Parts that need the same orientation every time
- Components with high gloss or low surface grip
- Items that must move through curing without shifting
Care, Cleaning And Servicing In Daily Use
A fixture should be kept clean because ink mist, dust and dried residue can build up on locators and affect repeat position. We recommend wiping contact areas with a suitable cleaner that will not attack the fixture material or the component surface. If the fixture uses replaceable pads, inserts or clamps, those should be checked regularly for wear and replaced before they begin to mark the part.
For busy production, a simple service routine helps: check alignment, inspect fasteners, confirm air lines if fitted, and test that the part sits fully against the stops. If a fixture is used on different jobs, keep the change parts labelled and stored with the correct artwork and setup notes. That reduces downtime and avoids the kind of mix-up that can happen when a line is pushed to run quickly.
What To Check When Ordering A Custom Fixture
When you order a fixture, the most useful information is the actual part sample and the exact print position required. A drawing helps, but we still need to see the physical component because mould draft, curves and snap features can affect how the part sits. We also need to know how the job will be loaded, whether by hand, tray or assisted transfer.
Before we start, please check the following:
- Part drawing or sample component
- Overall size, print area and any no-print zones
- Material type and surface finish
- Required production rate and whether the job is one-off or repeat work
- Need for manual, pneumatic or multi-cavity loading
- Any curing method that affects access or part movement
Device compliance, label content and final product approval remain the customer's responsibility. Our role is to make sure the fixture supports accurate pad printing and repeatable handling on your production line.
Run details
| Fixture type | Manual nests, multi-cavity fixtures, clamp fixtures, pneumatic assisted fixtures |
|---|---|
| Typical part envelope | Approx. 20 mm to 350 mm, depending on part shape and machine bed |
| Holding method | Mechanical locators, stops, clamps and custom nests |
| Air requirement | Clean dry compressed air at about 4 to 6 bar for pneumatic setups |
| Material options | Aluminium, engineering plastics and mixed build parts where suitable |
| Typical use | Pad printing on medical and electronic components with repeatable orientation |