What housing logo printing is used for
Housing logo printing is the direct marking of branding and product identification onto plastic, coated or painted housings used in medical and electronic equipment. The process is suited to parts with curves, recesses, ribs, snap-fits and small flat areas where screen printing or labels can struggle to sit neatly.
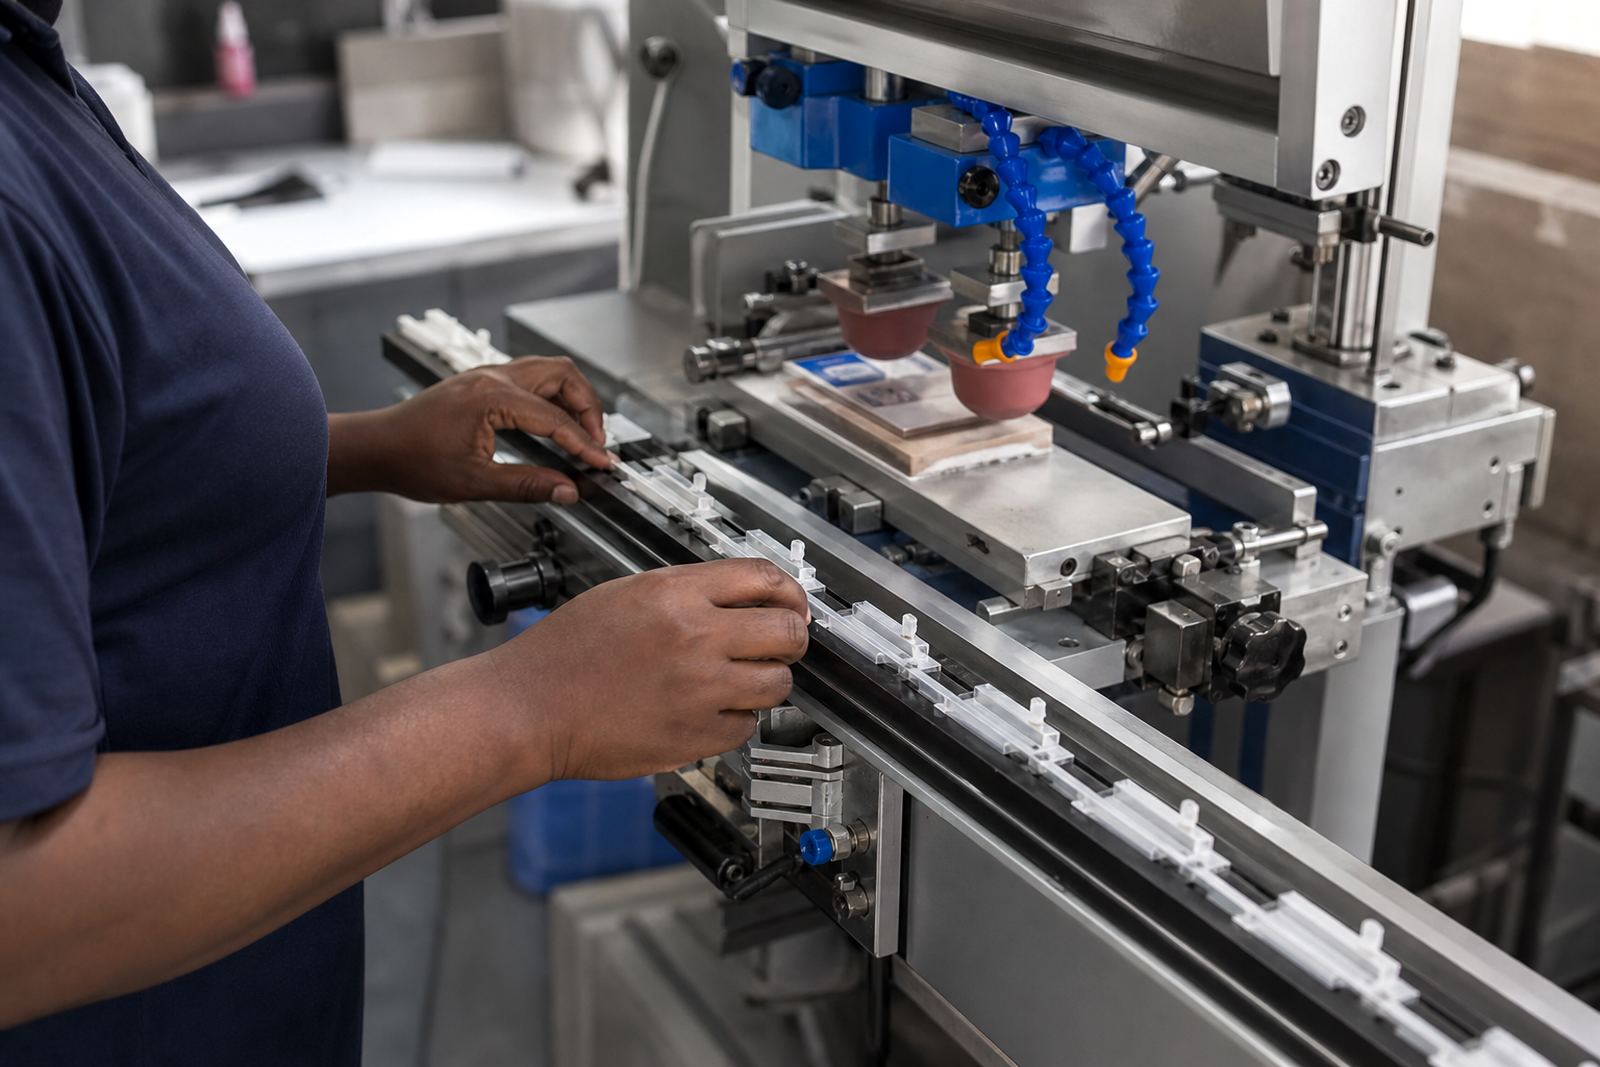
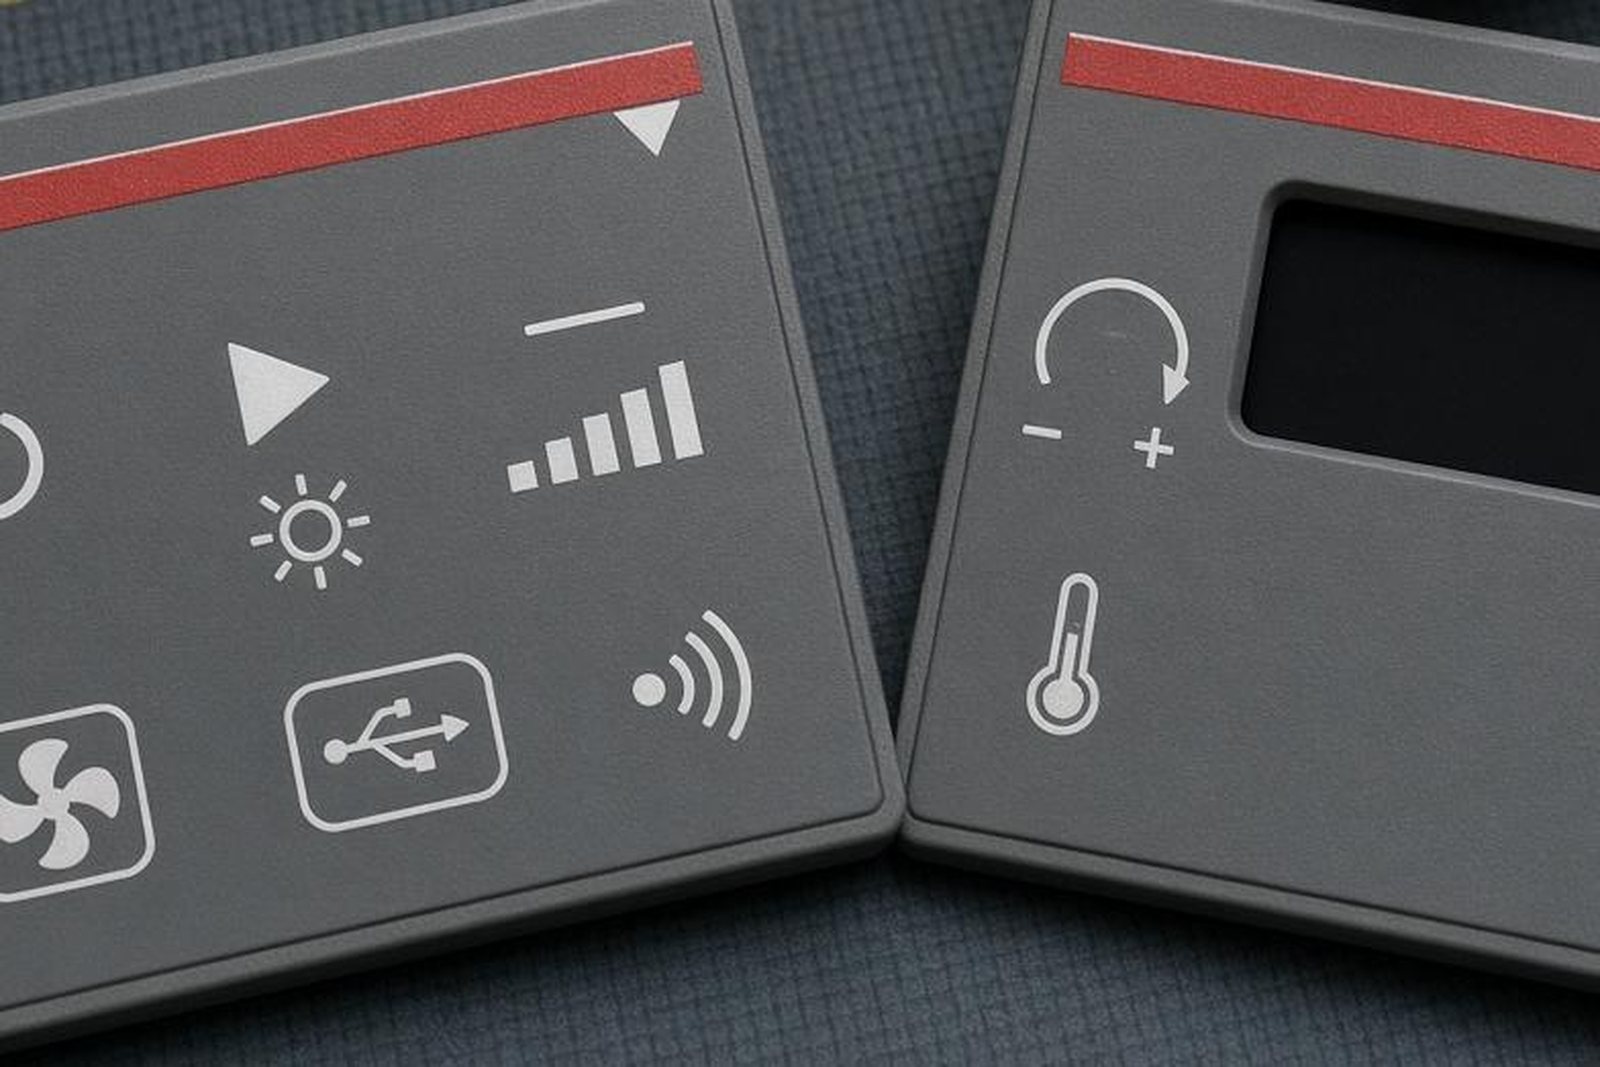
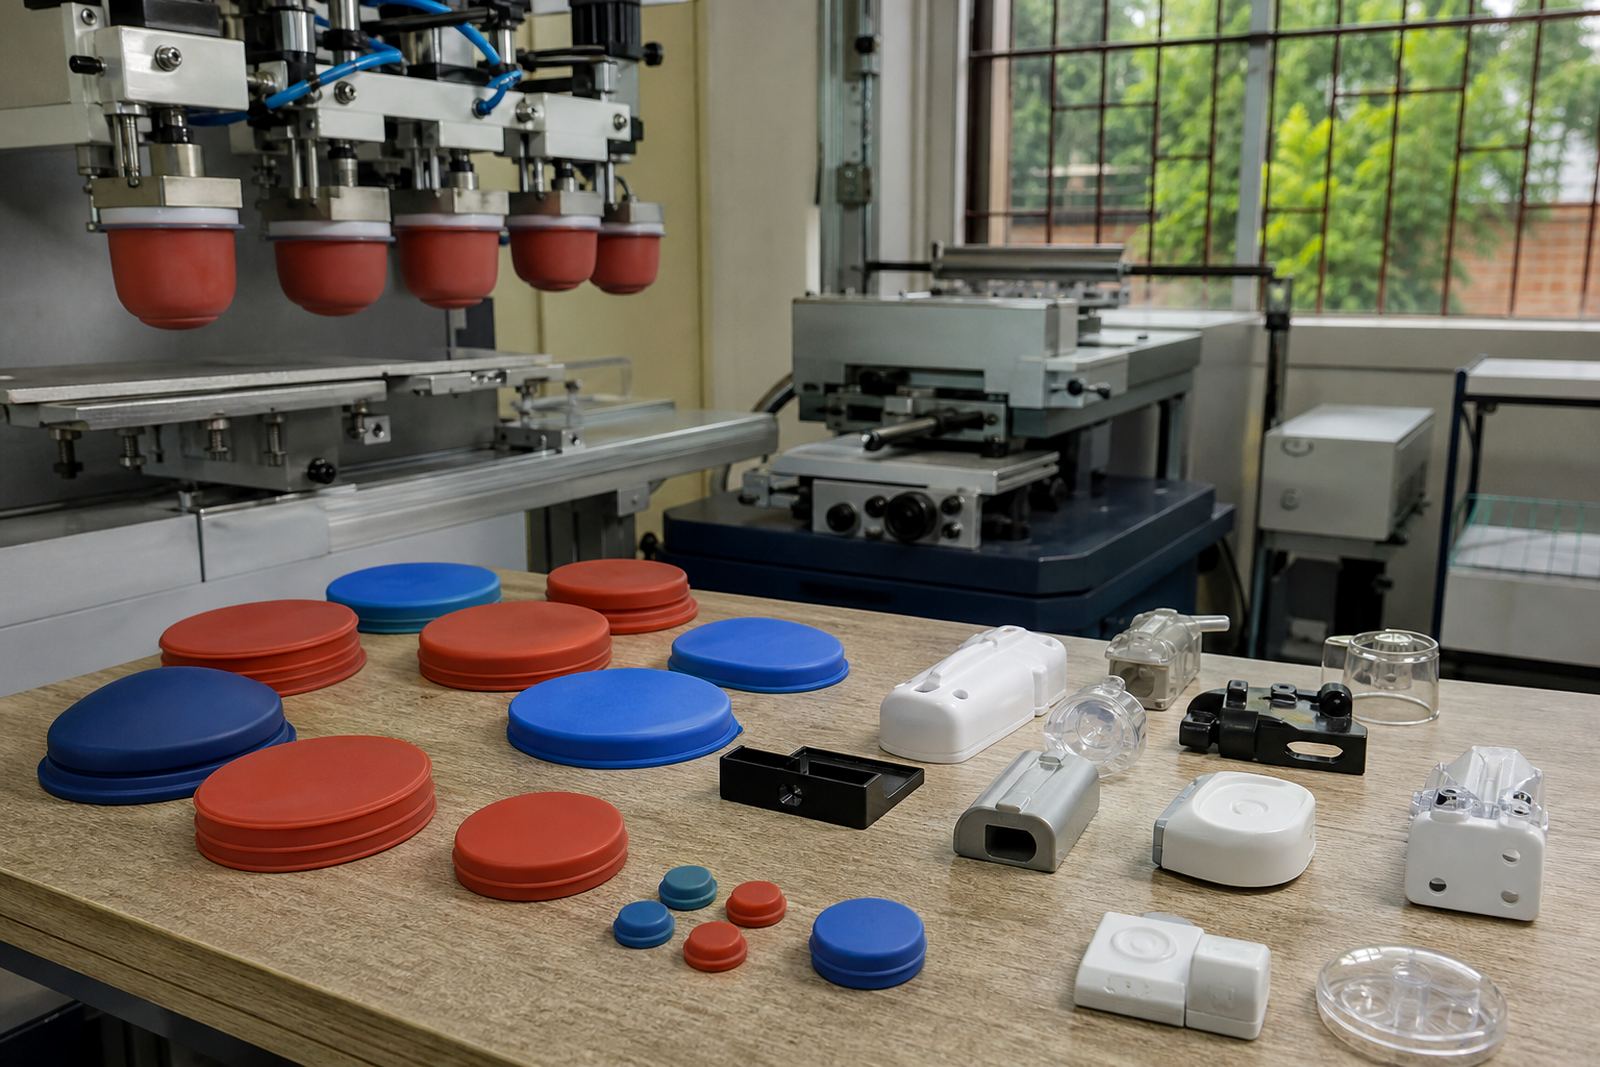
We use a silicone pad to pick up ink from an etched plate and transfer the image onto the component with controlled pressure. That lets us place fine text, product codes, polarity marks, warning symbols and logos on instrument covers, control shells, battery housings and accessory parts without smearing across edges.
The marking on medical and electronic parts has to stay legible after handling, cleaning and assembly. We therefore look at ink choice, surface prep and curing together, not as separate steps. If the housing has a glossy mould finish or a mould-release residue, the bond can be weak so the print process needs to be matched to the part from the start.
Sizes, print areas and finish options
Housing logo printing is normally set up for small to medium print areas, from compact name marks to broader branding panels. Typical print faces can range from about 8 mm wide on a switch cap or trim piece up to around 180 mm on larger cover panels, depending on the shape and access for the pad.
We can work with single-colour marks, two-colour builds and repeat identification elements across a range of housing sizes. The final result is influenced by the texture of the housing, the depth of any moulding, and whether the print needs a matt look, a higher gloss ink film, or a colour matched finish that sits close to the part colour.
- Small text and serial style marks on compact housings
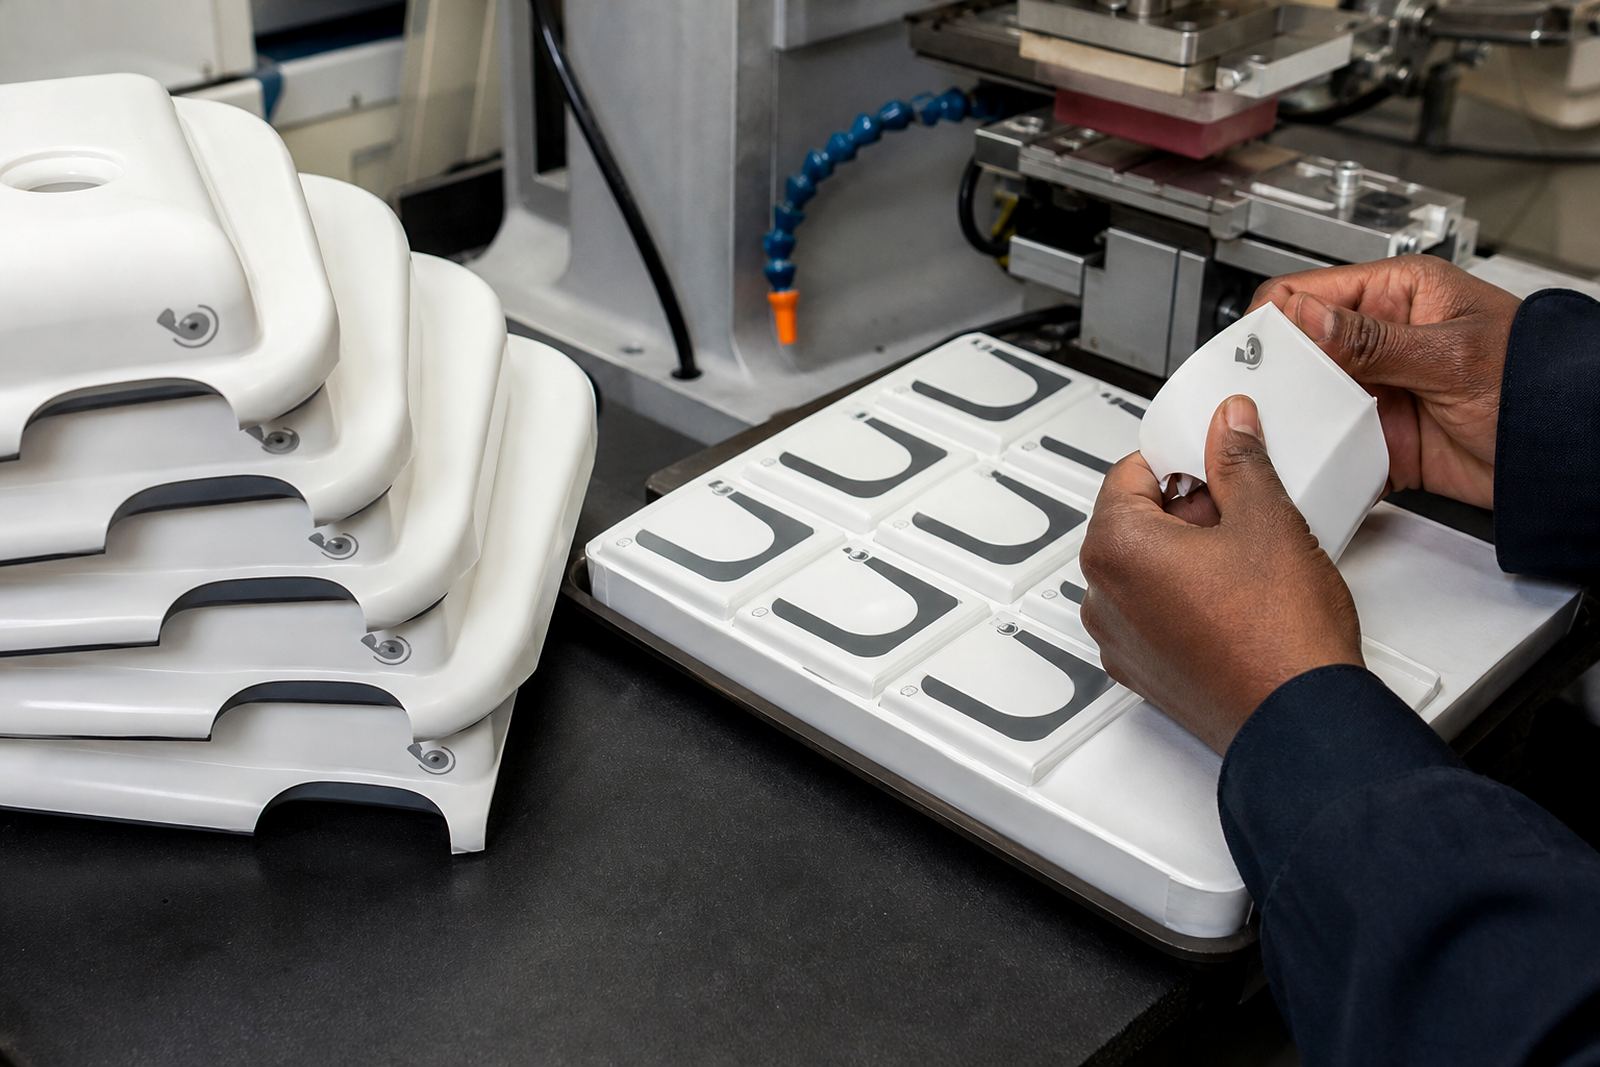
- Brand logos on front covers and side panels
- Direction arrows, switch labels and caution icons
- Part numbers, cavity references and assembly identifiers
- Colour matched branding for moulded or painted surfaces
When a design uses very fine lettering, we usually recommend a test print first. That gives a clear view of stroke thickness, sharpness and whether the housing surface holds the image cleanly at production speed.
Where this works best on medical and electronic parts
This product suits moulded components that need a permanent or semi-permanent print in a controlled manufacturing setting. In the medical field that often includes housings for diagnostic devices, handheld units, bedside equipment covers and accessory shells. In electronics it is common on enclosures, control heads, interface covers and plastic support parts.
The method is useful when the print must sit accurately on a small or awkward surface and still look consistent from part to part. It also suits jobs where the same housing is made in batches and the marking needs to stay aligned with tooling, clips, ports and screws.
- ABS, polycarbonate and similar engineering plastics
- Painted or coated housings after adhesion checks
- Curved, recessed or slightly textured surfaces
- Parts that need assembly marks for line staff
- Items that must be packed and shipped in batch control
Customers stay responsible for their own device compliance, including any product testing, labelling rules and market approvals that apply to the finished device. We focus on the print application itself and support the marking process with samples, trials and repeatable setup.
Setup needs, curing and production requirements
Depending on the ink system and the housing material, curing may be air drying, forced drying or heat assisted curing. Some jobs need a longer set time before stacking or packing, while others can move through a controlled curing step to improve handling resistance. The right choice depends on the surface, the finish required and the way the part will be used after printing.
If a curing method calls for heated drying, we will advise on the temperature range and the space needed around the equipment. Good handling after print is just as important as the print itself, so parts should be moved with clean gloves or trays where fingerprints can affect the finish.
Care, servicing and keeping print quality steady
Once the marking is in production, the main care points are pad condition, plate cleanliness, ink control and fixture alignment. Silicone pads wear over time and can harden, pick up dust or lose transfer consistency, so they must be checked regularly. The etched plate also needs cleaning between runs to prevent dried ink from changing the print edge.
For rerun work, we retain job control notes so the same housing can be printed again with less variation. This covers artwork position, pad selection, ink mix reference, curing method and any sample approval notes. It is especially useful when parts arrive in regular batches for Durban, Johannesburg, Cape Town, Pretoria or Gqeberha.
- Keep housings free from mould-release residue and dust
- Store parts away from direct sun and excess humidity
- Do not stack freshly printed parts too soon
- Check first-off samples before a full run starts
- Keep print fixtures in good alignment for repeat work
If a housing is changed in mould finish, colour or geometry, the print may need a new sample run. A small change in a rib, slope or bezel edge can affect the transfer point and the final positioning.
What to check before ordering housing logo printing
When you send a housing job for quoting or sampling, the most useful starting point is a clear part sample or drawing. We need to see the shape, the available print area and any features that could affect pad access. If the print must line up with a port, button or screw boss, that needs to be marked clearly on the part file or sample piece.
It also helps to confirm whether the housing is raw moulded, painted or coated, because that affects ink adhesion and curing. Tell us if the part is handled by patients, installers or technicians, since wear expectations differ. For parts going into medical equipment, the customer should confirm any labelling or traceability rules that apply before the print layout is approved.
- Part material and surface finish
- Exact print size and placement
- Colour requirement and logo file quality
- Batch size and repeat order needs
- Any cleaning, wear or handling conditions
From Westmead, Pinetown, we support manufacturers, assemblers and contract producers across South Africa with artwork preparation, logo redraws, print area planning, colour matching, adhesion test samples, plate exposure, plate etching, fixture making, trial sample runs, curing method selection, rerun job control and dispatch packing.
Run details
| Product type | Pad printed logo and identification marking for moulded housings |
|---|---|
| Typical print area | About 8 mm to 180 mm wide, depending on part shape |
| Suitable substrates | ABS, polycarbonate, coated plastics and similar housings |
| Ink and cure options | Air dry, forced dry or heat assisted curing depending on job |
| Service area | Pinetown, Durban, Johannesburg, Cape Town, Pretoria and Gqeberha |