What Heat Curing Does After Pad Printing
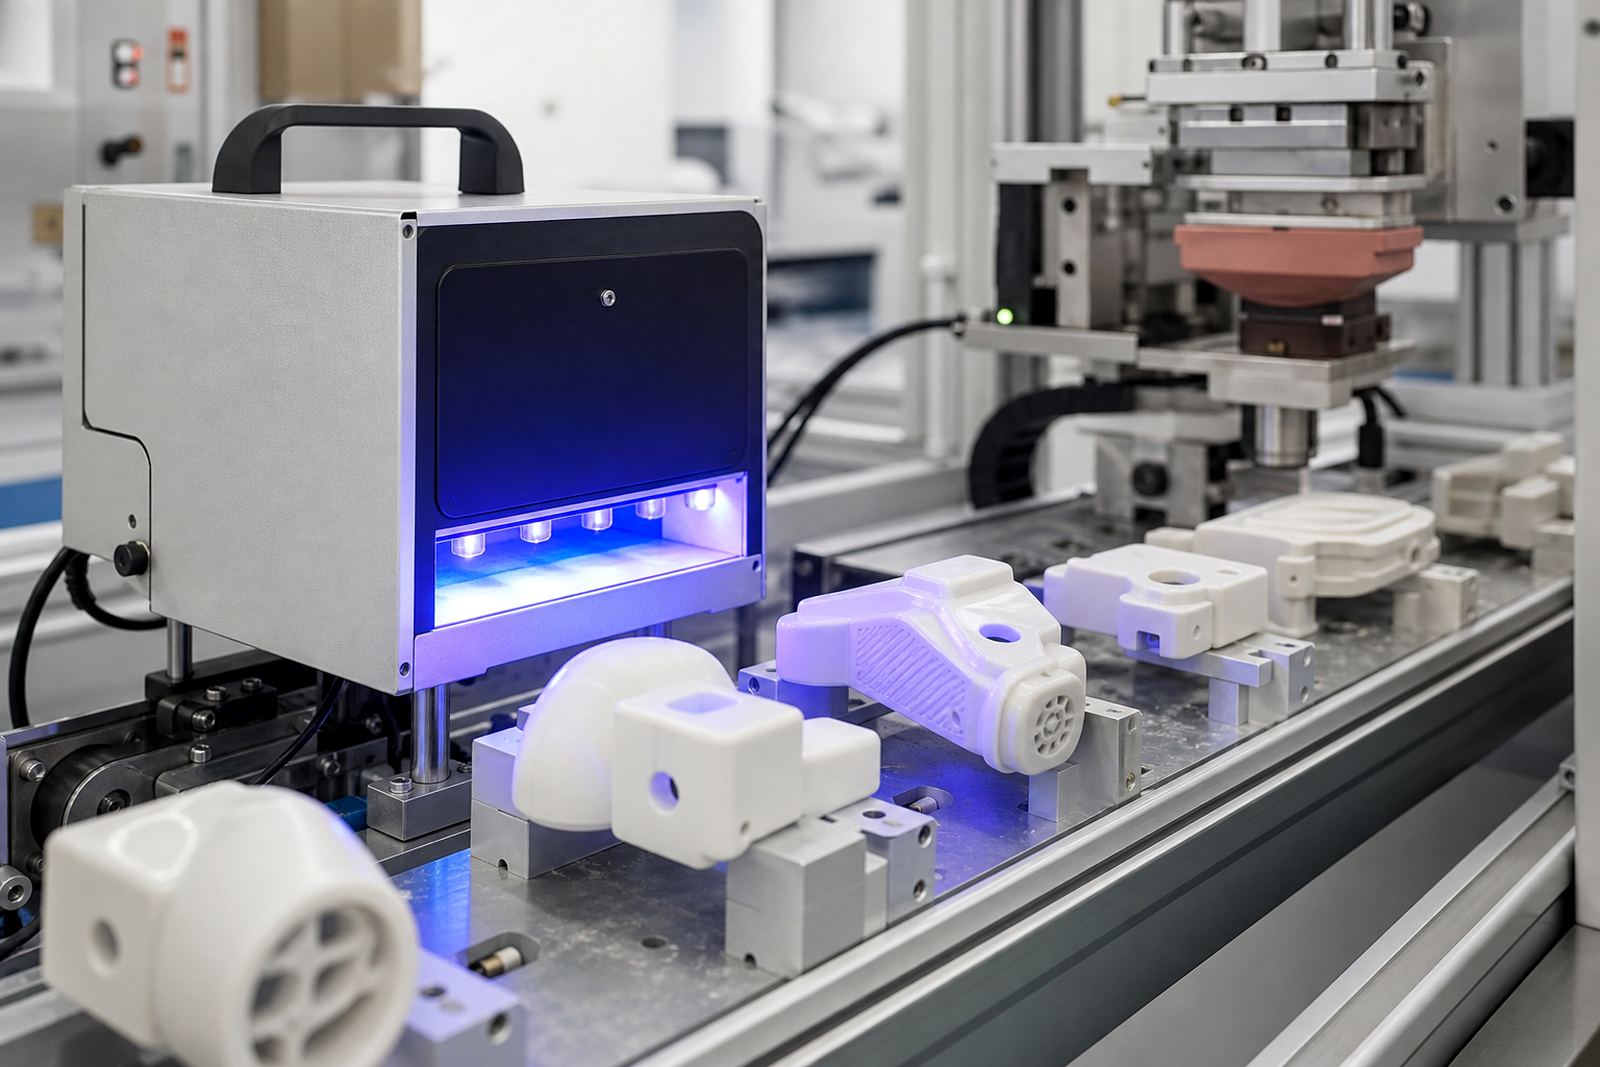
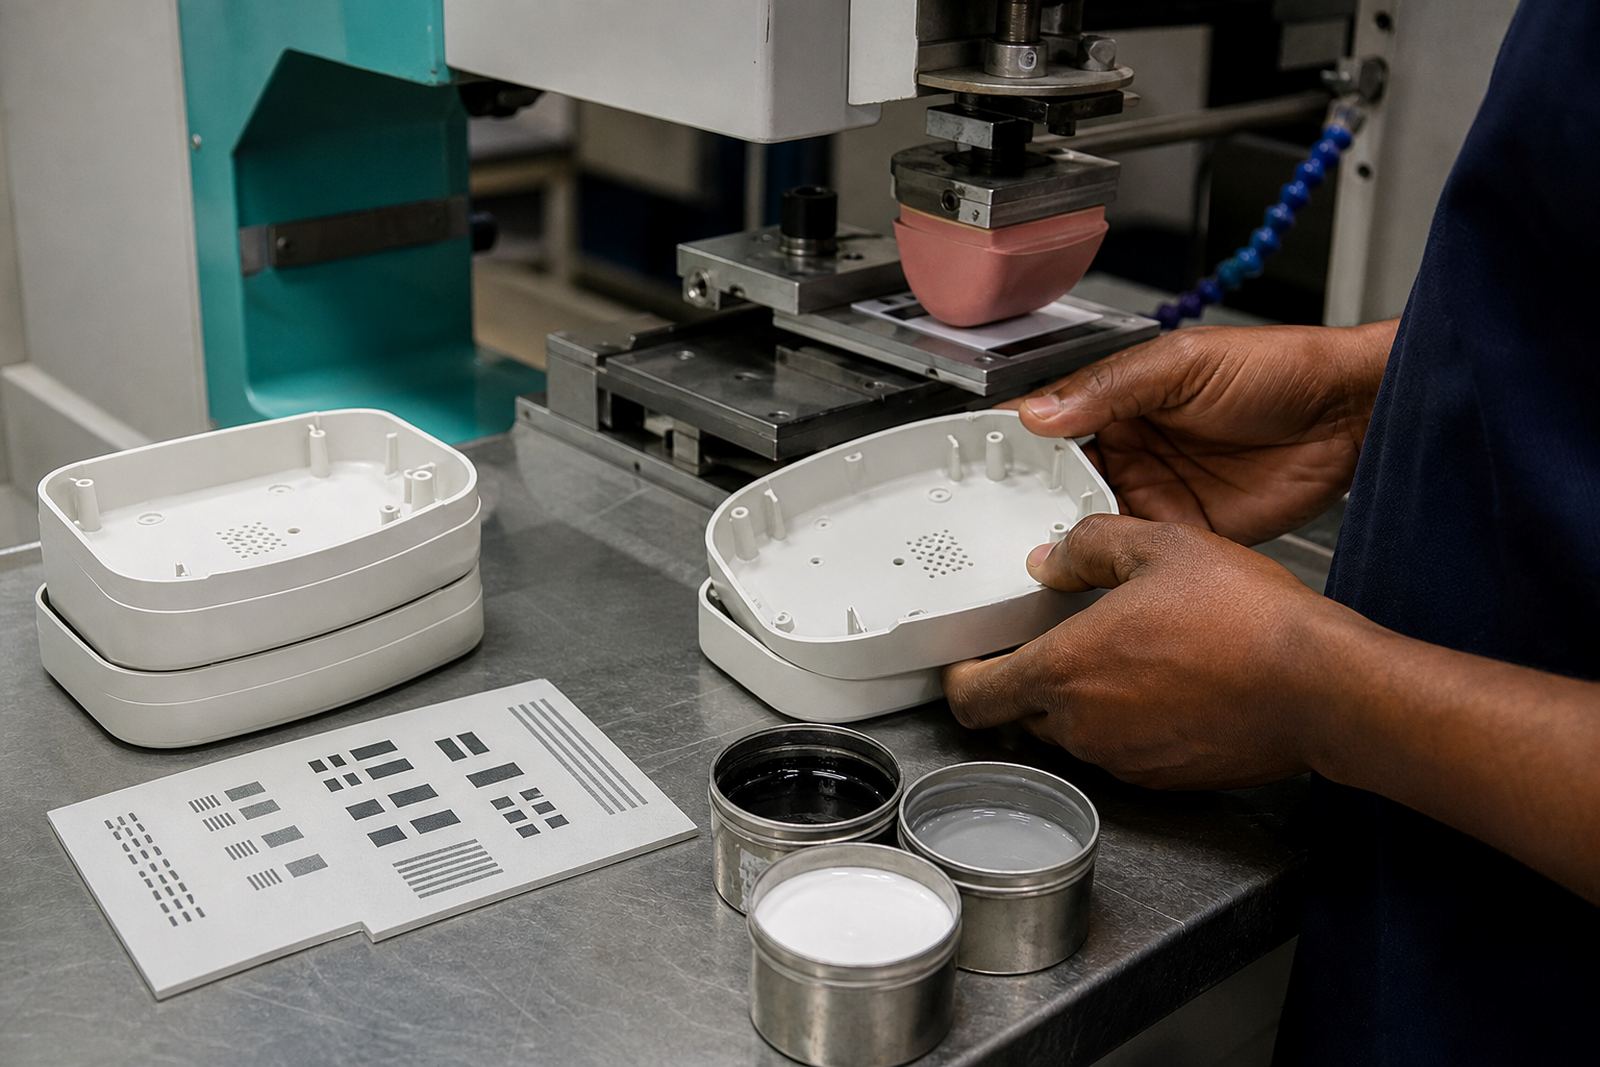
In pad printing, the image is transferred from an etched plate to the part by a silicone pad, using inks chosen for the substrate. Heat curing follows that print stage when the ink system needs more than air drying. The controlled heat helps solvents leave the ink film at a steady rate, and gives the print a harder finish for handling, packaging and later assembly. On medical and electronic components, that can mean cleaner batch control and less risk of scuffing while parts move through production.
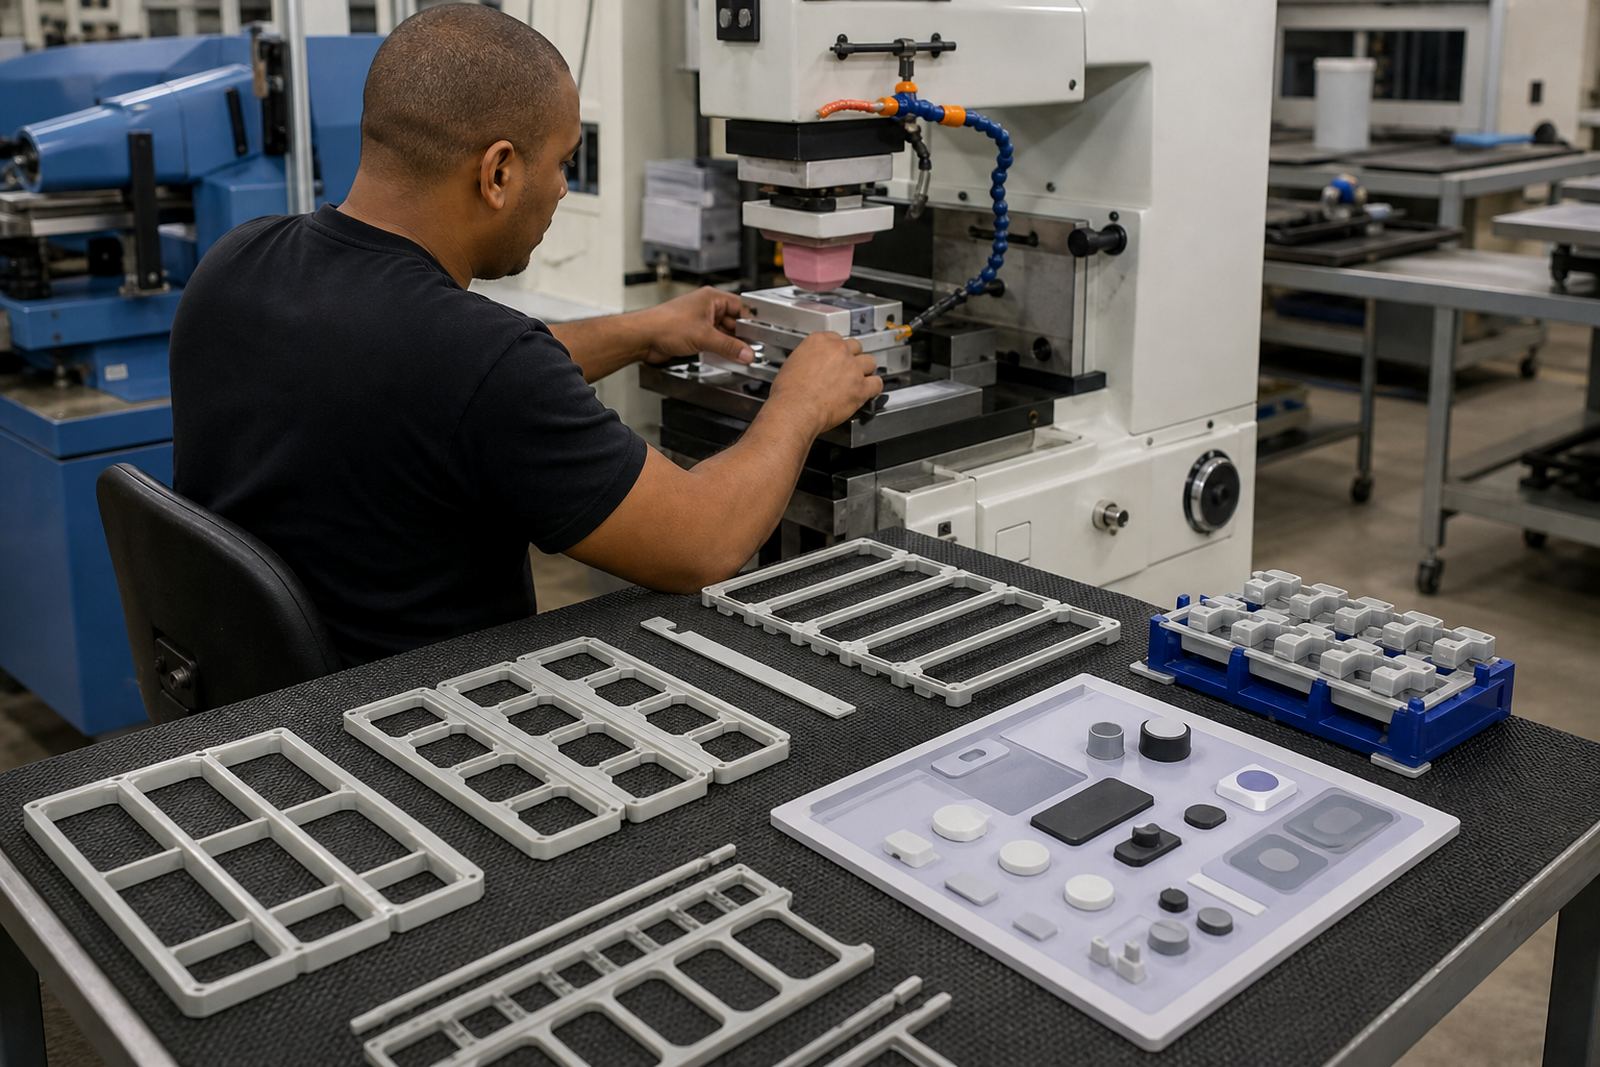
For medical parts, heat curing is often specified on housings, caps, clips and small moulded items where the print must stay legible after washing, sterilisation steps or repeated touch. On electronics, it suits buttons, bezels, housings, control panels and labels that need good clarity and a firm ink film. The process does not change the customer’s compliance responsibilities. The manufacturer still needs to confirm that the printed component meets its own device, product, or assembly requirements.
PadPrinters Medical works from Westmead, Pinetown and supports manufacturers in Durban, Johannesburg, Cape Town, Pretoria and Gqeberha. Our heat curing process is set up around the ink, the part material and the production pace, because a polycarbonate front panel does not need the same treatment as a small plastic medical clip.
When This Process Suits Your Parts
Heat curing is a good fit when the ink needs extra resistance before the part moves into packing or assembly. It is commonly used where the print must be handled quickly after printing, or where the surface is smooth and the ink bond needs a proper cure. In many jobs the aim is not just drying, but a stable finish that reduces the chance of offset marks, fingerprinting or smearing.
- Small medical plastics such as caps, housings and sample collection parts
- Electronic buttons, switch surrounds, labels and front panels
- Parts that are printed in batches and stacked before final assembly
- Items that need a neat print after handling, trimming or cleaning
- Components going to Gauteng, the Cape, or coastal plants where humidity can slow drying
In Durban and along the coast, humidity can affect drying times more than people expect, especially in summer. In those conditions a print that looks dry to the touch can still be soft underneath, so a controlled curing stage helps keep the job consistent.
Curing Sizes, Formats and Typical Options
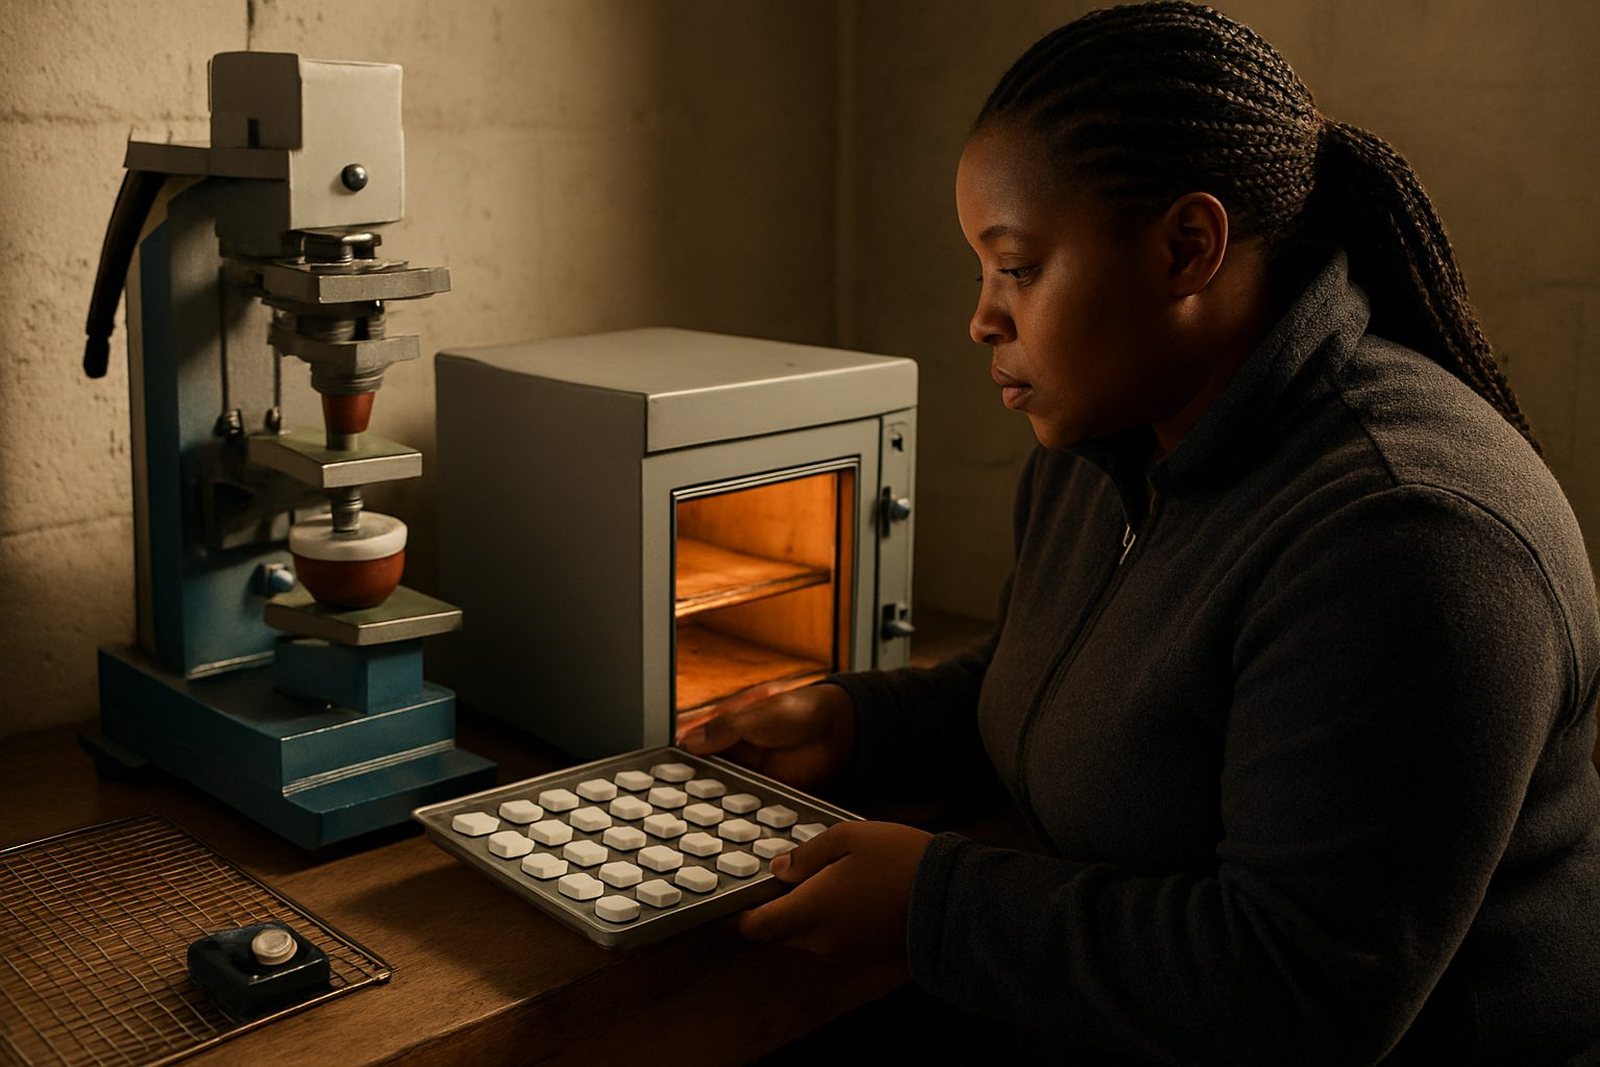
The curing setup is selected around the part size, ink type and throughput. Some jobs need a compact batch process for small components, while others need racking or tray loading for larger quantities. We plan the curing method to suit the print area and the part material, so the ink is exposed evenly without warping the component or overworking the substrate.
- Batch tray curing for small parts and mixed component runs
- Rack based curing for items that must stay separated and flat
- Controlled temperature settings for sensitive plastics and electronic housings
- Timed curing cycles for repeat jobs and rerun control
- Custom fixture support where the shape makes stacking difficult
Typical print areas handled in pad printing are small to medium, from fine text and icons to logos and function marks. The heat curing stage is matched to that scale. If the part is too light or thin, the cure needs careful setup so the piece does not distort. If the component is thicker or more heat tolerant, the cycle can be adjusted for stronger drying and a firmer final finish. We also use adhesion test samples before release where needed, and that helps confirm whether the print and cure combination is working as expected.
Sampling and setup
Heat curing equipment can be set up in different ways depending on the production line and the available site services. The right choice depends on part type, operating cost, available space and the level of temperature control required. For manufacturers in industrial areas like Westmead, New Germany and Pinetown, the practical issue is often steady supply and safe placement within the production area.
That avoids half cured batches and rushed handling. On some sites, a simple bench sized unit is enough, while on others a larger fixture or batch process suits the output better.
- Safe working space for operator movement and tray loading
- Access for maintenance, cleaning and temperature checks
Care, Cleaning and Ongoing Servicing
A heat curing setup needs regular attention to stay reliable. In a production environment, that shows up as inconsistent drying, brittle prints or parts that still feel tacky after the cycle. Regular checks help keep rerun jobs on spec and reduce wasted material.
Operators should keep the curing area clean and free of loose ink, packaging scraps and trim offcuts. If the curing cycle seems slower than normal, or if parts are overheating at the edges, the settings should be reviewed before the next batch goes through. A minor issue caught early is far cheaper than reprinting a full run.
We also recommend keeping records of the curing settings used on repeat jobs. That makes rerun job control easier, especially where the same part goes to different customers or different assembly lines. When the same artwork is used across Durban, Pretoria or Cape Town plants, a written setting sheet helps keep the result consistent.
Before you approve a run
When ordering a heat curing process for printed medical or electronic parts, it helps to start with the part material, ink system and expected output rate. The print may look straightforward, but the cure has to match the whole production flow. If you are supplying multiple branches or plants, send the same part details for each site so the setup can be planned properly from the start.
- Part material, colour and surface finish
- Ink type and whether the print must be touch dry or fully hardened before packing
- Part size, wall thickness and any heat sensitive sections
- Required batch size and turnaround pace
- Any handling limits, assembly steps or packaging rules after curing
PadPrinters Medical offers artwork preparation, colour matching, adhesion test samples, plate exposure, plate etching, fixture making, trial sample runs, curing method selection, rerun job control and dispatch packing. Clients from Pinetown Printing Support, Durban Manufacturers, Johannesburg Supply, Pretoria Supply, Cape Town Supply, Gqeberha Supply, New Germany Support and Westville Support can send enquiries through the contact page form. From there, we help match the cure to the print and the part, so the job leaves the line in the right condition.
Run details
| Process type | Post print heat curing for pad printed parts |
|---|---|
| Typical use | Medical and electronic components requiring added drying and hardening |
| Compatible substrates | Selected plastics and other pad printable component surfaces |
| Output format | Batch trays, racks or fixture based curing |
| Service area | Pinetown, Durban, Johannesburg, Cape Town, Pretoria and Gqeberha |
| Order support | Enquiry form only, with sample and job review before setup |