What enclosure branding is used for
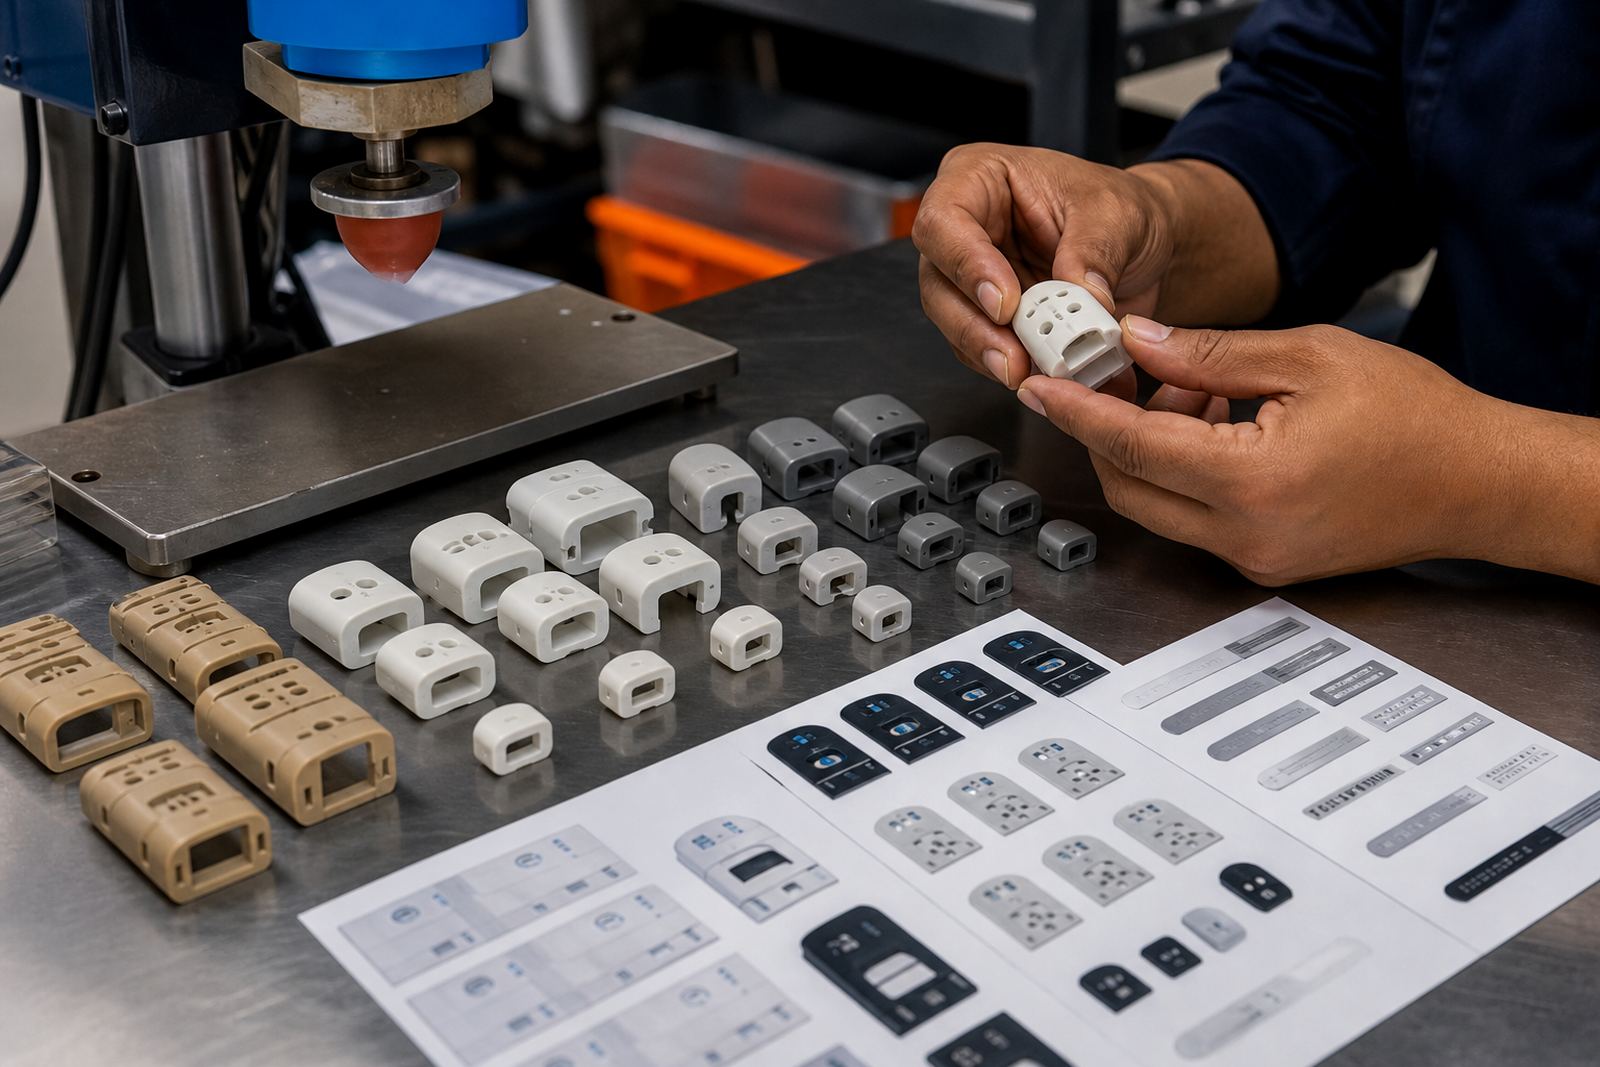
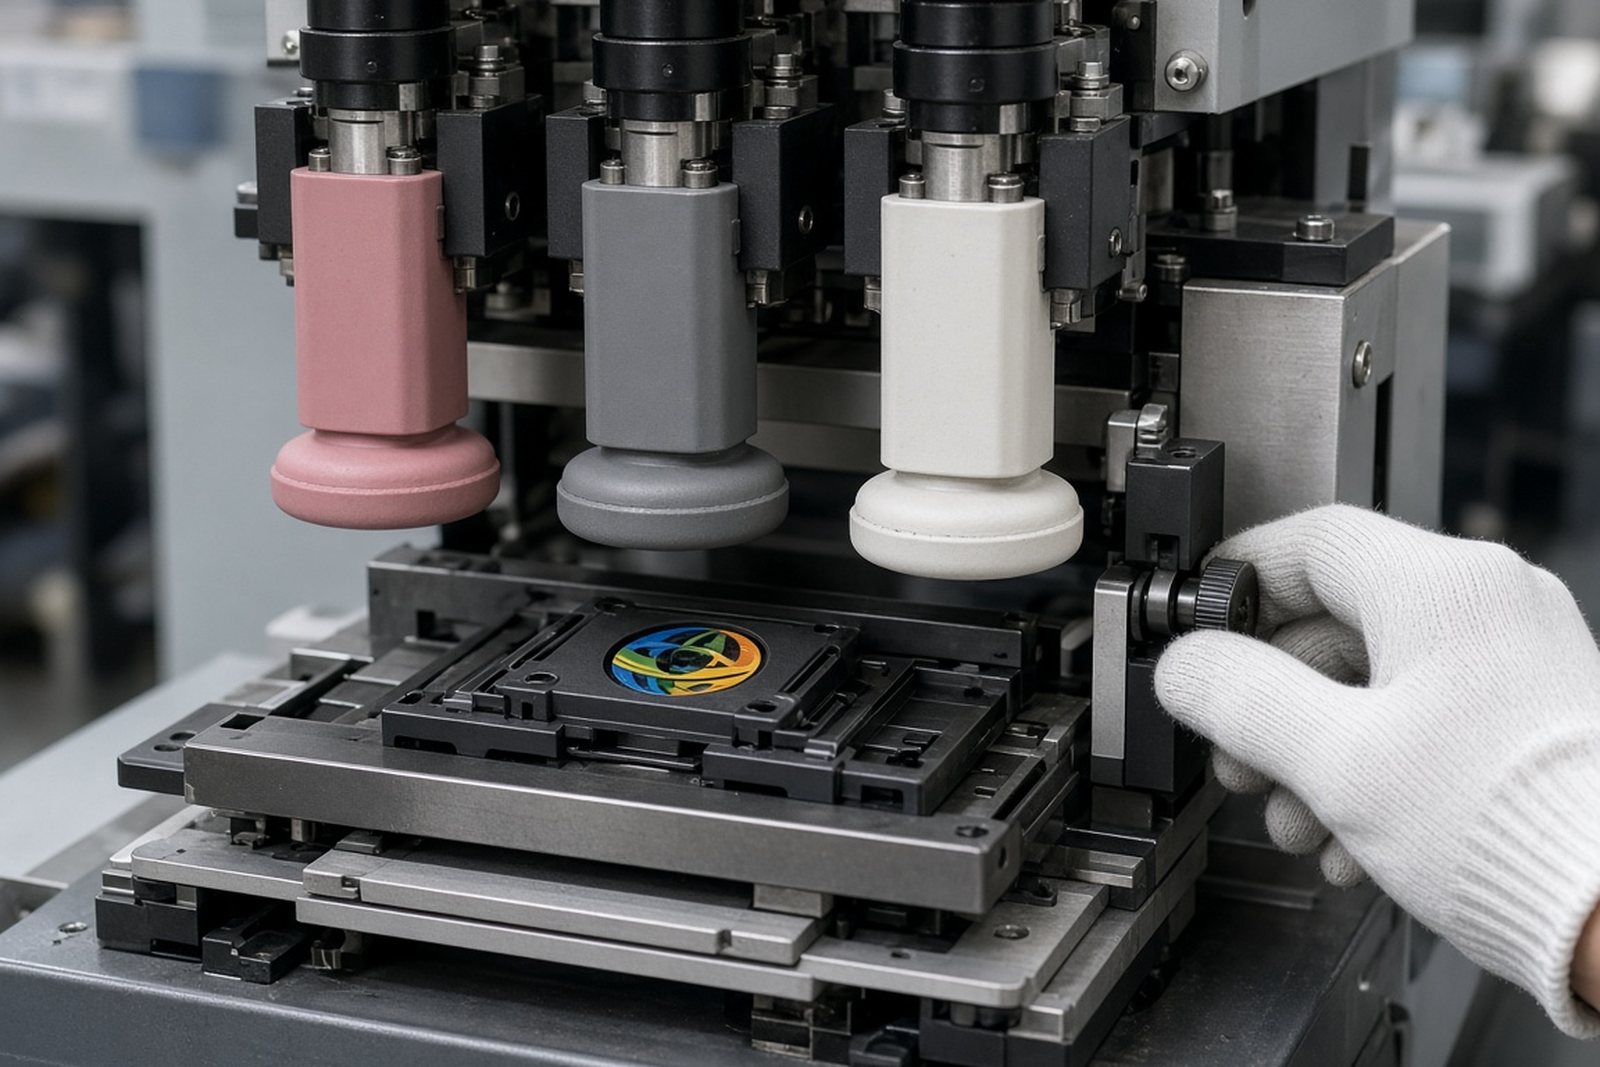
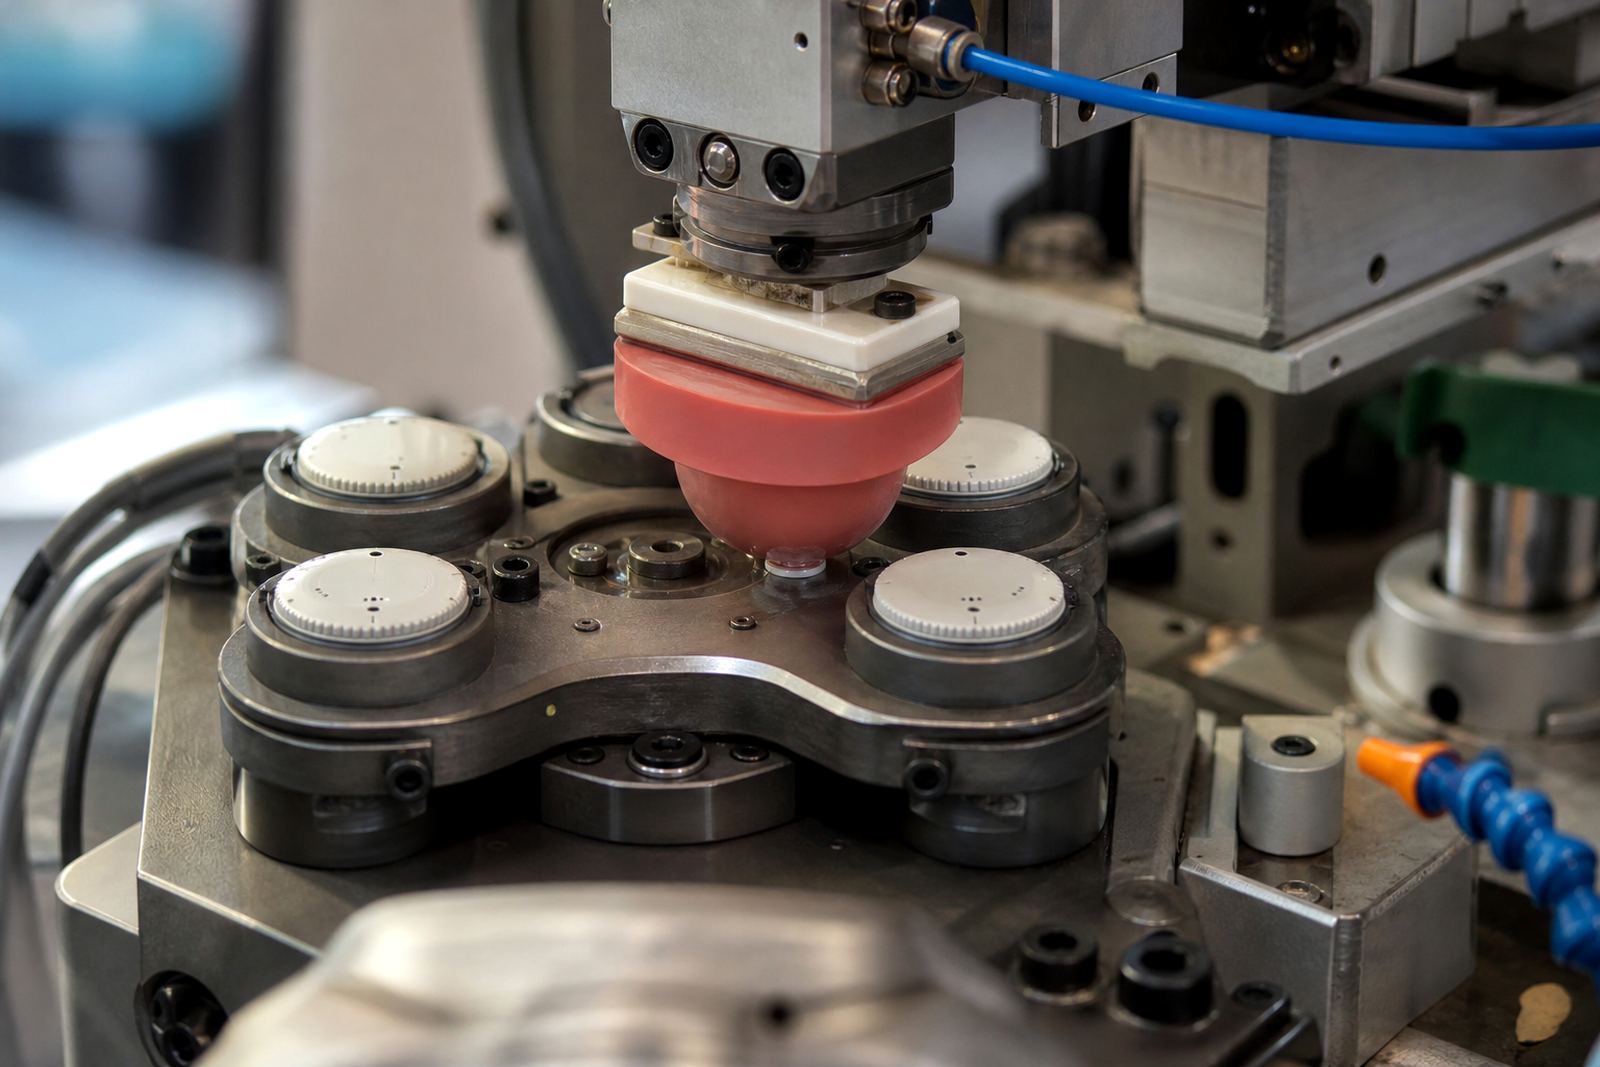
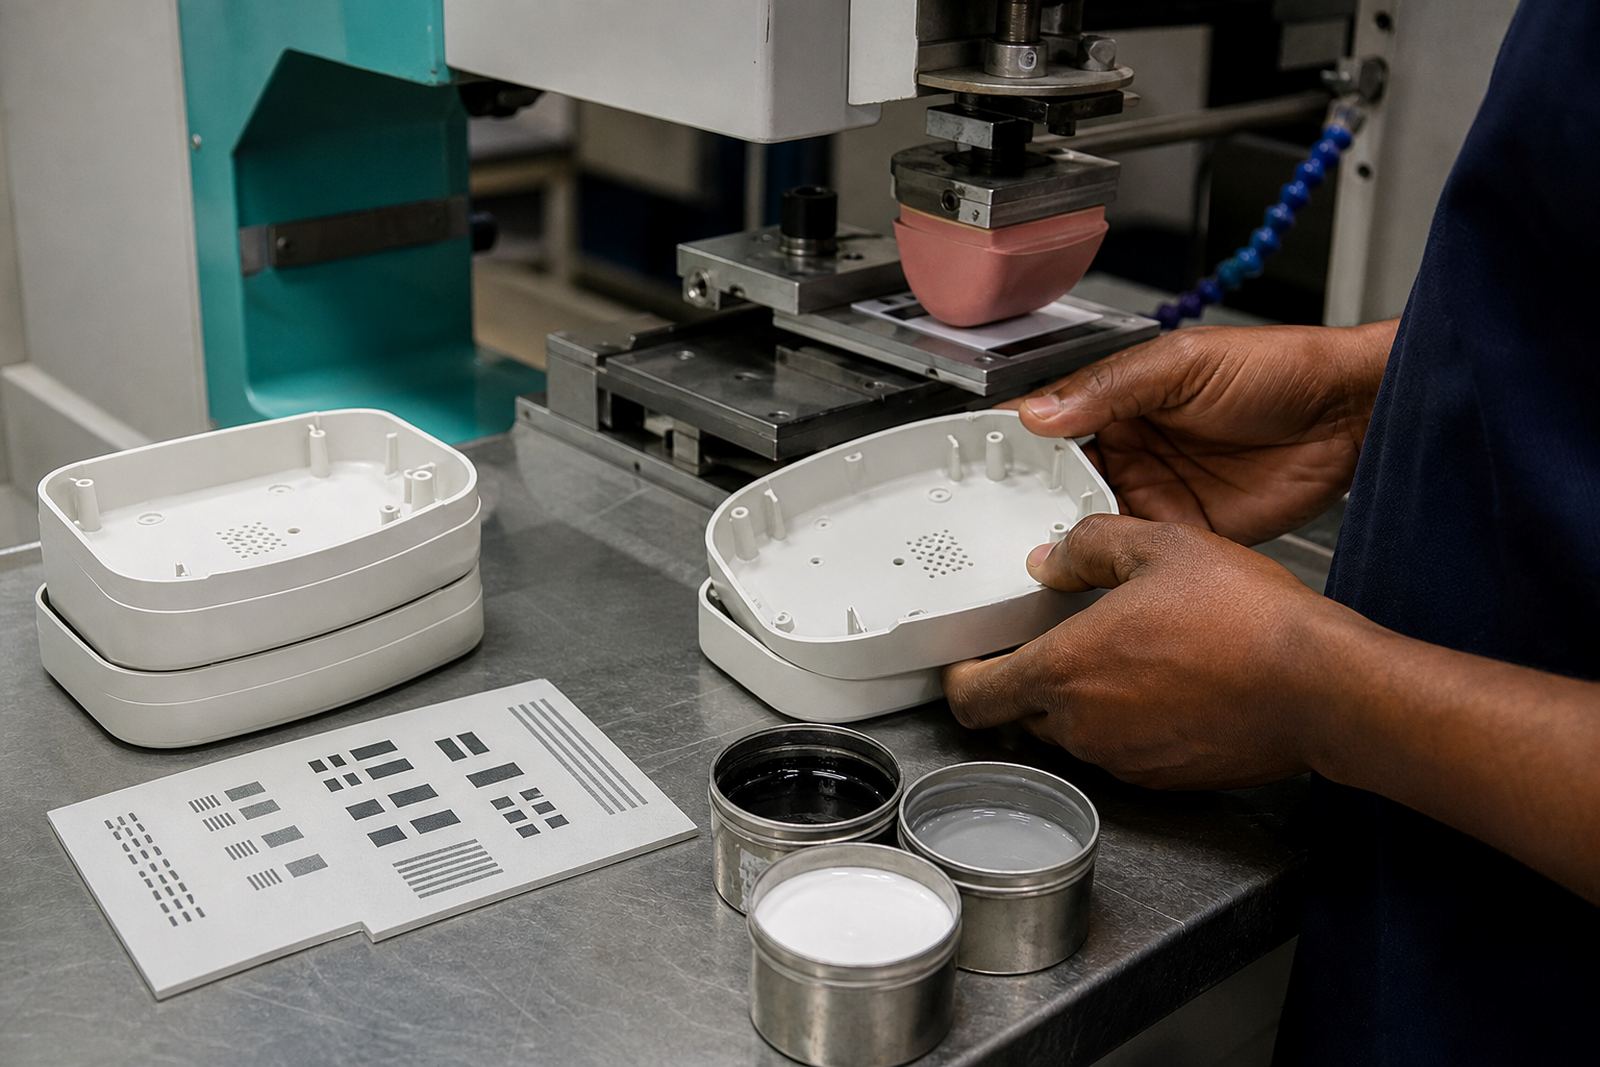
Enclosure branding is the process of applying fine graphics, logos, part codes, warning icons and reference marks onto moulded enclosures and covers with pad printing. A silicone pad picks up ink from an etched plate and transfers it onto curved, recessed or uneven surfaces where screen printing would struggle. That makes it a practical choice for control boxes, handheld units, plastic shells and instrument covers that need neat identification without bulky labels.
We work with components used in medical and electronics manufacturing, where the marking must line up properly and remain clear after assembly. The finish can be simple one-colour branding or a more detailed layout with alignment marks, serial fields and small text. Because the process is controlled by plate depth, pad hardness and ink choice, it suits repeat parts where consistent placement matters.
Suitable sizes, shapes and print areas
Pad printing suits small to medium enclosure features, and it can also handle larger flat sections when the artwork is broken into sensible print zones. The exact workable area depends on the part shape, the curvature and how much detail sits in one pass. As a guide, many jobs use print areas from around 10 x 10 mm up to about 120 x 180 mm, with multi-pass layouts used when a larger face needs to be marked.
- Flat lid panels and front faces
- Recessed logo panels and label windows
- Curved corners and domed covers
- Small text fields and part numbers
- Icons, arrows and caution symbols
If your enclosure has vents, ribs, screw bosses or mould lines, we plan the print area so the artwork lands on a clean section of the part. In some cases a fixture is made to keep the enclosure steady, especially where the surface is narrow or the component needs a repeatable orientation for high volume runs.
Where it suits best in medical and electronics manufacturing
This product page suits manufacturers that need direct marking on plastic or coated enclosures for devices, controllers, testers and accessory housings. Common uses include instrument covers, handheld scanner bodies, diagnostic unit shells, battery compartments, switch housings and control panels. The marking can be decorative, functional or both, depending on the information needed on the part.
Pad printing is often chosen when a label would lift at the edges, collect dirt or interfere with the part shape. It is also useful when a marking needs to stay in the same position from batch to batch. For medical and electronic parts, the customer remains responsible for final device compliance, artwork approval and any product-specific regulatory checks. We supply the marking process and help keep the application neat and repeatable.
- Medical device housings and covers
- Electronic enclosure lids and bezels
- Test equipment cases and control shells
- Portable device bodies and accessory parts
- Small identification panels and inserts
How the marking process is set up
Each job starts with artwork preparation and a check on the print area. Logos may need redraws to suit the part size, line weight and required tolerances. From there we prepare the plate, set the fixture if needed, and run adhesion test samples so the ink and curing method suit the substrate. Some plastics need a different ink family or a flame, corona or primer step before printing, while other parts print well after a proper clean and surface prep.
The pad then transfers the ink in a controlled lift-and-place movement. Curing can be air dry, heat assisted or UV based depending on the material and finish required. On more demanding parts, trial sample runs are used before full production starts, which helps with alignment, ink density and drying time. If a job comes back later, rerun job control keeps the plate details and setup notes in order so repeat batches stay consistent.
Care, servicing and repeat order checks
Printed enclosure markings hold up best when the part is handled with normal care and not scrubbed with harsh solvents. Mild cleaning agents are usually safer than aggressive degreasers. If the enclosure will be used in a hospital, workshop or field setting, it is worth testing the intended cleaning routine on sample parts first. The print should also be checked against any assembly steps that might rub the area before the ink has fully cured.
For follow-up jobs, check the artwork revision, colour target, substrate material, print location and curing method before approval. Also confirm whether the part moulding has changed, because even a small tooling change can shift the print position. If the enclosure has a textured finish, gloss finish or mould release residue, note that early so the setup can be adjusted. A few minutes of checking saves a lot of rework later and keeps the supply chain moving.
- Confirm the exact enclosure material and finish
- Approve artwork size and orientation on the real part
- Check for ribs, curves, vents or mould lines
- Specify colour, line thickness and any part codes
- State the required curing and handling time
What to check when ordering enclosure branding
When you send an enquiry through our contact page, include the enclosure sample or a clear drawing, the artwork file if available, the target quantity and the use case for the part. If the graphics must fit between screw posts or around a recessed area, say so at the start. It also helps to tell us whether the enclosure is for indoor use, humid coastal conditions or a more demanding site where markings get cleaned often.
For manufacturers across South Africa, this is the easiest way to keep the print practical and repeatable. Our team in Westmead, Pinetown can support artwork preparation, colour matching, plate exposure, fixture making, trial sample runs and dispatch packing for orders going to Durban, Johannesburg, Pretoria, Cape Town and Gqeberha. We keep the setup process focused on the part in front of us, not guesswork.
- Part material and surface finish
- Print area dimensions and any restricted zones
- Logo or text files, plus revision details
- Quantity per batch and repeat order frequency
- Required cure time before packing or assembly
Run details
| Process | Single or multi-colour pad printing onto moulded enclosures and covers |
|---|---|
| Typical print area | Small detail work from about 10 x 10 mm up to around 120 x 180 mm, subject to part shape |
| Compatible parts | Plastic and coated enclosure faces, lids, bezels, cases and covers |
| Setup support | Artwork preparation, plate exposure, plate etching, fixture making and adhesion test samples |
| Curing options | Air dry, heat assisted or UV based, depending on the ink and substrate |
| Service area | Westmead, Pinetown with supply support for Durban, Johannesburg, Pretoria, Cape Town and Gqeberha |