What Connector Marking Does on Small Parts
Connector marking is the permanent printing of reference marks, polarity symbols, part codes, pin numbers and handling indicators directly onto connector bodies and nearby plastic components. It is used where labels are too bulky, adhesive stickers lift too easily, or the component has a curved or textured surface that needs a cleaner finish.
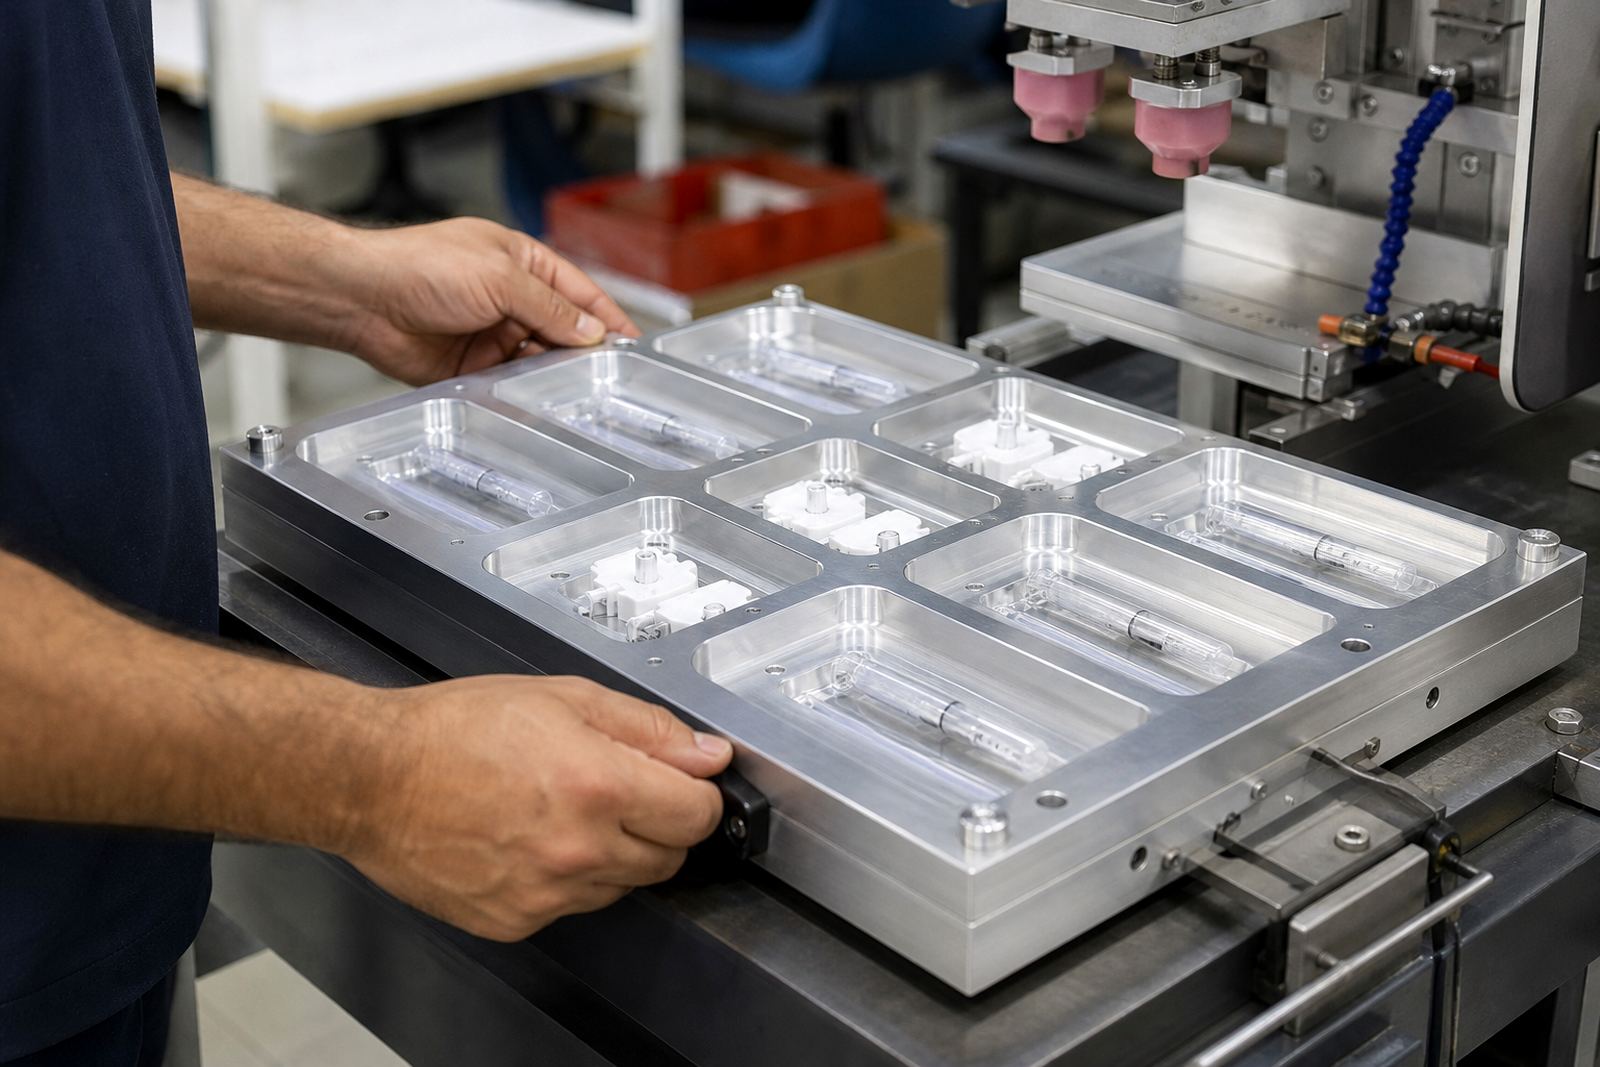
Pad printing moves ink from an etched plate onto the part by way of a silicone pad. The pad lifts a fine image, then deposits it onto the connector housing with the control needed to reach recesses, ribs and gentle curves. For medical and electronic parts, the marking must be crisp, the edges must remain sharp and the print must stand up to assembly, cleaning and day to day handling. We do not decide device compliance for you, but we can produce the marking to the specification you provide.
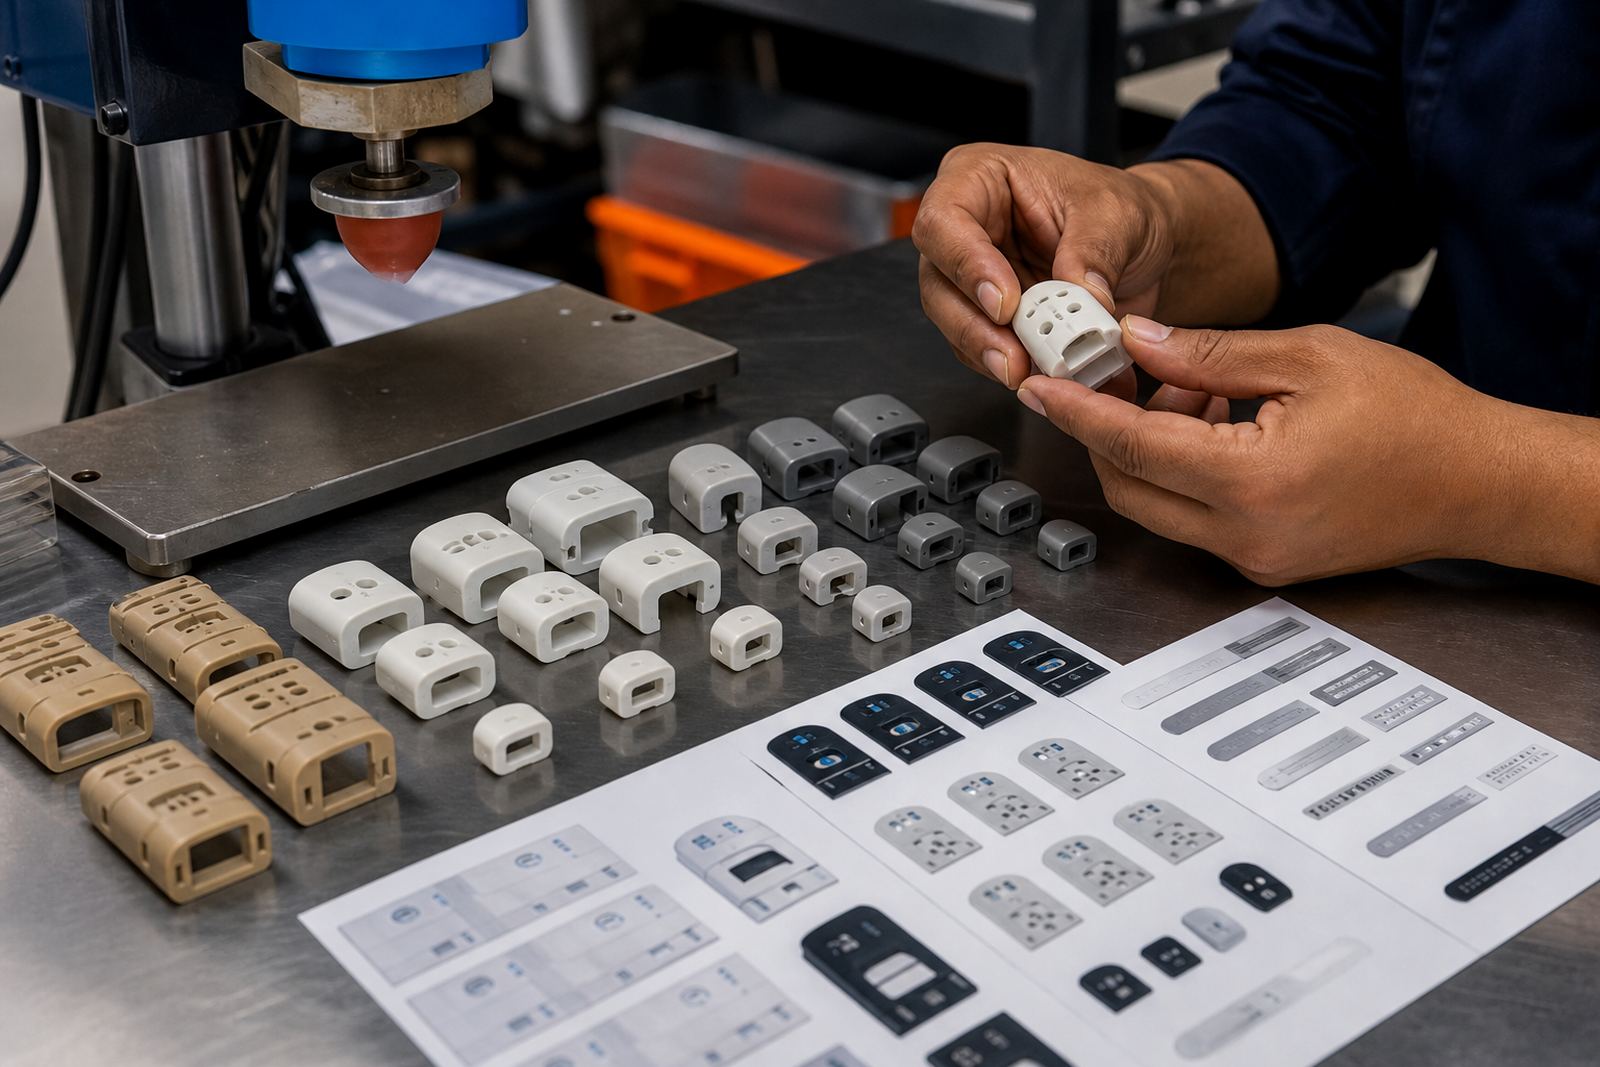
In practice this suits small plastic connectors, terminal housings, sensor plugs, cable-end mouldings, clips and other parts where the print needs to stay in place without changing the fit of the component. It is a practical choice for low-profile artwork and repeated production runs, especially when the same mark must look the same from batch to batch.
Sizes, Marking Area and Print Options
Connector bodies vary a lot, so the marking method has to match the available print area. Small housings may only allow a few millimetres of usable space, while larger plastic parts can take a longer line of text or a grouped symbol set. We plan the artwork around the actual part, not around an idealised drawing, because the moulded shape, ribs and draft angles all affect what can be printed neatly.
Typical options include single-colour marking, repeated part codes, polarity indicators, directional arrows, pin references and short handling notes. If the part needs a colour match for a specific symbol or visual code, we can work within the ink range needed for the substrate. Artwork may be redrawn to fit a smaller area or simplified if the original logo or symbol will not reproduce cleanly at size.
For print sizing, the key checks are the flat or slightly curved contact area, the depth of any recess, and how close the mark can sit to edges or moulded features. If the image is too large, it can blur at the edges or sit unevenly on the part. If it is too small, it may still be readable but the plate and pad setup must be very controlled. That is why trial samples matter before a full run, especially on technical parts where one small marking error can cause rework.
- Small logos, polarity symbols and identification text
- Single or multi-part markings on the same connector body
- Artwork adjustments for tight or curved print zones
Where Connector Marking Suits Best
This product is suited to manufacturers working with medical and electronic components that need concise, repeatable marking on plastic parts. It is commonly used on connector shells, caps, plugs, adapter housings, mounting pieces and other moulded items that are later assembled into a bigger unit.
It also suits production lines where the part needs quick visual identification during assembly or quality checks. A polarity mark, for example, can help prevent misorientation. A reference code can help with traceability on the factory floor and during packing. In Durban and Pinetown, where humidity can be high and parts may sit in storage before dispatch, the printing needs to keep its appearance without smudging or lifting under normal handling.
Across Johannesburg, Pretoria, Cape Town and Gqeberha, we see the same need on parts that are moved between moulding, printing, assembly and packing. Some customers need parts ready for clean presentation in a medical environment, while others need industrial parts that can take regular handling and still remain legible. The marking method can be set up for either short sample work or ongoing supply, depending on the production plan.
How the Pad Printing Process Is Set Up
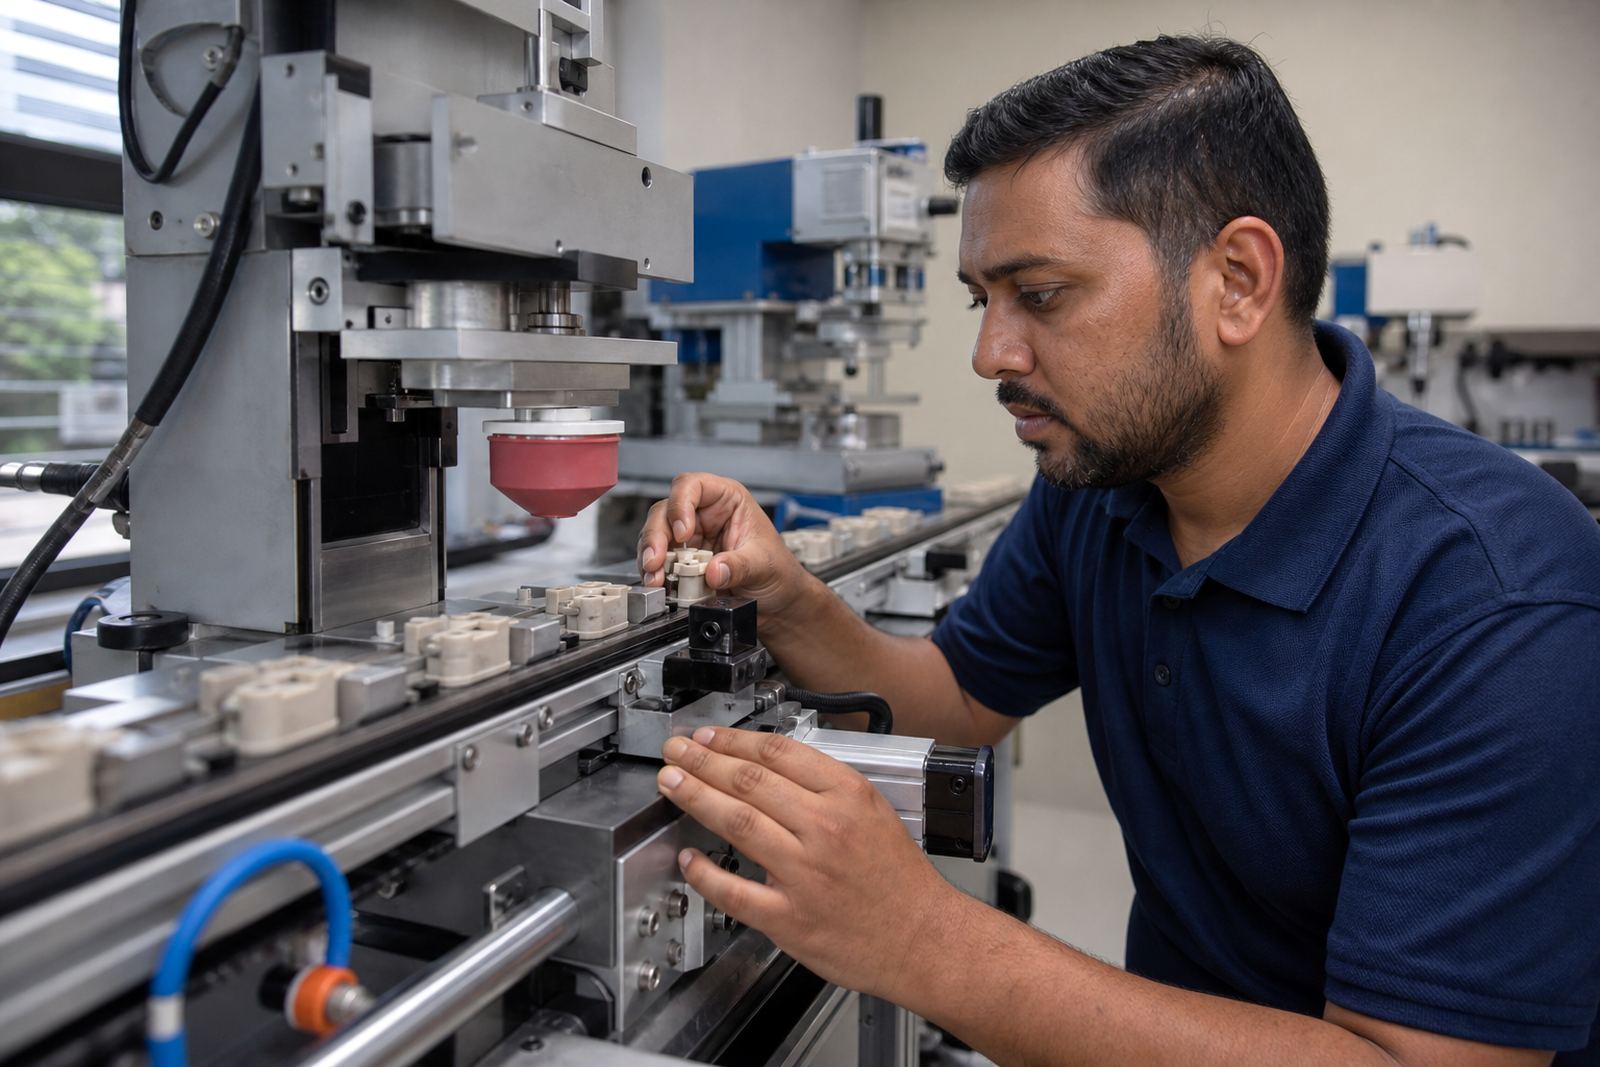
Every connector marking job starts with the artwork and the physical part. We check the print area, the finish of the plastic, the amount of detail in the image and the way the part sits in a fixture. From there we prepare the plate, expose and etch the image area, then set up the machine to transfer the ink with a silicone pad.
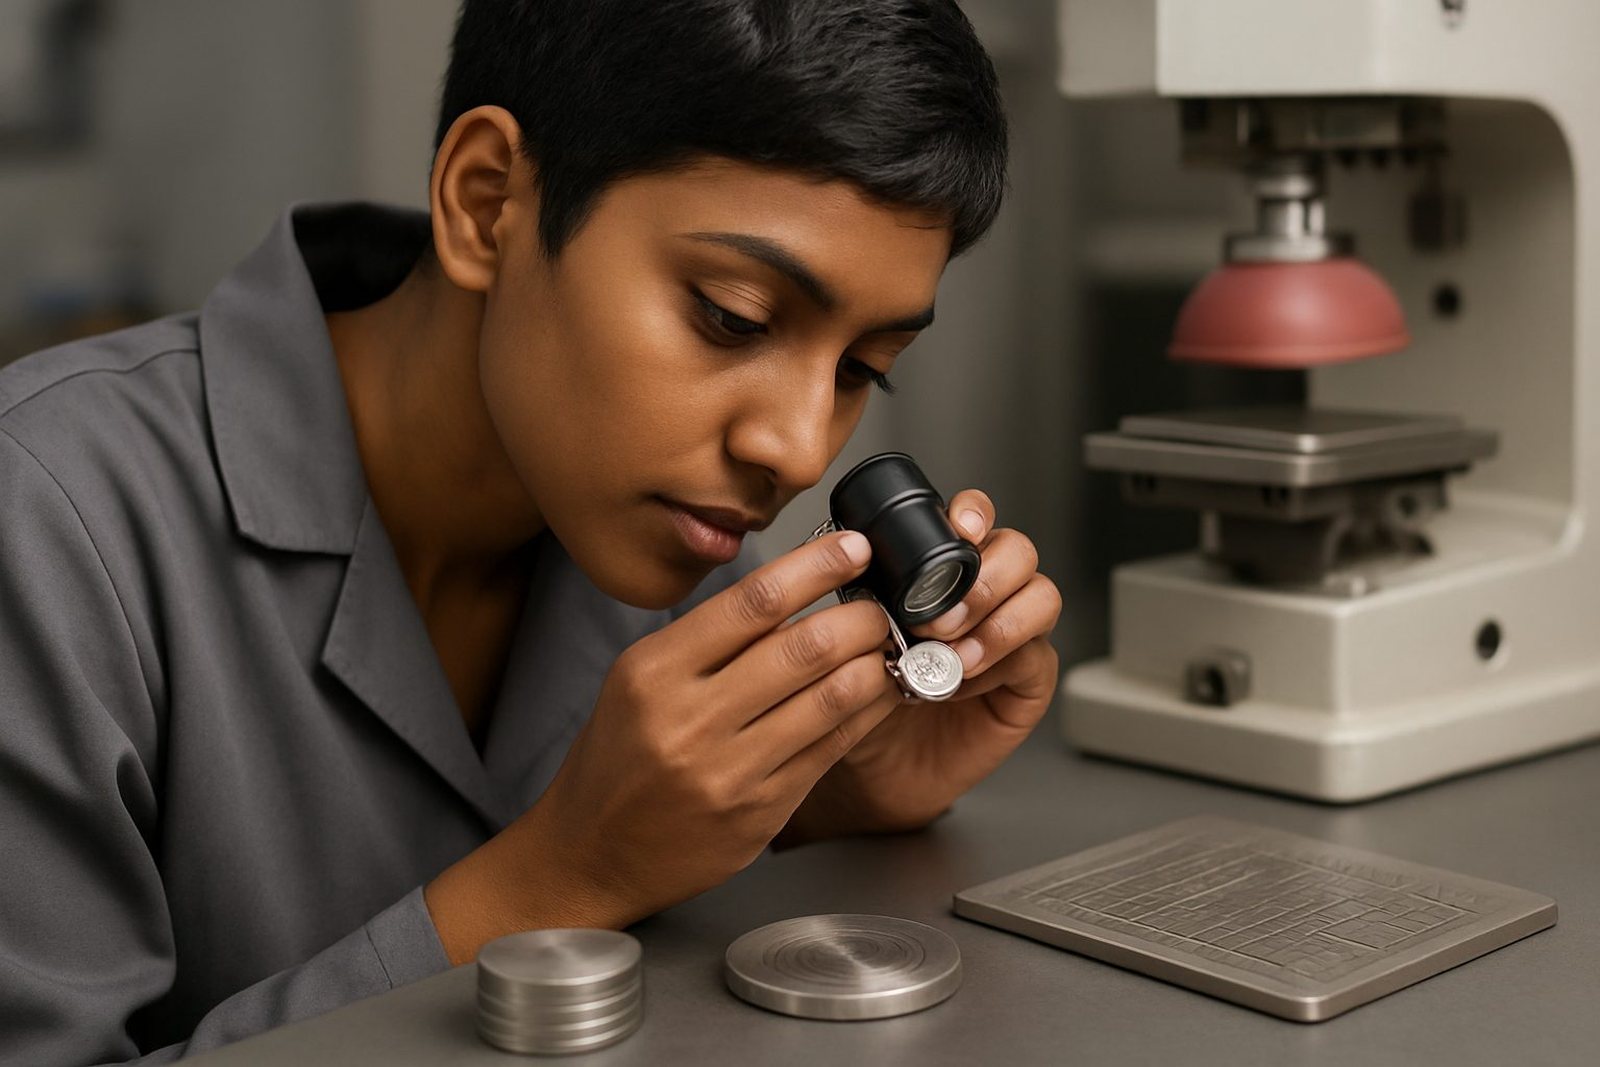
The pad itself is what allows the print to move onto an uneven surface. It compresses, lifts and releases the image with enough control to follow the shape of the component. Ink choice matters too. Some plastics accept ink more readily than others, so adhesion testing is part of the setup. If needed, trial sample runs are used to confirm the print position, sharpness and drying behaviour before dispatching a full batch.
Curing method selection depends on the ink system and the part material. Some jobs dry under ambient conditions, while others benefit from controlled heat or another curing approach. The aim is not only to make the print dry, but to help it bond properly to the substrate. We also keep rerun job control in place so follow-up jobs match earlier production as closely as possible.
- Artwork preparation and logo redraws where needed
- Plate exposure, plate etching and fixture making
- Trial sample runs and curing method selection
Sampling and setup
Connector marking is not a heavy installation product, but the job still needs a proper setup space. The printing machine, curing arrangement and parts-handling area should be clean, dry and free from dust that can land on the print surface. A level bench or production station is important, especially where small components are being positioned one by one or in a fixture.
Because many connector parts are light and small, packing and handling after print matters just as much as the printing itself. Parts should be moved carefully once cured and then packed so the mark does not rub against other components. For coastal sites around Durban, it is also wise to keep parts stored in a dry area and away from excessive heat or moisture while they wait for assembly.
Care, Servicing and Repeat Jobs
Once connector marking is in production, the main care items are simple but important. Keep the print area clean, check the fixtures for wear, and watch for any change in part finish from one batch to the next. Even a small moulding change can affect adhesion or print position. If a connector body gets a different texture or release residue, the ink may need a fresh test before the run continues.
For servicing, the machine setup should be inspected for pad wear, plate condition and alignment. Silicone pads eventually lose their shape and that can affect print quality. Plates can also need replacement if the image begins to fade or the job is being revised. Our team keeps rerun jobs under control so a repeated order can be matched to earlier settings without starting from scratch every time, which saves time and reduces surprises.
If your parts go through cleaning or assembly after marking, let us know what comes next. The curing choice, ink selection and handling advice can then be matched to the process after print. It is better to raise these points up front than to discover them after a full batch has already been run.
Before you approve a run
Before placing an order for connector marking, have the part sample, artwork and intended use ready. The most useful details are the connector material, the size of the print area, the exact wording or symbol required, and whether the mark must be a single colour or part of a colour code. If the part has a curved face, a recessed pocket or a very narrow flat area, mention that early so the artwork can be planned properly.
You should also check where the part will be used and what handling it will face after printing. Will it be assembled immediately, packed in bulk, wiped during cleaning, or stored for a while before use? Those details affect the ink, drying and packing choices. If you are working to a client specification, remember that your team remains responsible for final device compliance and approval. We provide the printing work and practical production support, but the overall compliance decision sits with the customer.
For enquiries from Westmead, Pinetown, New Germany, Westville and across South Africa, send the details through our contact form. We can assist with artwork preparation, adhesion test samples, trial runs, plate work and dispatch packing for connector marking jobs of different sizes, from local production to national supply.
Run details
| Product type | Connector marking by pad printing |
|---|---|
| Typical marking size | Small text, symbols and part codes on compact plastic areas |
| Suitable parts | Connector bodies, plugs, caps, housings and related plastic parts |
| Ink and finish | Single-colour durable ink systems selected for the substrate |
| Process options | Artwork setup, plate etching, trial samples, curing selection |
| Service area | Pinetown, Durban and nationwide supply across South Africa |