How diagnostic part pad printing works
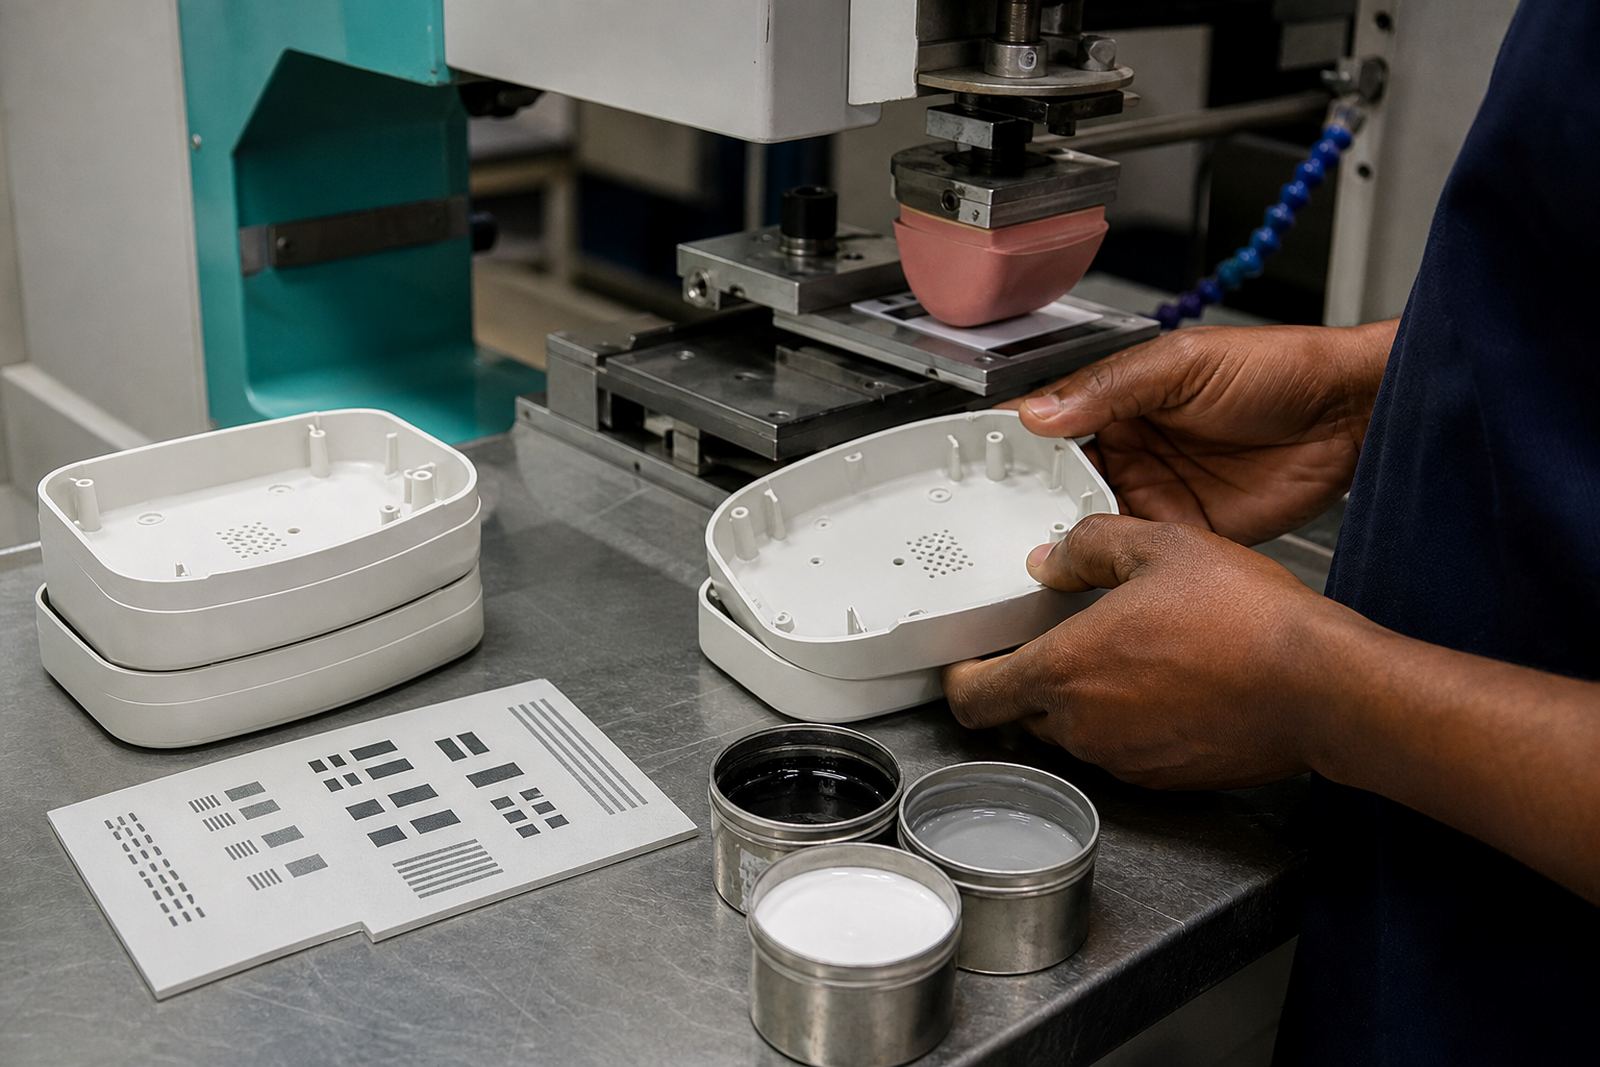
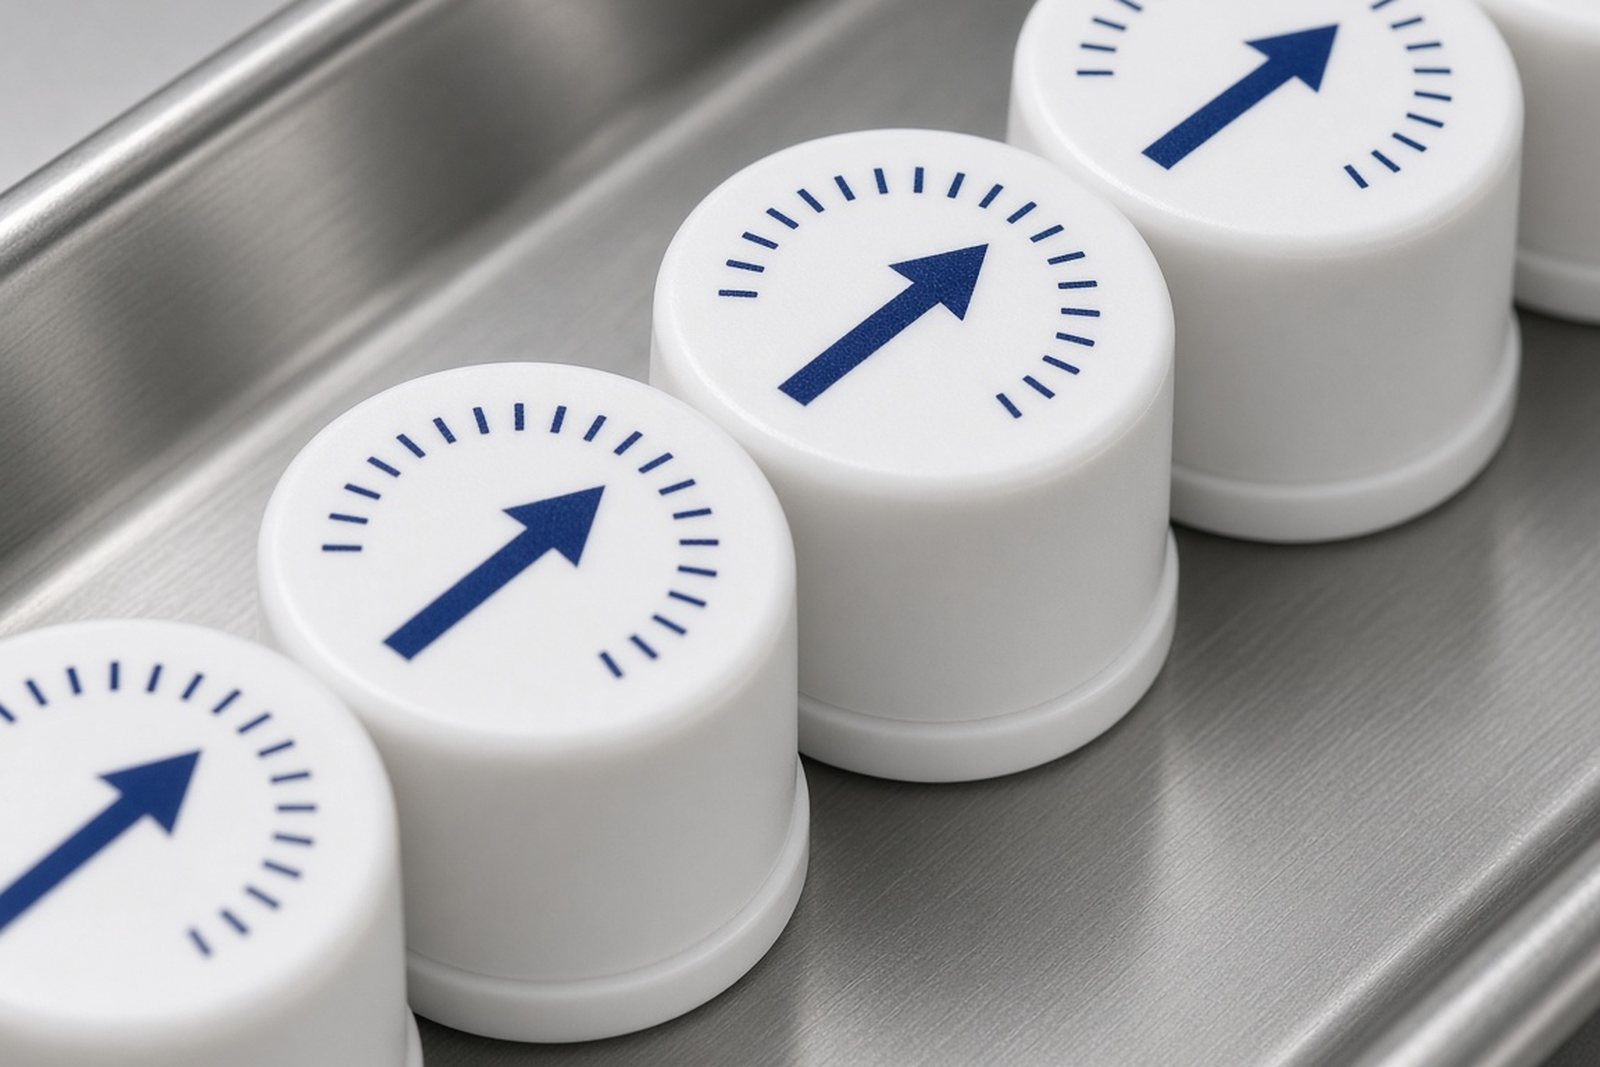
Pad printing transfers ink from an etched plate to the part using a silicone pad, which gives good contact on shapes that are not flat. That makes it useful for diagnostic device parts such as moulded housings, rotary knobs, button caps, cartridge carriers and sample holder components where labels need to stay legible through handling and cleaning.
For these parts, the process usually starts with artwork preparation and a check of print area, line thickness and contrast. We then prepare the plate, set the fixture and run trial samples so the image lands in the right position. Ink choice and curing method are matched to the material, whether it is ABS, polycarbonate, coated plastics or other common engineering plastics used in medical and electronic assemblies.
Where this service suits in diagnostic manufacturing
This service suits OEMs, contract manufacturers and assembly teams that need durable markings on diagnostic equipment parts before final assembly or dispatch. It is useful where the part must show instructions, channel marks, cavity references, logos, orientation marks or serial style identifiers that remain readable after normal wiping and handling.
- Instrument housings and side covers
- Front panels, bezels and control surrounds
- Knobs, switches and actuator caps
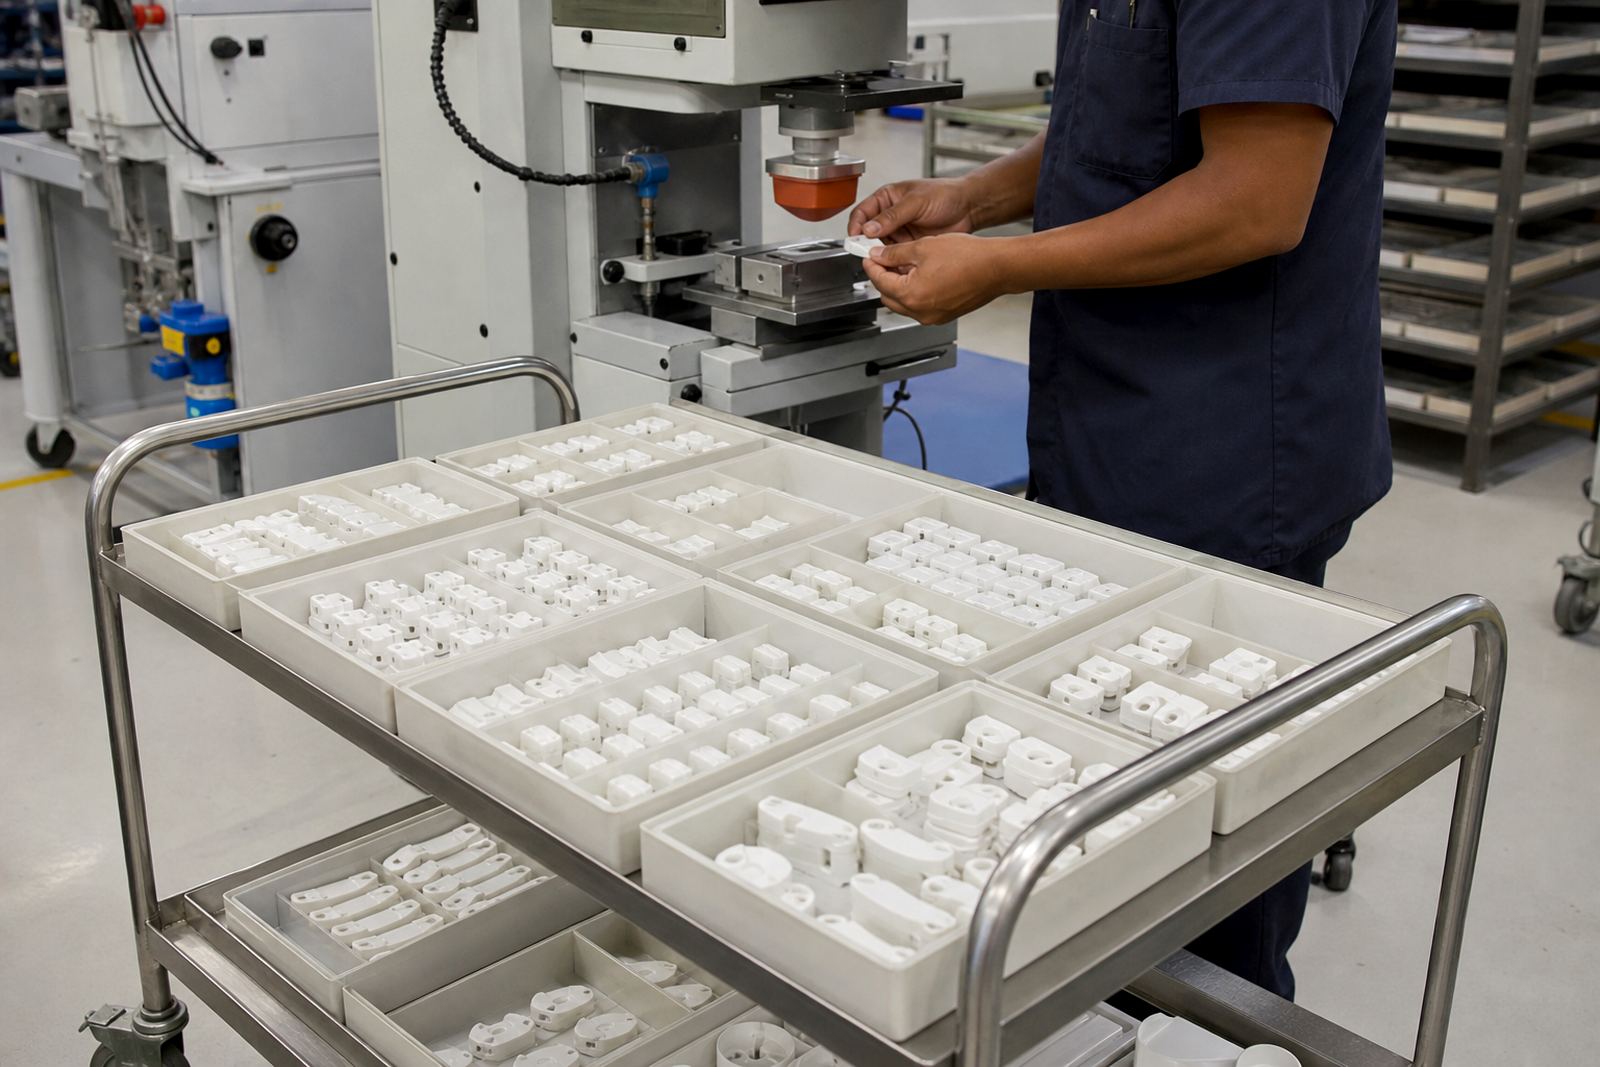
- Sample holders, trays and cartridges
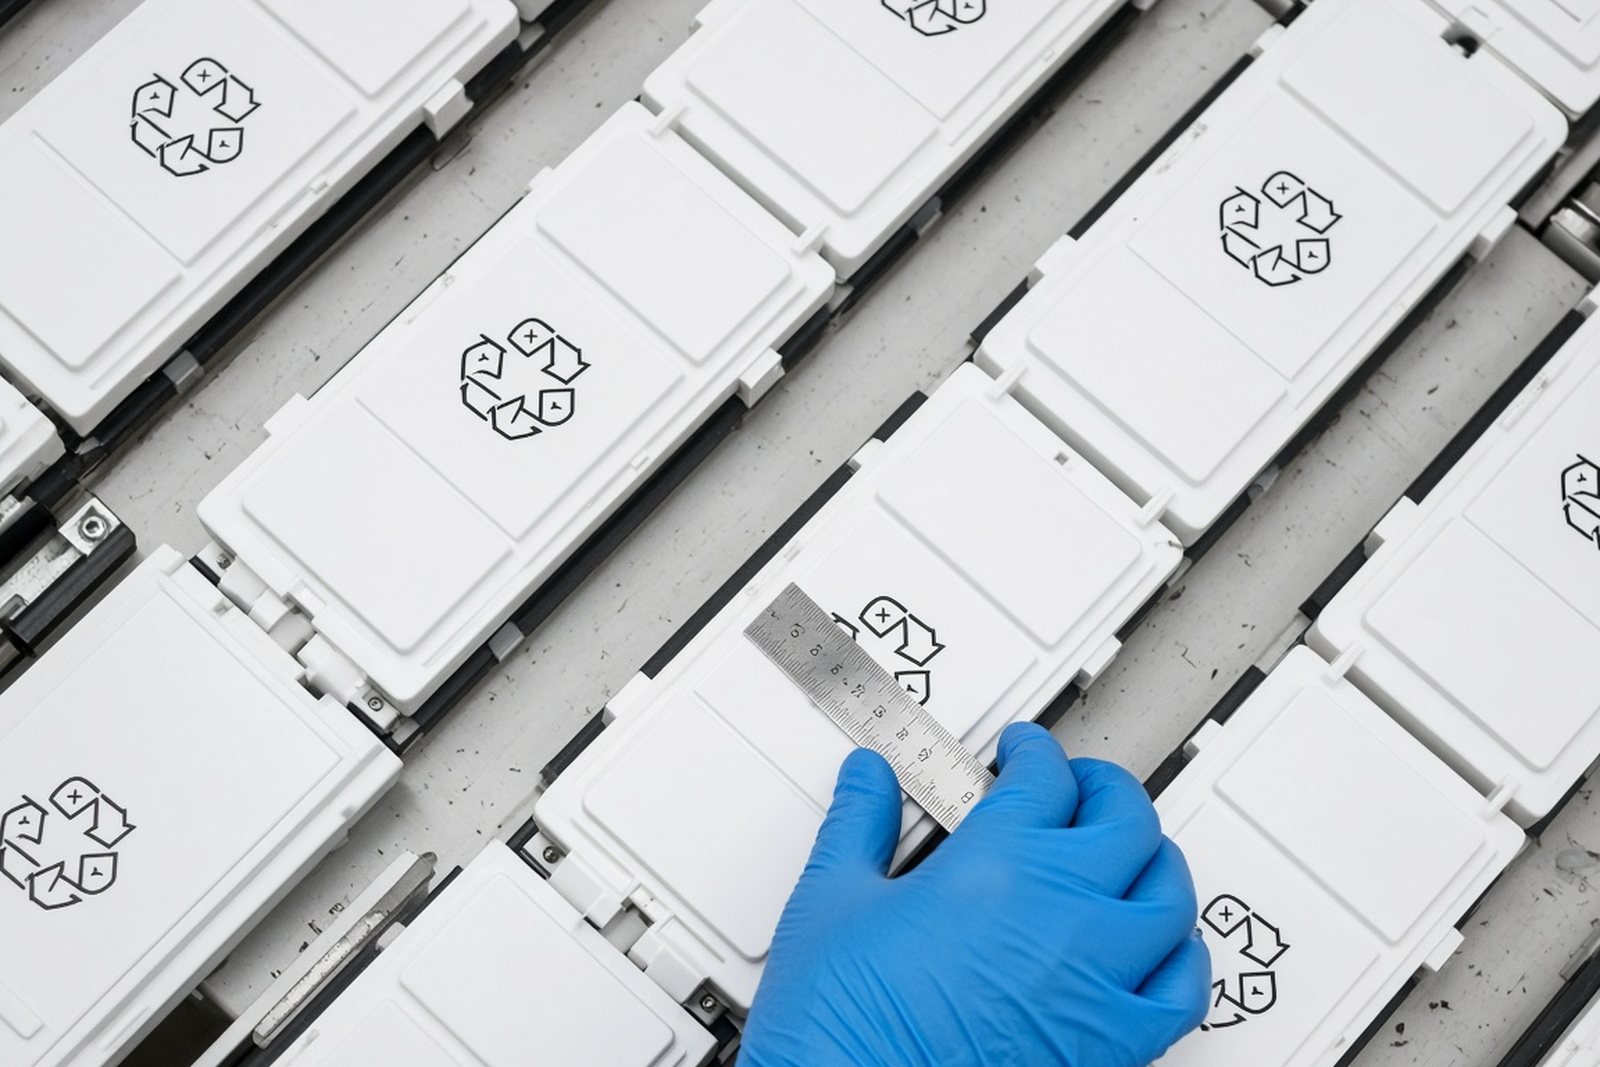
- Battery covers and inspection access parts
We work from Westmead, Pinetown and support orders across South Africa. Clients in Durban often need short lead times for assembly runs, while customers in Johannesburg, Pretoria and Cape Town usually need repeat control from one batch to the next. If the part will see coastal humidity in Gqeberha or regular cleaning in a lab environment, the ink system and cure need to be set up properly from the start.
Sizes, detail levels and finish options
Diagnostic parts are often small, so the printing set up has to suit fine type, narrow lines and compact logo marks. We plan the print area to suit the part shape and the available flat or curved land. Where needed, we can do logo redraws to improve legibility, or adjust the artwork so small lettering does not break up once transferred.
Typical options include single colour marking, repeated reference marks, warning symbols and position indicators. Colour matching is handled against the part finish where possible, but the main goal is clear contrast and consistent placement. On dark housings, light ink is often the simplest choice. On pale parts, darker inks can give better reading under inspection lights. The finish should suit the handling needs of the product, not just look tidy on the sample.
- Fine text for part codes and reference marks
- One or more colour passes where the part allows it
- Gloss or matt ink appearance depending on the substrate
- Single face, wrap style or repeat-position printing
Care, servicing and repeat job control
Printed diagnostic parts should be handled with care during the first curing period and then packed so the image is not rubbed against other components. Once in use, most marks are maintained by normal dry wiping or approved cleaning methods for the device. Harsh solvents, aggressive scrubbing or repeated abrasion can shorten the life of any printed mark, so the final care method must suit the product application.
We keep repeat job control on recurring work so the same artwork, plate settings and fixture notes can be used again. That is useful for manufacturers who run quarterly or monthly batches and need the print to stay consistent. Our team includes production, artwork, quality and machine setup support, so if a part changes size or mould revision, the setup can be checked again before rerun. It saves trouble later and keeps the marking aligned with the part revision.
What to check when ordering diagnostic part printing
Before you send parts for printing, it helps to confirm the substrate, the surface finish and the exact area available for marking. You should also check whether the print needs to survive cleaning, light heat, skin contact, repeated handling or indoor laboratory use. Customers remain responsible for their own device compliance, so the print spec should match the product and regulatory needs of the finished device.
- Part material and any coating or texture
- Exact print size and position on the component
- Text, symbols, logos or code requirements
- Colour target and contrast against the base part
- Quantity, repeat schedule and packing format
- Any special cleaning, curing or adhesion needs
If you are supplying to Durban, Johannesburg, Cape Town, Pretoria, Gqeberha or nearby industrial areas such as New Germany and Westville, the simplest route is to send the part details and a clear print brief through our contact form. From there we can advise on artwork prep, trial samples and the most suitable production route for the component.
Run details
| Process | Pad printing on diagnostic plastic and electronic components |
|---|---|
| Typical part types | Housings, knobs, sample holders, bezels, caps and carriers |
| Material suitability | Common engineering plastics and coated surfaces, subject to adhesion testing |
| Print size range | Small reference marks through to compact panel graphics |
| Curing options | Air dry, heat cure or other job specific curing method |
| Production support | Artwork preparation, fixtures, trial samples and repeat job control |