Why Consumer Electronics Parts Need Pad Printing
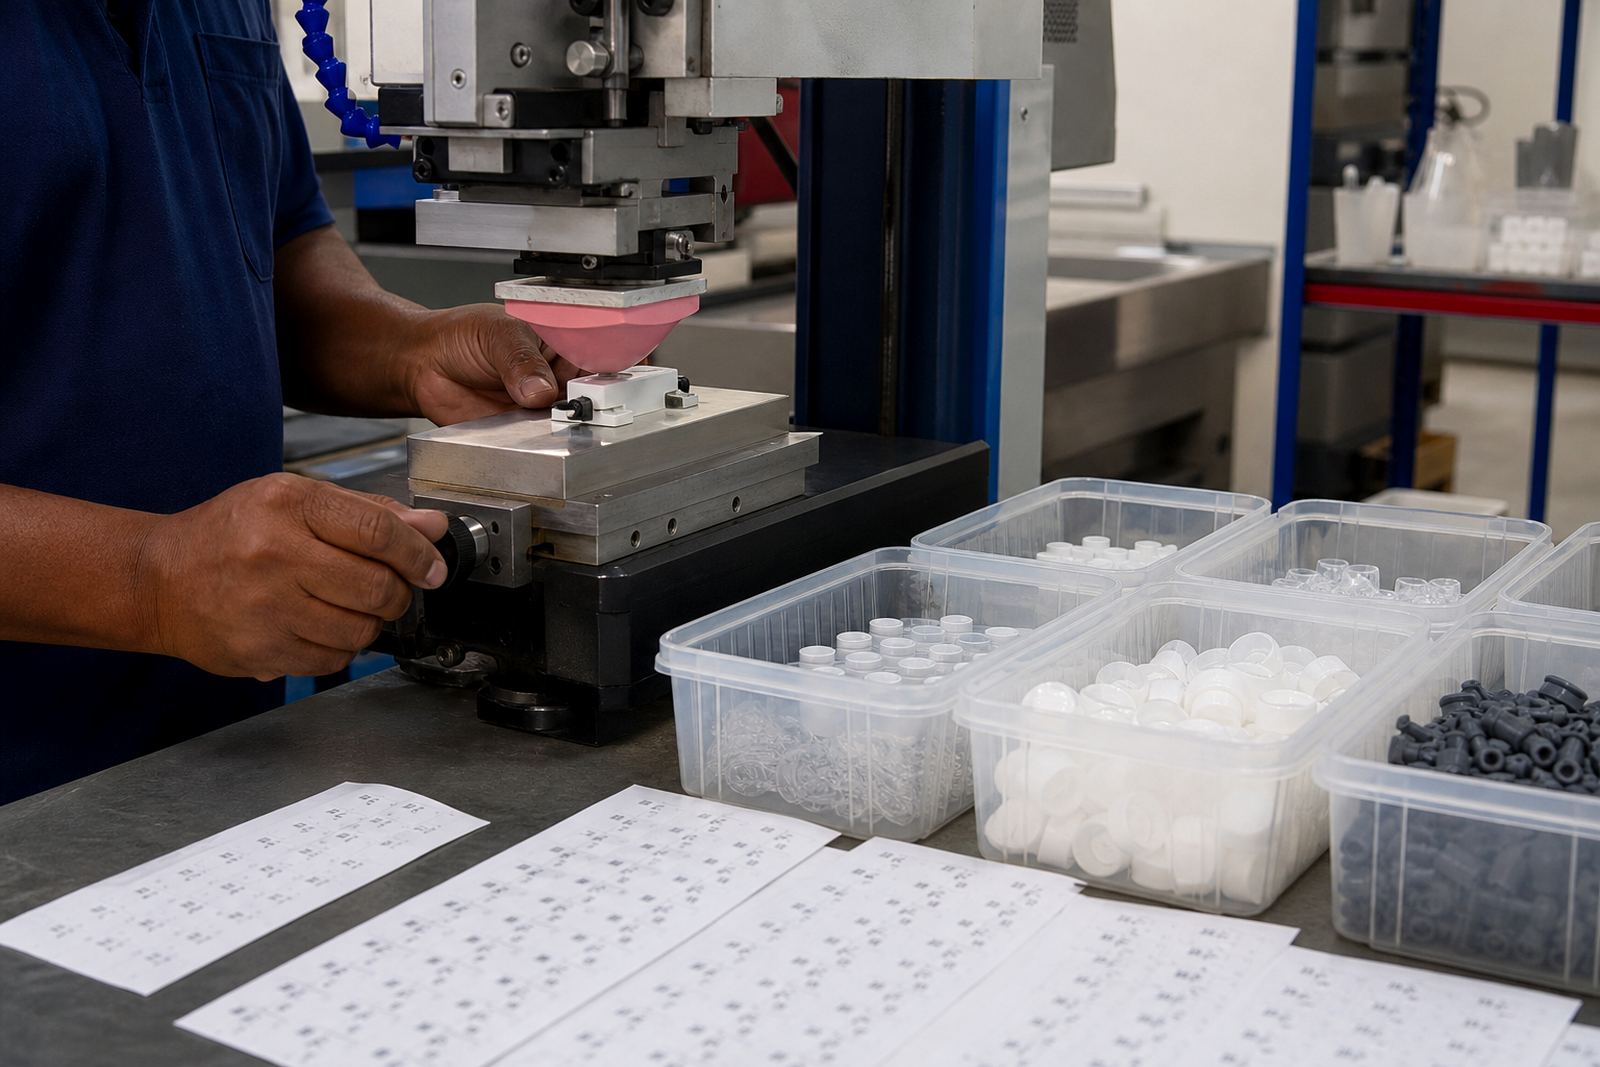
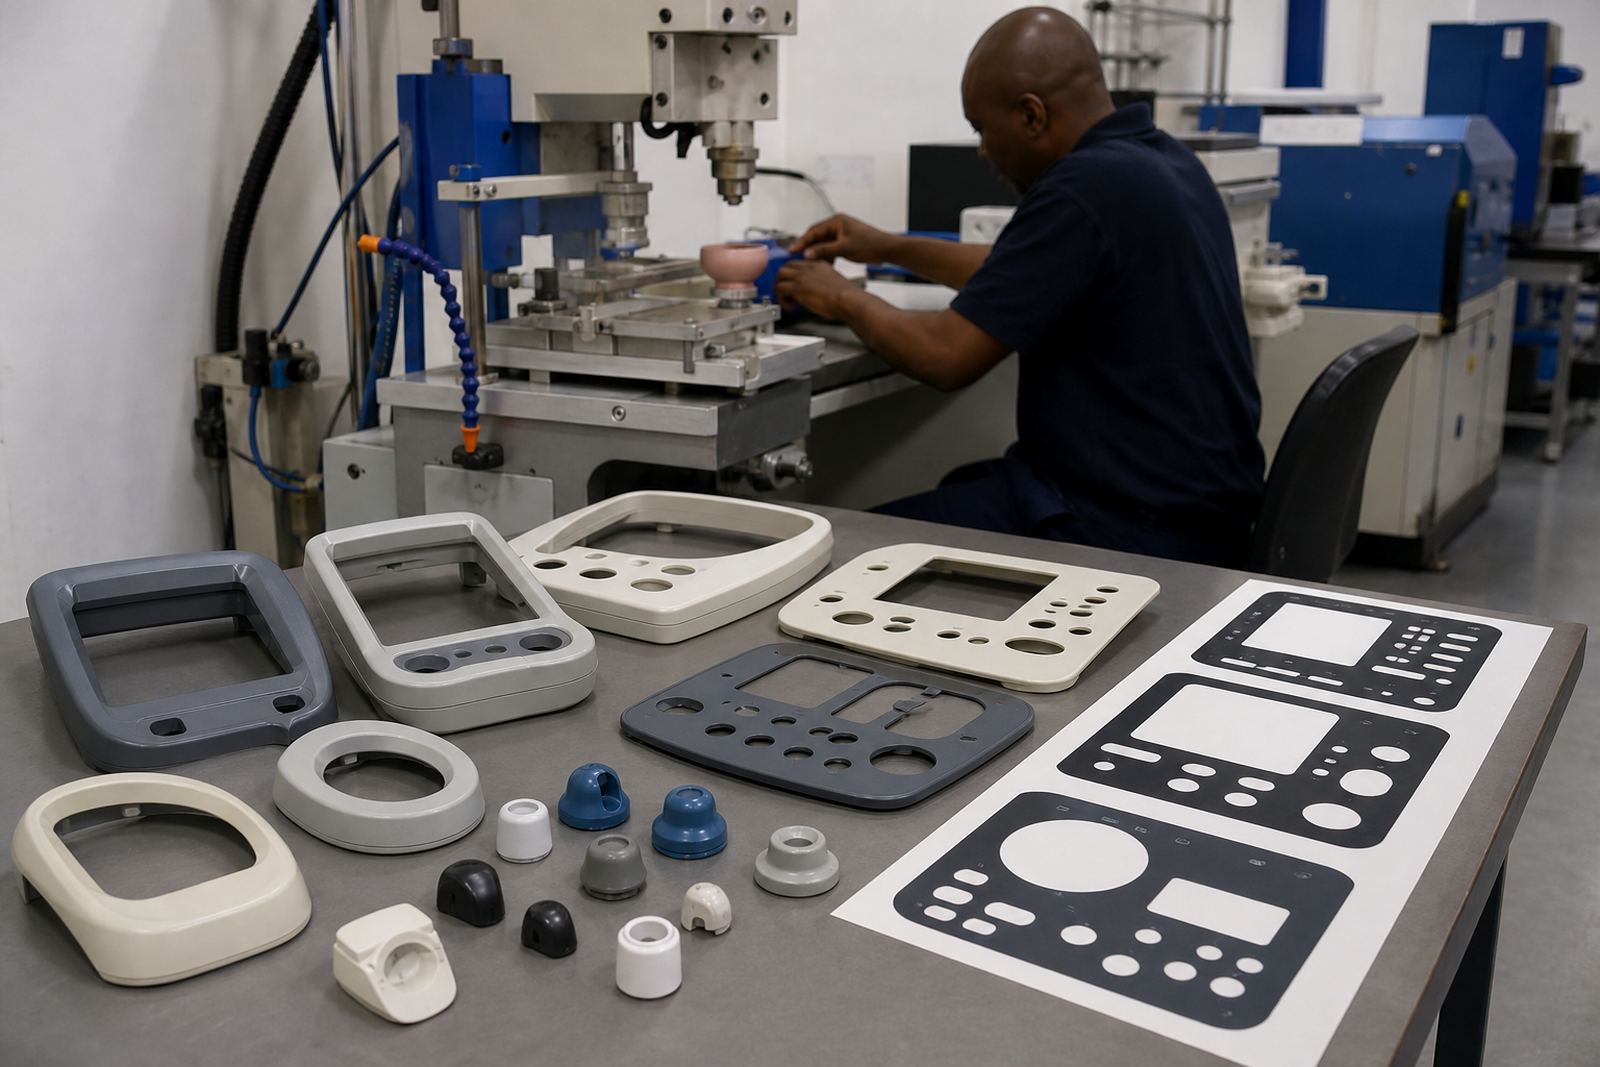
Consumer electronics parts often leave very little room for markings. A control button, selector knob, plastic housing, charger part, clip, cover or small moulded insert may need a product name, symbol, alignment mark or simple logo without crowding the surface. Pad printing is well suited to that work because a silicone pad can pick up ink from an etched plate and transfer it onto curved, recessed or uneven areas that would be awkward for flat printing methods.
For production runs, the aim is not just a clean mark on one sample. The mark has to stay consistent from the first part to the last, including after handling during assembly and packing. That means the print area, part orientation and ink choice all need to be set up properly before the run starts. In practice, the biggest gains come from getting the artwork right, confirming the part location in a fixture and checking how the ink cures on the actual material.
Clients from Durban, Johannesburg, Cape Town, Pretoria and Gqeberha usually use our service when the marking must be neat, repeatable and suited to high mix production.
Typical Parts, Surfaces And Print Challenges
Consumer electronics parts come in many forms, but the print problems are often the same. Smooth ABS, textured plastics, coated housings and small moulded pieces can all behave differently. Some parts are glossy and show every speck of dust. Others have a slight mould release residue, which can weaken adhesion if it is not removed. On small parts, even a 0.5 mm shift can throw the logo off centre, so the setup needs careful handling.
We normally see requests for:
- Button legends and icon marks on compact mouldings
- Brand logos on casings, bezels and covers
- Direction arrows, alignment marks and part references
- Single or two-colour printing on small visible areas
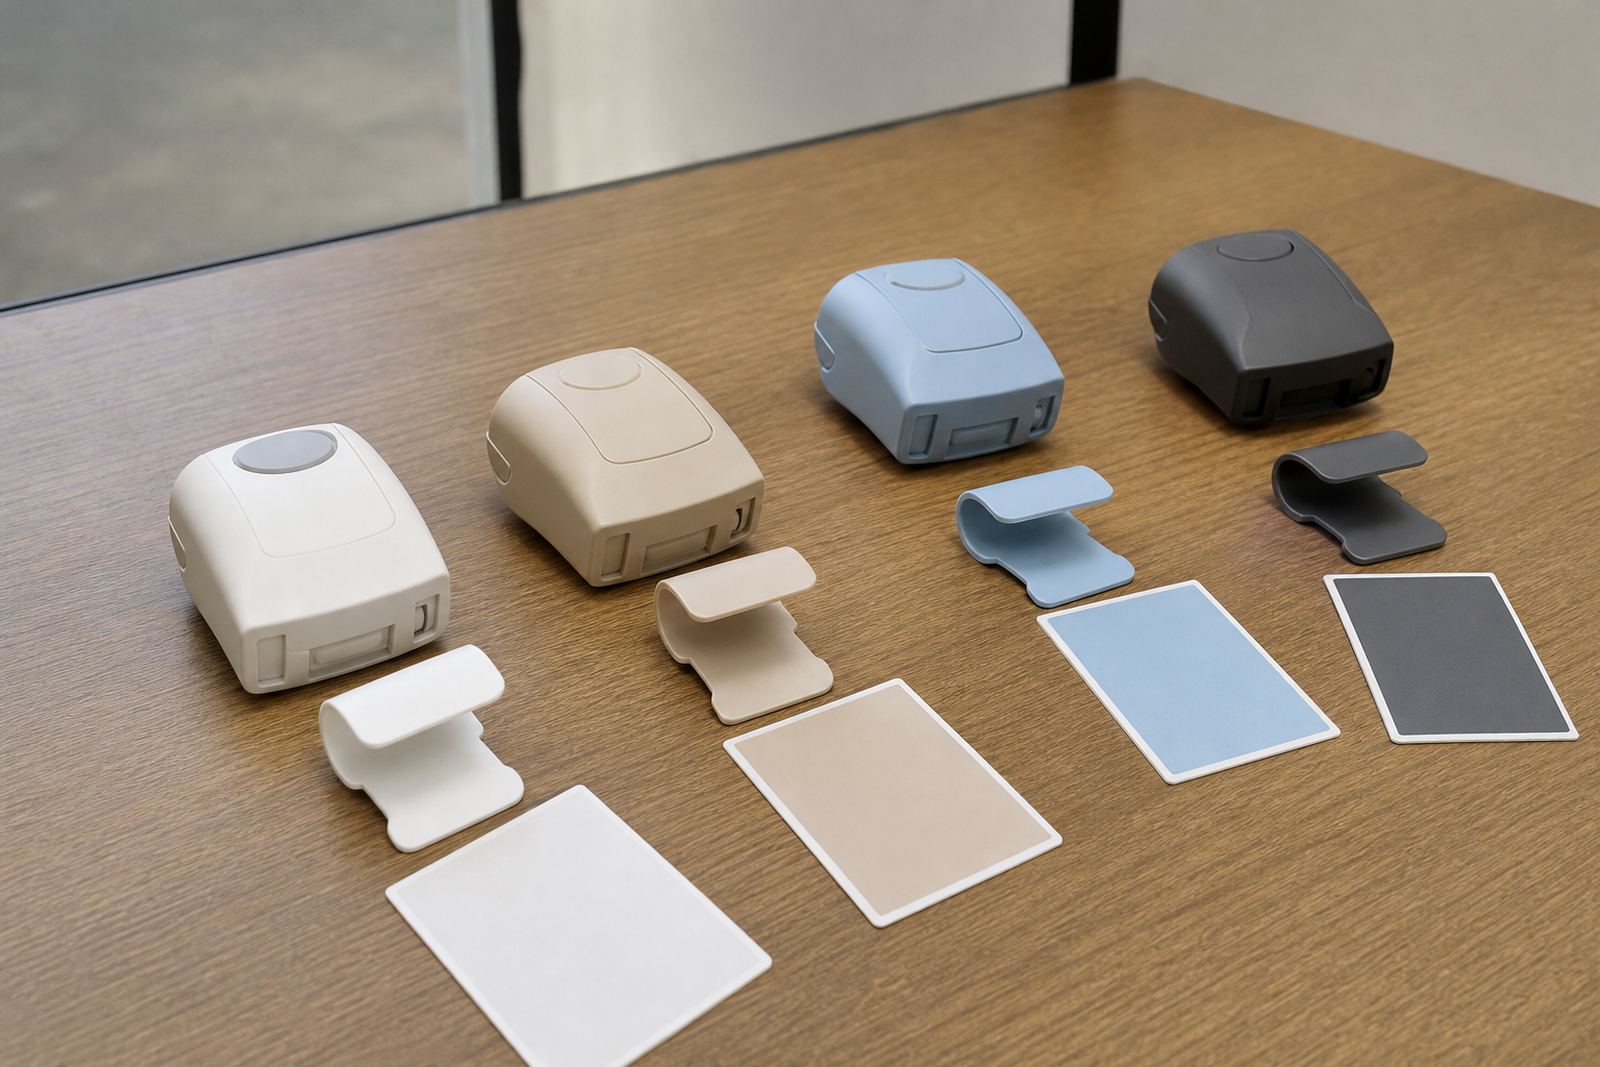
Colour matching matters as well. A black mark on a light housing may seem simple, but the ink still has to sit at the right opacity and finish. On dark parts, white or light inks can need extra care with ink build and curing. Coastal humidity in Durban can also affect drying time, while inland sites in Johannesburg and Pretoria may face more dust and static issues. Those small differences matter when a job is repeated every week.
Setup Advice For Production Runs
Good setup starts before the press is switched on. The artwork must be redrawn to suit the actual print area, not just copied from a product drawing. Fine lines, tiny text and small symbols often need simplification so they transfer cleanly from plate to pad to part. If the logo is too detailed for the available space, the result will look cramped or uneven after repeated runs.
Layout planning should also allow for the way the part sits in the fixture. A shallow curve, a raised rib or a textured edge can shift the mark if the fixture is not designed around it. We usually look at print area planning, fixture making and trial sample runs together, because changing one without the others can lead to wasted parts. On multi-part assemblies, it helps to decide early whether the mark will be on the visible face, hidden side or underside so that the operator can load the part consistently.
- Confirm the exact print face before plate exposure
- Check whether the part needs one pass or a repeat pass
- Allow space for curing and handling between stages
- Keep the fixture simple enough for day-to-day use
For clients in Westville, New Germany and Durban manufacturers, the practical question is often throughput. If a line is stopping for hand loading, the marking step needs to be simple enough to keep pace with assembly without creating extra handling damage.
Inks, Curing And Repeat Job Control
The ink and curing method have to match the part material and the way the item will be used. Some consumer electronics parts only need a clean visual mark. Others need better resistance to rubbing, light solvents or repeated handling. We assess the surface first, then select the curing method and run test samples before any larger batch is released. On some jobs, the best result comes from a slower cure that gives better adhesion. On others, a quicker cure is needed to keep production moving and avoid bottlenecks.
Common mistakes include cleaning too lightly, rushing the first sample, changing the part material without retesting, or assuming a previous setup will work unchanged on a new batch. If the moulding supplier changes the plastic blend, the print result can shift as well. That is why rerun job control matters. Keeping the same plate, fixture notes and ink references makes it easier to repeat the job with the same result later, even if the order comes back months after the first run.
Our team handles artwork preparation, logo redraws, plate exposure, plate etching, trial sample runs, curing method selection and dispatch packing. Lerato Mabunda coordinates quality checks, while Sanjay Dookhi and Mfundo Xaba manage plate and machine setup so the job stays consistent from sample to dispatch.
What A Client Usually Brings To The Table
Most consumer electronics makers approach us with a part sample, a basic drawing and an approximate idea of where the mark should sit. That is enough to begin, but the best outcome usually comes when the client also provides the final material specification, the expected run size and any handling concerns from assembly. If the part is already in production, it helps to bring a rejected sample or a worn sample so we can see what failed before. Sometimes the problem is ink adhesion. Sometimes it is simply print position or the wrong fixture height.
For teams in Cape Town Supply, Pretoria Supply or Gqeberha Supply areas, shipping a small batch of parts for test samples is often the quickest route. We can pack and return trial runs carefully so the client can check fit, visibility and handling before the main run is approved. It is also easier to plan budget when the job scope is clear at the start.
- Part sample or finished component
- Artwork file or clear logo reference
- Preferred print colour and position
- Approximate quantity and repeat order timing
- Any surface treatment or coating details
Budget Ranges And Practical Planning
Budget depends on how much setup work the job needs, how many colours are involved and whether fixtures must be made from scratch. A straightforward single-colour job on a small part may cost far less to set up than a more complex two-colour mark with tight registration. Artwork redrawing, plate preparation and trial runs can add to the first order, while repeat runs are usually easier to plan once the setup is locked in.
As a rough working guide, smaller consumer electronics marking jobs can start in the low thousands of Rand for setup and sample preparation, while recurring production batches can be planned more efficiently once the plate and fixture are in place. Larger or more complex jobs, especially where several part types are involved, will move higher depending on testing, curing and packaging needs. The sensible way to control spend is to group similar parts together where possible and avoid changing the artwork or part finish halfway through a series. That saves time, rework and lost stock.
Clients normally reach us through the quote form on our contact page. From there we can review the part, advise on setup and decide whether the job is best handled as a one-off run or as a repeat production schedule for ongoing supply.