When instrument markings need to stay readable
Industrial instruments are often handled with gloves, wiped down with solvents, fitted into cabinets, and exposed to vibration, dust and heat. That means the marking must do more than look neat on day one. It has to stay legible on switches, legends, warning symbols, serial fields and direction markers after normal use on the plant floor.
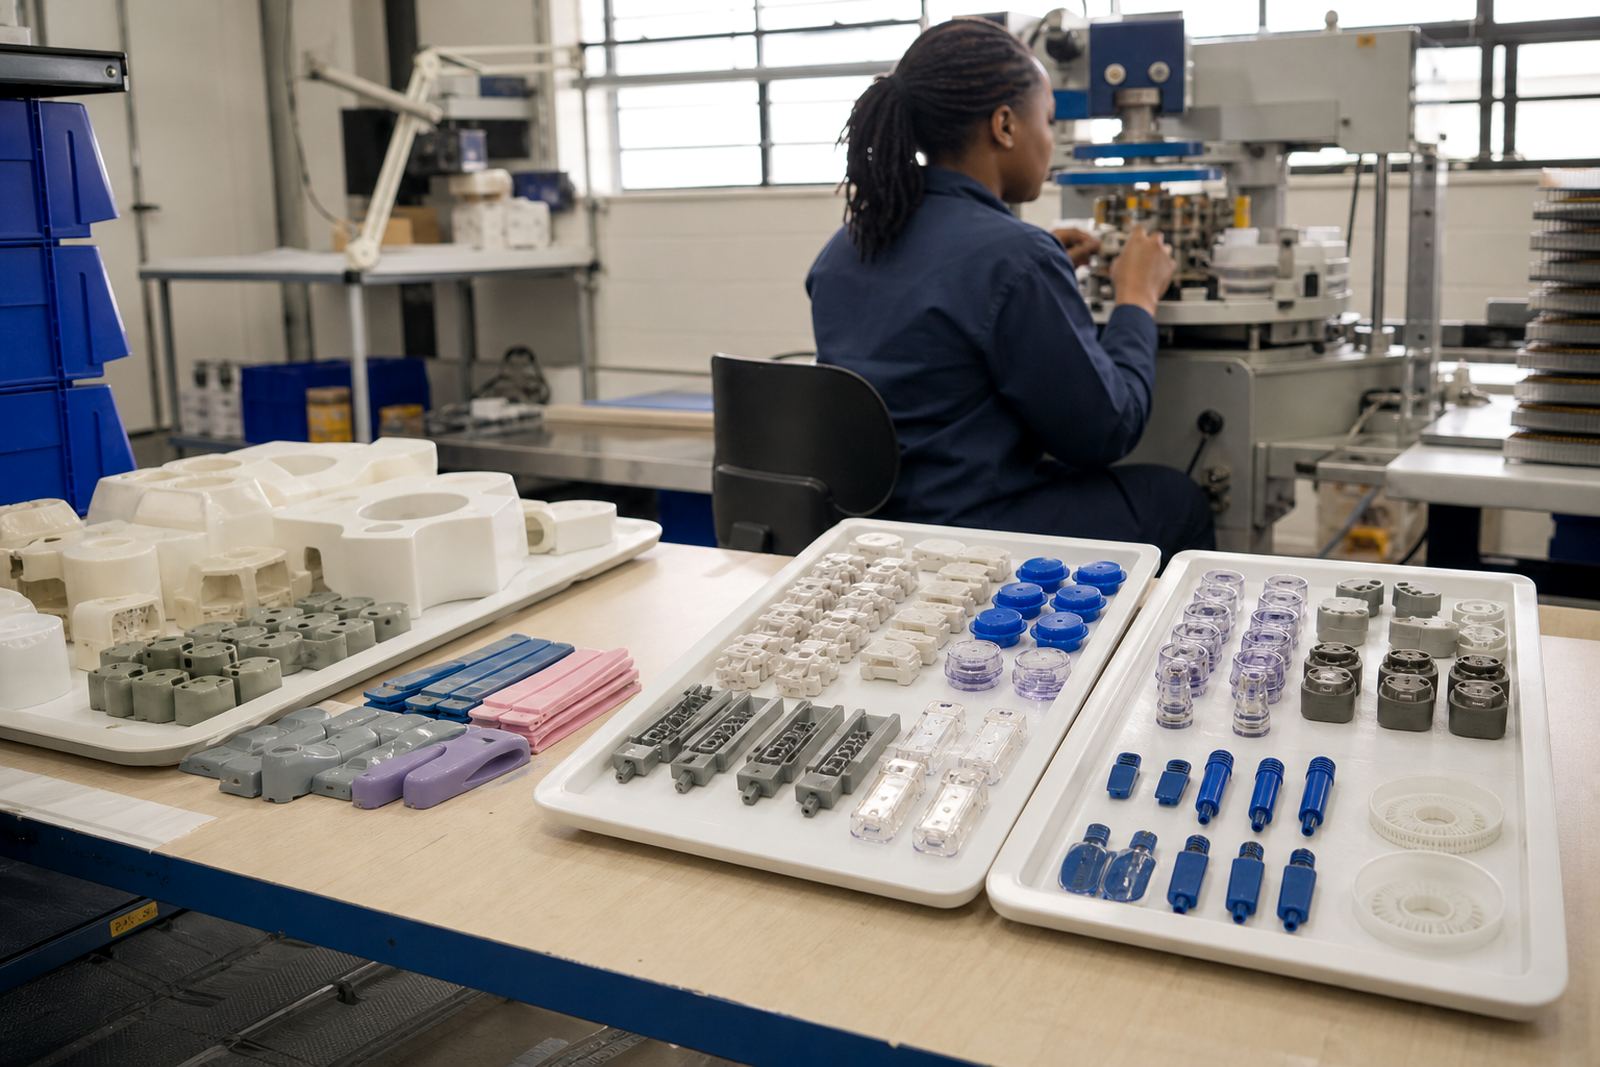
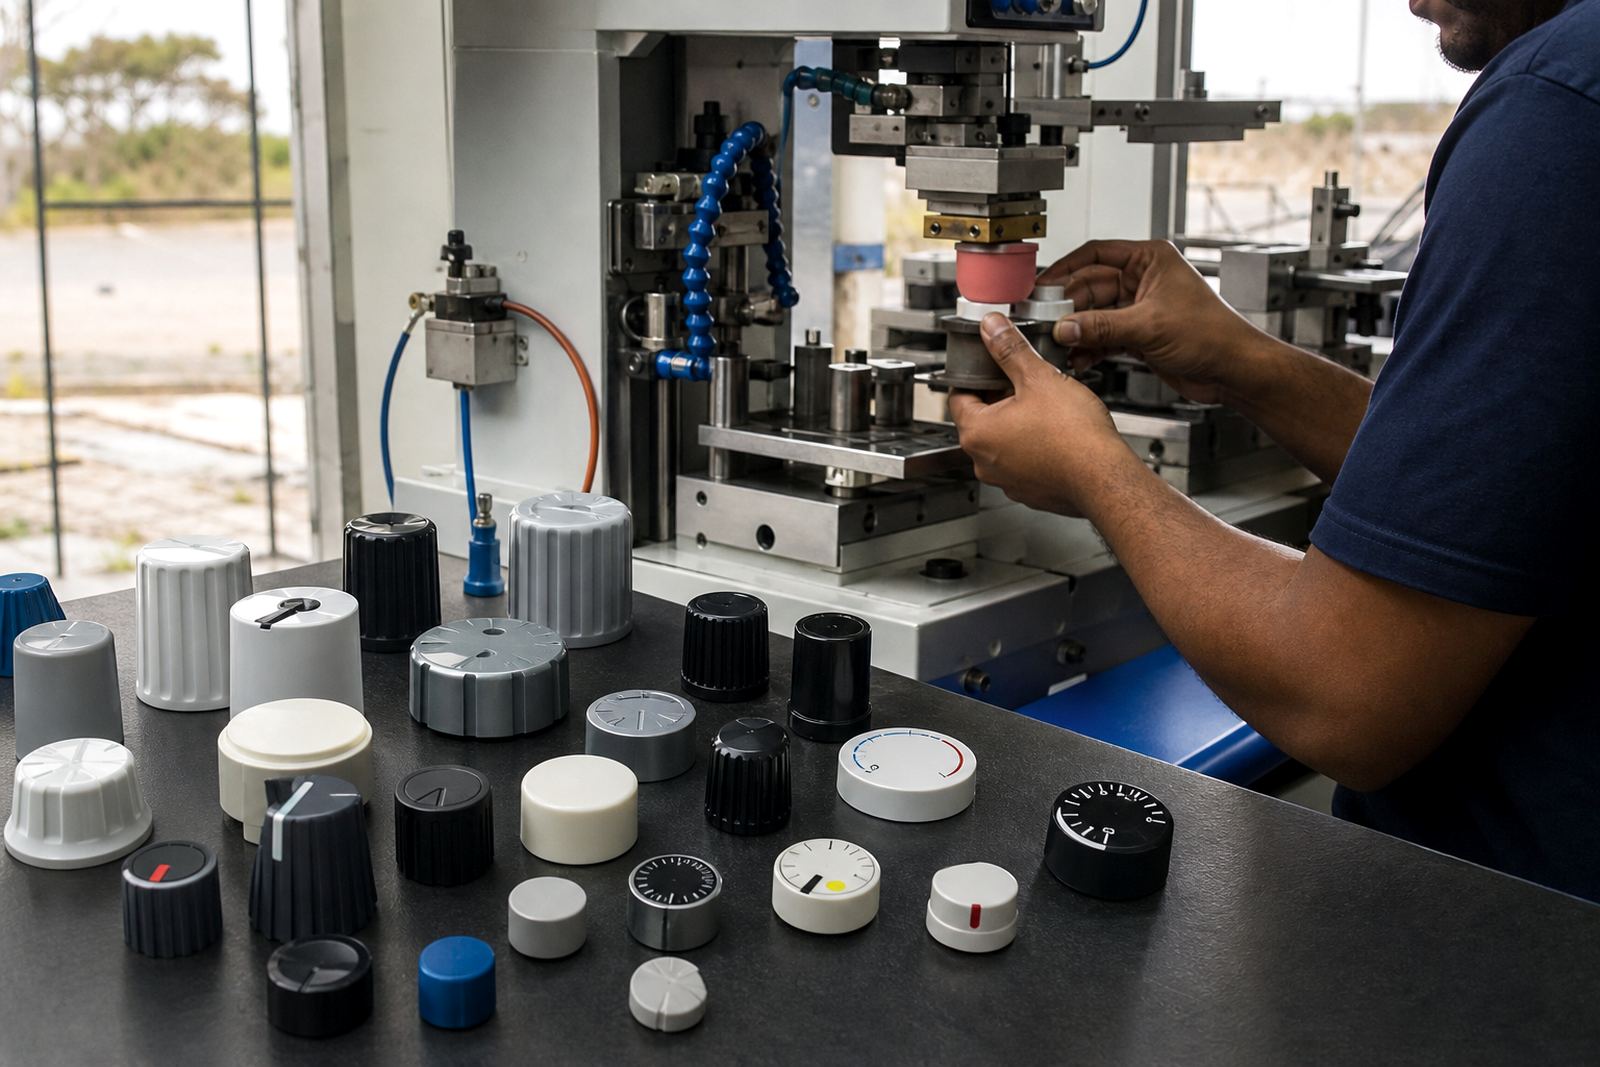
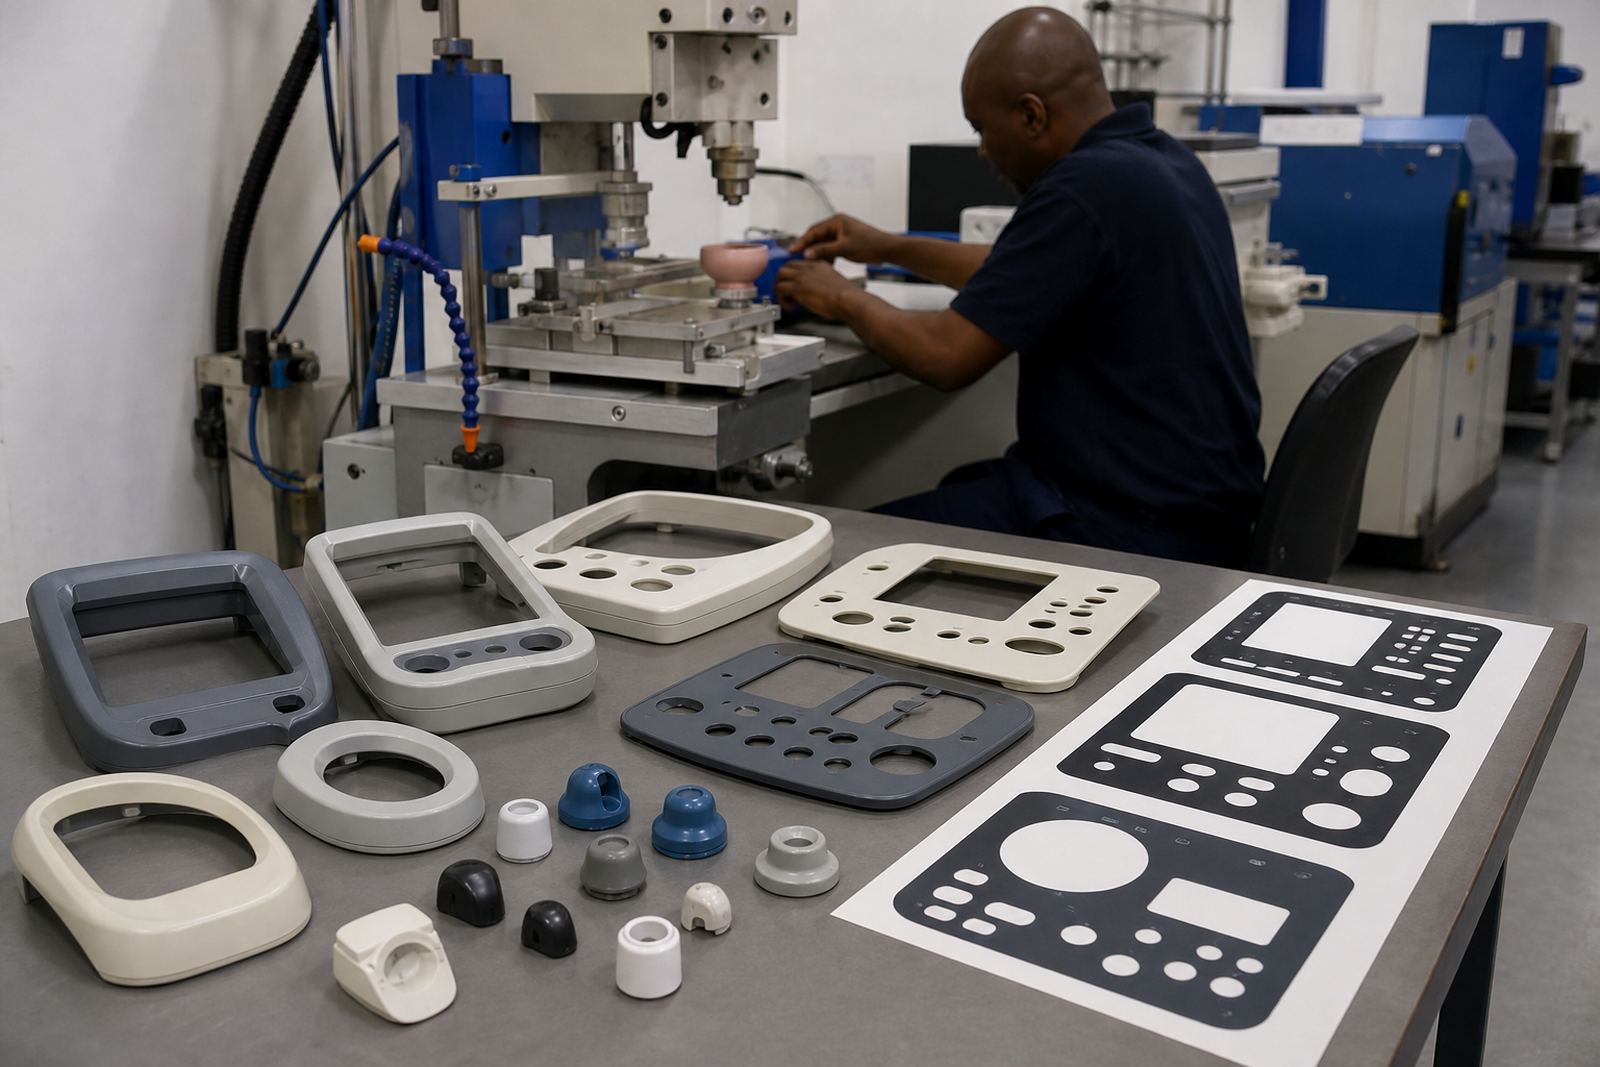
Pad printing suits these parts because a silicone pad can pick up fine detail from an etched plate and place it onto curved, recessed or uneven surfaces. That makes it practical for control faces, housings, bezels, selector caps and small indicator covers where screen printing may struggle with shape or depth. We prepare the artwork, plan the print area and choose an ink system and curing method suited to the substrate, whether it is moulded plastic, coated metal or another common instrument material.
For manufacturers in Durban, Johannesburg, Cape Town, Pretoria and Gqeberha, the main need is consistency. A control panel with one misaligned label or a faded indicator can cause confusion later. Our job is to keep the markings where they belong and make the layout easy to read, even when the part size is tight and the text is small.
Typical parts we print for industrial instruments
The use case usually includes a mix of front-of-panel items and smaller internal or external parts. Some are visible to operators all day, while others are fitted into assemblies where the print still needs to be clean and correct. We work from the part itself, so the shape, texture and clearance around the print area all matter.
- Instrument front panels and bezels
- Push button caps and selector surrounds
- Indicator housings and lens frames
- Metre surrounds and scale markings
- Small component covers and name areas
- Labels, symbols and directional marks
Not every item needs the same approach. A flat panel with generous space may allow a straightforward single-pass print, while a narrow curved housing may need a fixture, a second reference point or a different pad size. On some jobs the challenge is not the print itself but the repeatability across a batch. That is where artwork preparation, plate exposure and trial sample runs save time later.
Planning the layout before production starts for medical parts
Good pad printing starts before ink touches the part. If the marking sits too close to a screw boss, edge radius or mould line, the result can look crooked or wear faster than expected. We advise clients to think about the full assembly, not only the loose component. If a panel will be recessed into a frame or mounted behind a clear cover, the viewing angle must be checked early.
Our team in Westmead, Pinetown, led by Sibusiso Naicker, includes Naledi Kekana on production, Sanjay Dookhi on artwork and plate work, Lerato Mabunda on quality coordination, Yashika Sewpersad on client services and Mfundo Xaba on machine setup. That lets us look at the job from several angles before production begins.
- Leave enough clearance for the pad to land cleanly
- Keep critical text away from edges and moulded ribs
- Use artwork that matches the final part size, not a rough guess
- Confirm the reading direction before plates are made
- Allow for future reruns so the same location can be repeated
Common mistakes that cause poor results
The most common problems are simple ones. Artwork supplied at the wrong size can make text too small to read. A gloss surface may need different ink handling from a textured one. Parts that move in the fixture can cause a slight shift, and that is often enough to make a legend look untidy. On some materials, a print may look fine but later fails because surface preparation was rushed or the curing was not matched properly.
Another mistake is assuming one print method suits every instrument part. Silicone pads are useful because they adapt to shape, but they are not magic. If the geometry is awkward, we may need to change the fixture, adjust the plate image or split the job into more than one operation. Clients also need to check that the printed marking fits their own compliance and product testing needs. We supply the print, but the manufacturer remains responsible for the device spec and regulatory fit.
For coastal clients, Durban humidity can affect drying times and handling. In inland plants, dust and heat can create other issues. That is why sample runs matter. They show whether the ink is bonding properly, whether the line weight is readable and whether the curing method is giving a finish that can stand up to the actual working environment.
Sampling and setup
Industrial instrument printing usually depends on the right combination of ink, substrate and cure. The aim is a mark that does not lift, smear or fade when the part is wiped down or fitted into service. Depending on the material, a print may be air dried, heat cured or handled through another controlled process after transfer. We plan that step with the application in mind, not as an afterthought.
Where a part has repeated finger contact, cleaning fluids or exposure to workshop conditions, adhesion testing is worth doing before full production. Trial sample runs can confirm if the print is sharp enough and whether the curing time is practical for the batch size. For rerun work, we keep print area planning and plate records tidy so the same job can be repeated with less delay.
When the marking needs to sit on a small face or a tight curve, the choice of pad shape matters just as much as the ink. The pad has to transfer detail cleanly without over-rolling the image. That is the advantage of this process for instrument parts: it handles fine detail on awkward forms better than many general marking methods.
Budget ranges for industrial instrument printing
Budget depends on how many colours are needed, how complex the artwork is, whether new plates are required and how much fixture work is involved. A simple repeat job with one mark and an existing setup will sit differently from a new instrument panel with several indicators and small legends. For many industrial clients, the real saving comes from getting the layout right once, then rerunning the same setup without changing the position or image size.
As a practical guide, smaller development work and sample runs can fall in the low thousands of Rand, while more involved production jobs with multiple plates, fixtures and testing can move into higher ranges. A fresh job with artwork redraws, plate exposure, plate etching and sample approval will usually cost more at the start than a repeat order. If you are planning several part variants, it is often better to group them by size and substrate so the setup effort is used properly.
We support manufacturers across Pinetown, New Germany, Westville and broader South Africa through our contact form. For the best result, send the part details, the intended use and any layout concerns early. That gives us room to advise on print area, curing method and the safest production route for your instruments.