Marking telecom parts that are handled all day
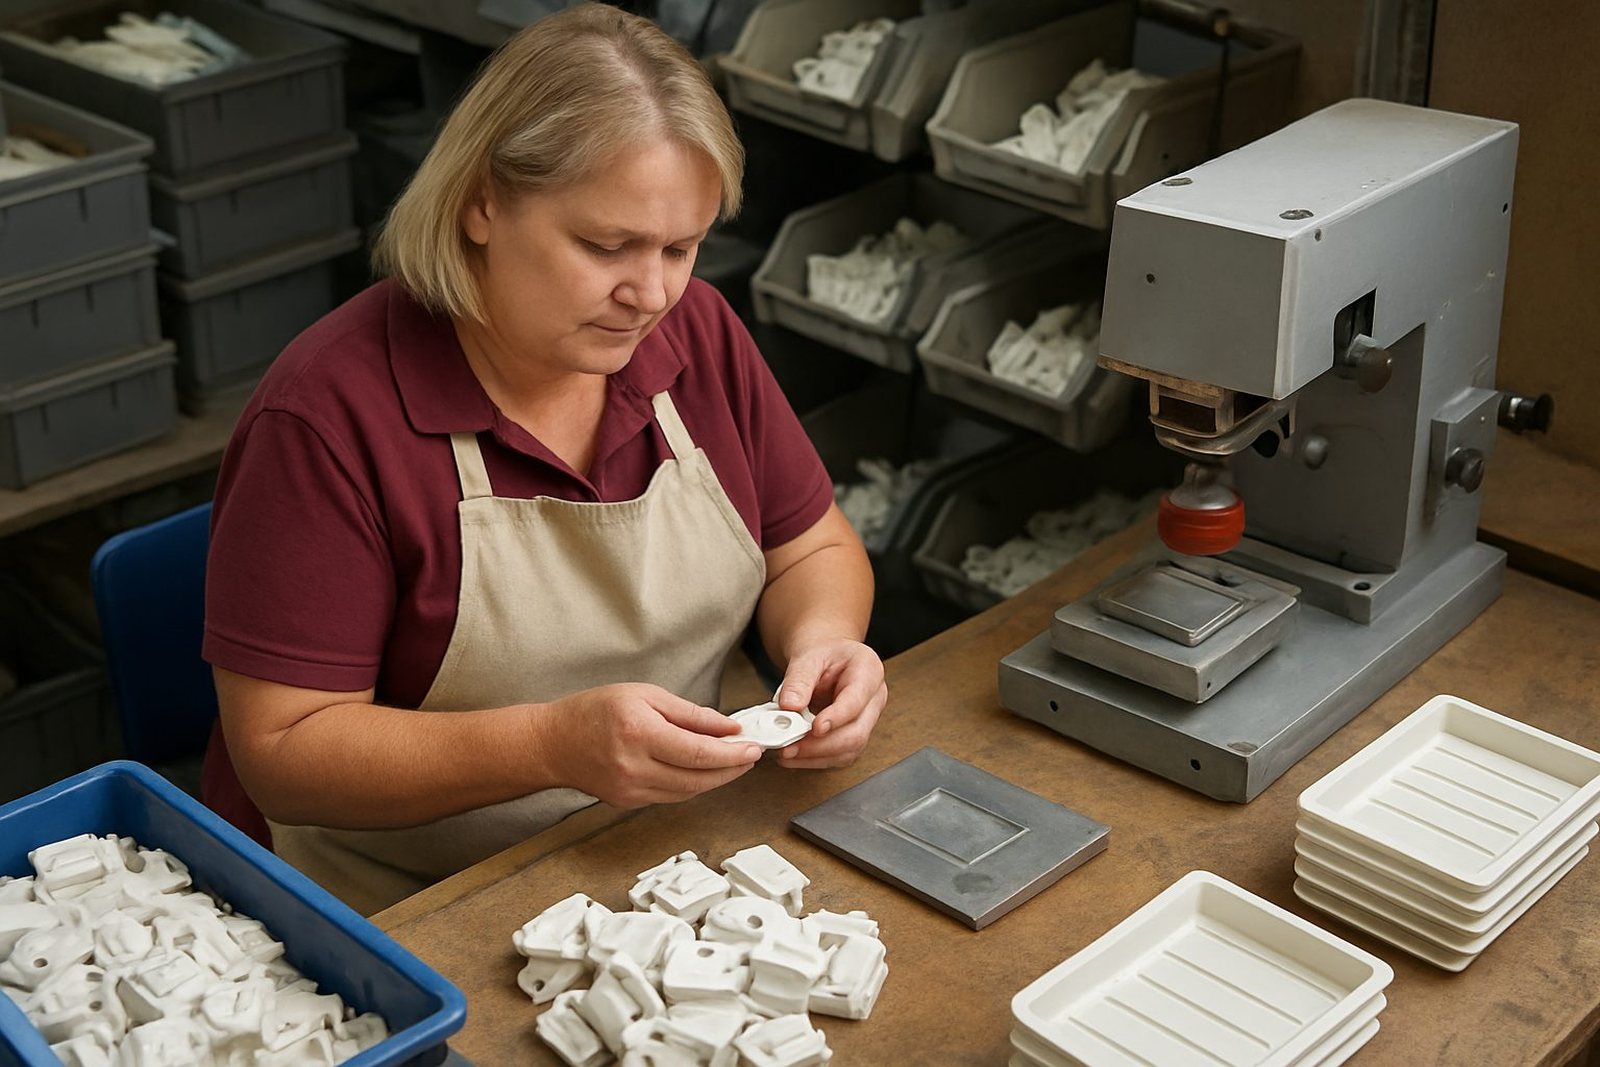
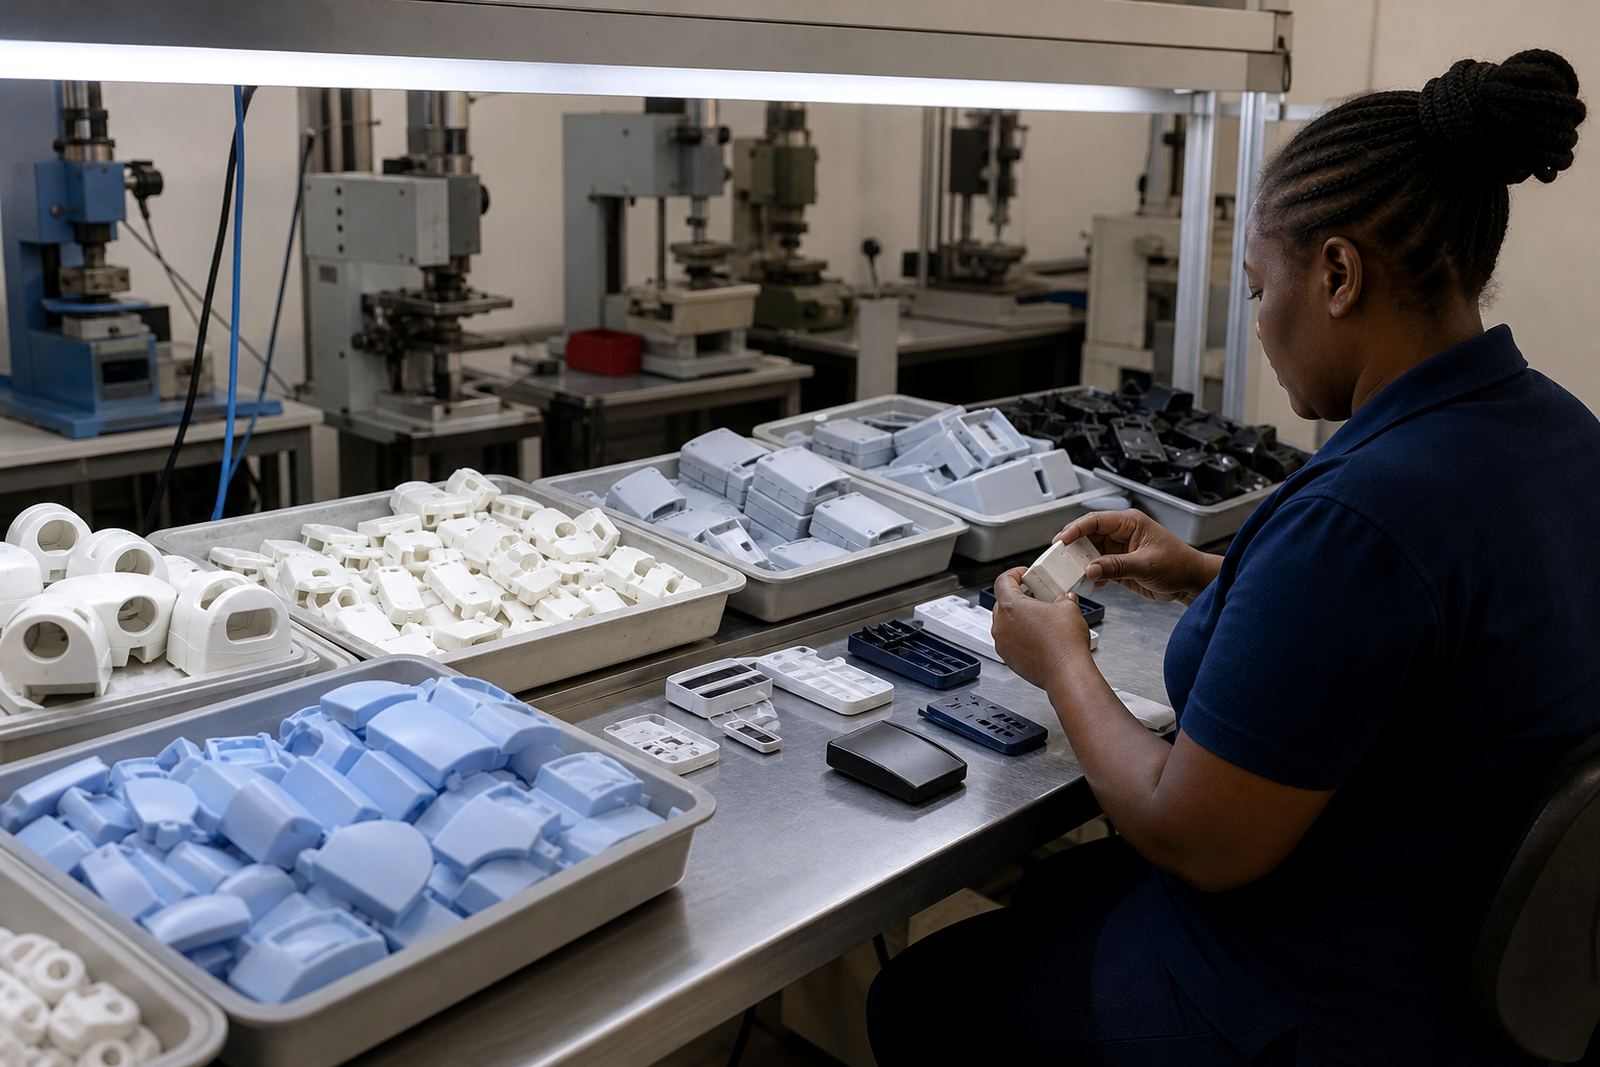
Telecom components are often small, curved and already crowded with moulded features, so the print has to be placed carefully. We commonly mark housings, clip covers, connector surrounds, button caps, switch carriers and indicator parts where part numbers, legends or orientation marks must remain clear after repeated use. Pad printing suits these parts because a silicone pad can pick up ink from an etched plate and transfer it onto uneven surfaces without needing a flat panel.
For this use case, the real challenge is not just getting ink onto the part. It is getting the mark to sit in the right spot, hold a clean edge and cure properly so it can withstand assembly line handling. Telecom assemblies may move from injection moulding to testing, then into final assembly and packing, so the marking has to stay legible through the full process, not only on day one.
Typical setup for housings, connectors and button parts
The equipment set for telecom parts usually includes a fixture that holds each component in a fixed position, a plate with the etched artwork, a silicone pad matched to the part shape and an ink system selected for the substrate. Depending on the material, the ink may need different drying or curing method selection so the mark can bond correctly. Some parts are printed once and sent onward, while others need a trial sample run first to check alignment, opacity and resistance to rubbing.
- Plastic housings with matte or gloss finishes
- Connector bodies, end caps and retention parts
- Button parts and small switch components
- Front panel inserts with symbols or numbering
- Light guide surrounds and indicator bezels
When the product has tight walls or raised ribs, the pad shape and print area planning become just as important as the artwork itself. A small change in the fixture can prevent a crooked print and save a lot of reruns later. That is especially useful where batches are short or where one part has several variants in different colours.
Planning the print area before the first sample
Good telecom printing starts with the part drawing, not the machine. We check the flat areas, curves, gate marks, seam lines and any texture that may interrupt ink transfer. If a housing has a small window for a logo or a reference mark, we plan the print area around that feature and keep enough clearance so the ink does not crowd a corner or bleed into a clip slot. Artwork preparation may involve logo redraws, line cleanup and size adjustments so the mark suits the moulded part.
For clients in Durban and Pinetown, we also consider workshop conditions. It also helps to keep spare fixtures and plate records organised for rerun job control when a customer needs the same marking again months later.
Common mistakes on telecom jobs and how to avoid them
Most problems come from rushing the setup or assuming every plastic behaves the same. A clear print on one housing can fail on another if the surface finish, mould release or material blend changes. We often see jobs where the mark is placed too close to a curved edge, where the ink layer is too heavy, or where the cure was set for a different part altogether. Another common issue is artwork that looks fine on screen but becomes too fine once it is reduced to fit the part.
- Skipping adhesion test samples before production
- Using artwork with lines that are too thin for the surface
- Placing text too close to clips, seams or screw posts
- Not checking if the ink matches the substrate finish
- Forgetting to allow for fixture movement during loading
On electronic and telecom parts, a small fault can create scrap across the whole batch. That is why quality checks, plate exposure control and careful sample approval matter more than speed. It is better to spend time on a clean setup than to sort out a tray of badly marked parts after packing.
Budget ranges for telecom pad printing work
Pricing depends on the number of colours, the size of the mark, the part shape, the type of fixture needed and whether the job is a once-off sample or a repeat run. A simple one-colour mark on a straightforward housing will cost less than a multi-step print on a small connector with tight placement rules. Trial sample runs, special fixtures and artwork corrections can also affect the overall budget.
As a practical guide, small setup and sampling jobs may start from around R1 500 to R4 500. Short production runs often sit between R4 500 and R12 000 depending on quantity and complexity, while more involved repeat work with fixtures, plate preparation and controlled reruns can move above that. For manufacturers managing multiple part variants, it is usually worth discussing the whole batch plan early so the print process can be matched to the production schedule.
Working with a Westmead team serving South Africa
Based in Westmead, Pinetown, we support telecom manufacturers and component suppliers in Durban, Johannesburg, Pretoria, Cape Town and Gqeberha, with local support also available for Pinetown Printing Support, New Germany Support and Westville Support. The team includes Sibusiso Naicker as Managing Director, Naledi Kekana in Production, Sanjay Dookhi on artwork and plates, Lerato Mabunda on quality, Yashika Sewpersad in client services and Mfundo Xaba on machine setup. That mix helps with fast decisions when a part changes size or a customer needs a fresh sample before release.
Write to PadPrinters through the contact page form and we use that first discussion to confirm the part type, substrate, print area and dispatch packing needs. If the parts are going into assemblies with strict handover steps, we can plan the marking and packing so the items arrive ready for the next stage. It keeps the process orderly, which matters when the same component has to move between testing, assembly and final distribution without confusion.