Why automotive electronics parts often need pad printing
Automotive electronics need clean, repeatable markings on small plastic parts that often have curved faces, shallow recesses or textured surfaces. We help manufacturers in Durban, Johannesburg, Cape Town, Pretoria and Gqeberha plan pad printed markings that stay clear through handling, heat and daily use.
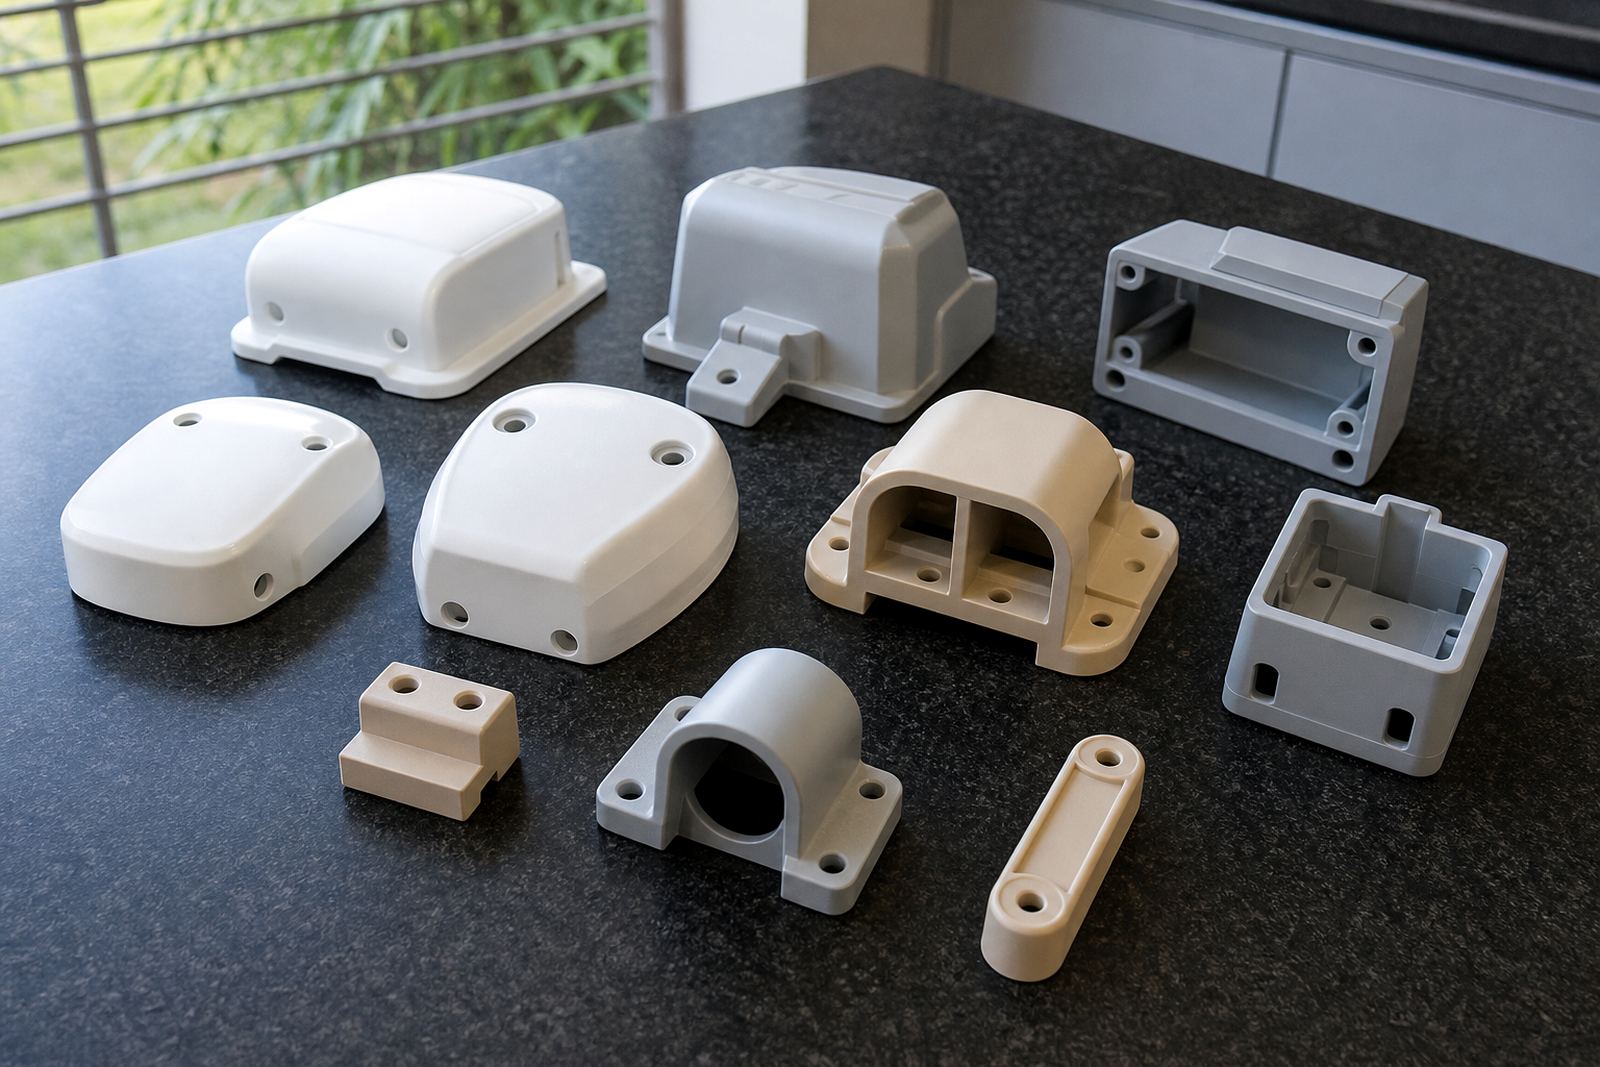
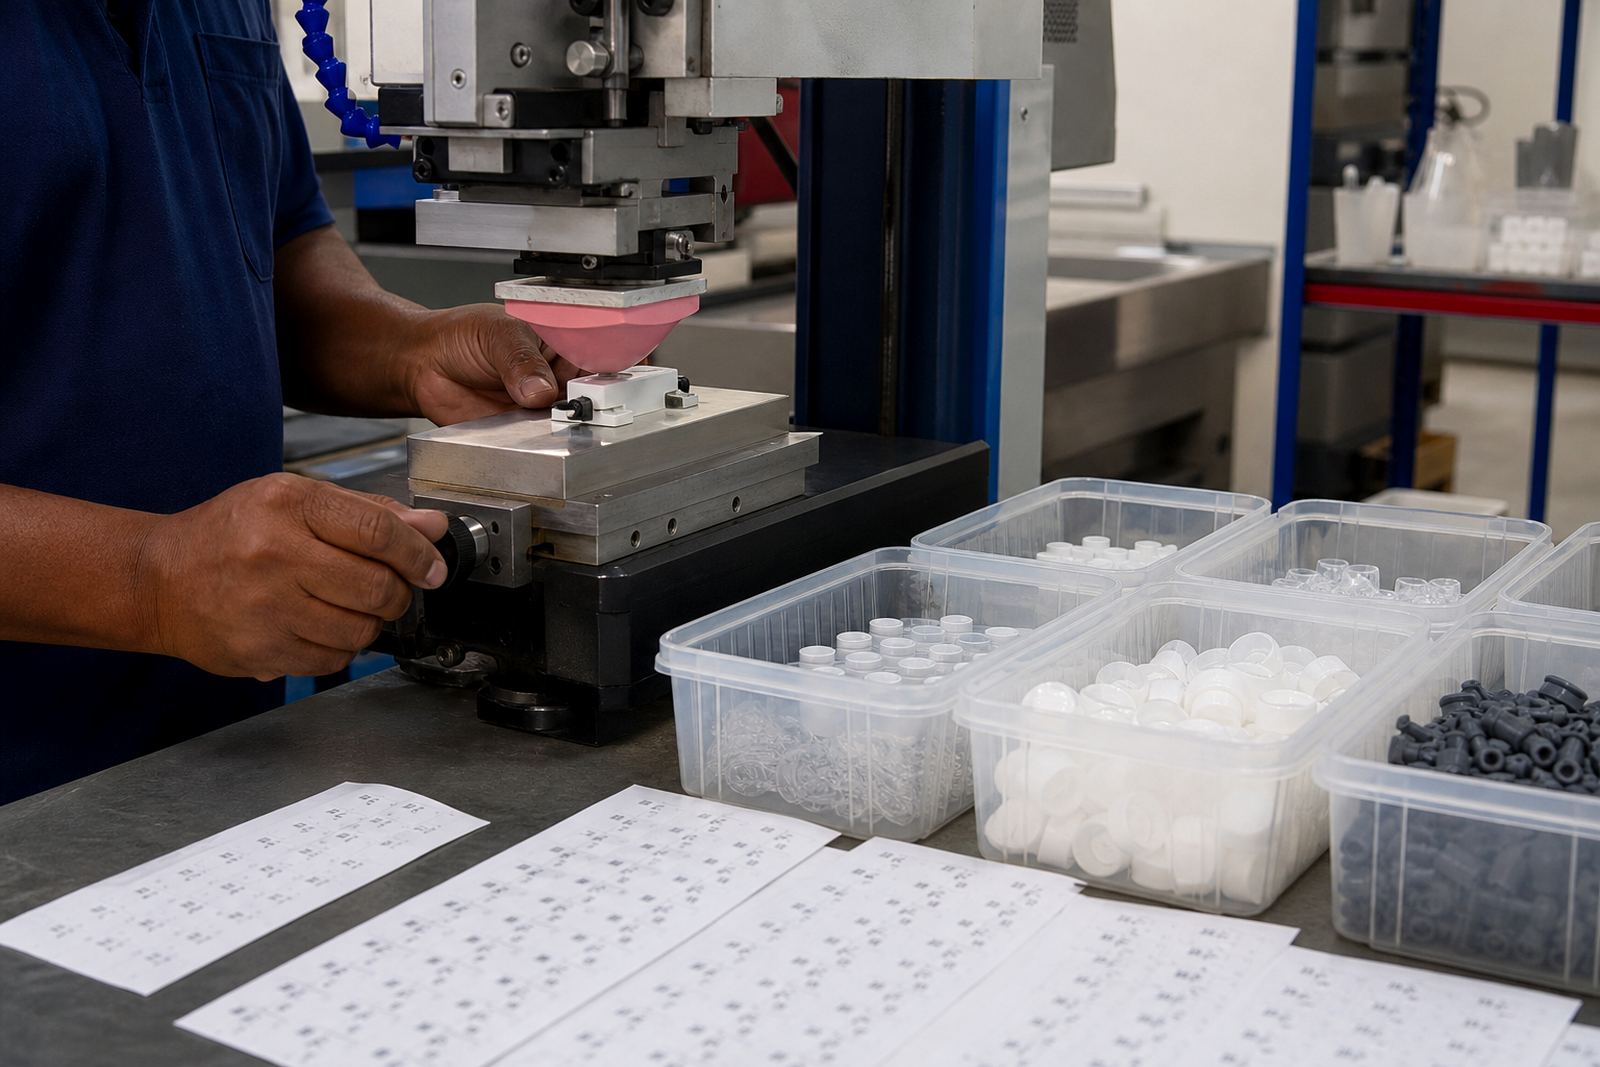
Interior switches, selector caps, bezel inserts, warning icons and small control housings usually need marking in a tight space, often on parts made from moulded plastics. Pad printing is a good fit because a silicone pad can pick up ink from an etched plate and transfer it onto curved or uneven surfaces where screen printing or labels may struggle.
For automotive electronic parts, the goal is not only a neat mark. The print must also fit the available area, sit in the correct position for assembly, and hold up to repeated touch, cleaning and general cabin use. In many cases the part arrives in black, grey or textured plastic, so colour selection and ink choice matter from the first sample run.
We work from Westmead, Pinetown, and support manufacturers across South Africa through the contact page form. Our team handles the print process step by step, from artwork preparation through to dispatch packing, with practical attention to repeatability and rerun control.
Typical parts and print setups we see
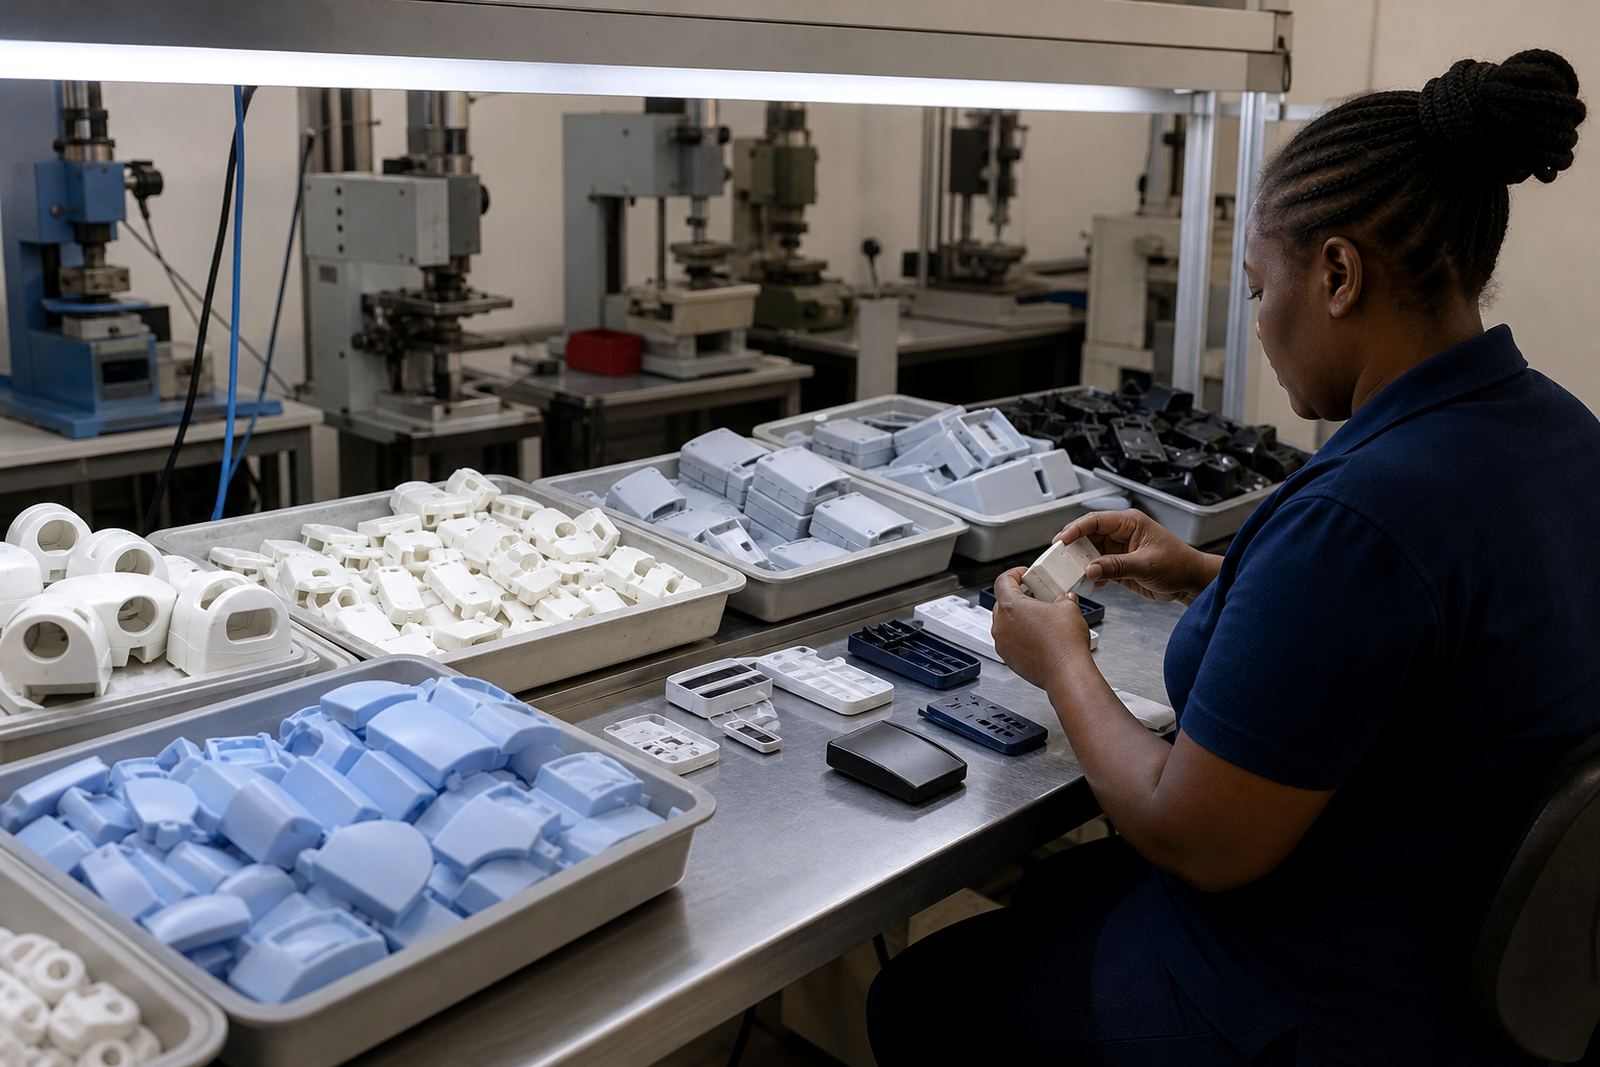
Most enquiries in this category are for interior controls and related component plastics. These parts are usually small, but the requirements are exacting because the marking must line up with switches, icons, backlighting points or assembly features. We often plan for one or more print colours, then confirm whether the part needs a single pass or a staged run with curing between colours.
- Switch caps, dial surrounds and control buttons
- Instrument panel inserts and face plates
- Indicator covers and selector markings
- Small housings for control modules
- Trim parts with icons, numbering or warning marks
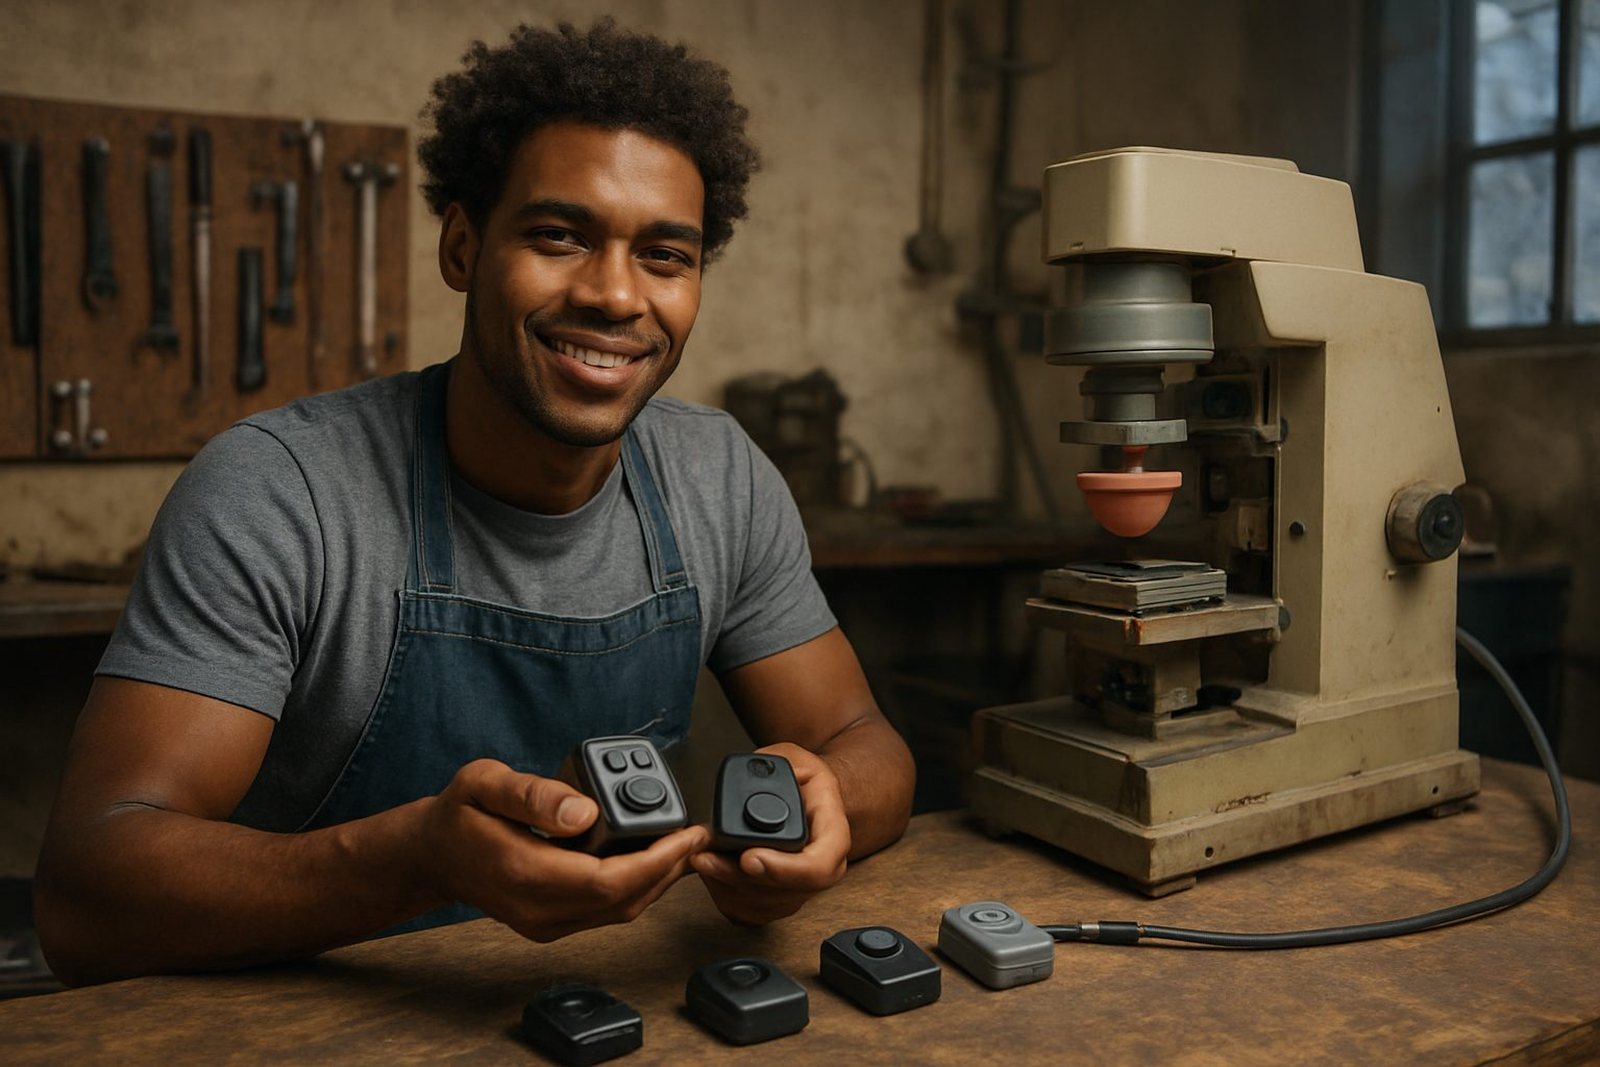
Typical equipment for this type of work includes engraved plates, a controlled ink system, silicone pads in the correct hardness, a fixture that holds the part consistently, and a curing method suited to the ink and substrate. On some jobs, a simple manual fixture is enough. On others, the part geometry or volume calls for a more structured setup so the mark lands in the same place every time.
Layout and planning guidance before the first print run
Good results start with print area planning. The artwork should be sized to the actual flat or curved print zone, not just the overall visible face of the component. A mark that looks fine on a screen can become too wide once it is transferred by the pad, especially on convex surfaces or near raised ribs and button edges.
For automotive electronic parts, we recommend allowing room for the pad to land cleanly and release properly. Very fine lines, tiny text and close spacing can work, but they must be tested on the real part. If the part is textured, glossy or has mould release residue, adhesion test samples become important before any production run is signed off.
Our planning process usually includes artwork redraws if needed, plate exposure, test impressions and checks for orientation. We also look at whether the part needs a fixture for manual loading, how it will be cured, and whether any stack-up in the assembly might obscure the marking later. In Durban and the coastal areas, humidity can affect drying times and handling, so that is taken into account when setting up the job.
Common mistakes that cause print problems
Many print issues start before the machine is even set up. One common mistake is sending artwork that is too small, too thin or not matched to the actual print zone. Another is assuming that all plastics behave the same. Different moulding materials, surface finishes and additives can all change how the ink bonds.
- Ignoring the real part shape and printing to a flat artwork size only
- Skipping adhesion tests on the final substrate
- Using the wrong pad shape for the part geometry
- Not allowing enough curing time before packing or assembly
- Changing supplier settings without rerun job control
We also see problems when parts are handled too quickly after printing. Finger marks, rub damage and dust can spoil a good run if the curing method is not matched to the workload.
Budget ranges for setup, samples and production
Pad printing costs vary widely because the setup work can be simple on one part and quite involved on another. For automotive electronics parts, budget normally depends on the number of colours, artwork changes, fixture design, plate preparation, sample approvals and the volume of the production run. Small repeat jobs can be efficient once the setup is locked in, while short one-off trials usually carry a higher proportion of preparation time.
As a general planning guide, most customers should budget separately for artwork preparation, trial sample runs, plate work, fixtures and ongoing production. If the part needs careful colour matching or multiple reruns to confirm position and adhesion, that also affects the final figure. For customers in Cape Town, Pretoria, Johannesburg, Gqeberha and Durban, transport and dispatch packing should be included in the overall planning as well.
Because every component is different, we keep the process practical: confirm the part, the print area, the quantity and the cure requirement first, then quote the work around those details. That gives manufacturers a clearer basis for internal costing and helps avoid surprises later in the job.
How our Pinetown team handles automotive orders
Our Westmead base in Pinetown supports manufacturers across the country, with regular work for Durban manufacturers and supply into Johannesburg, Pretoria, Cape Town and Gqeberha. The process is managed by Sibusiso Naicker as Managing Director, with Naledi Kekana overseeing production, Sanjay Dookhi handling artwork and plate work, Lerato Mabunda coordinating quality, Yashika Sewpersad managing client communication, and Mfundo Xaba on machine setup.
For automotive electronics parts, the sequence is straightforward: receive the enquiry through the contact form, review the part and artwork, prepare the plate and fixture, run adhesion samples, confirm the curing method, then move into production and packing. If the part needs a rerun later, we keep the job control details close so the same mark can be repeated with fewer delays.
Manufacturers in New Germany, Westville and the wider Pinetown area often need practical support close to their production schedules, while long distance clients usually need clear sample sign-off and careful packing. That is where a disciplined setup helps most. The part must arrive ready for assembly and the marking must fit the application, not just the artwork file.