Why sensor assemblies need precise pad printing
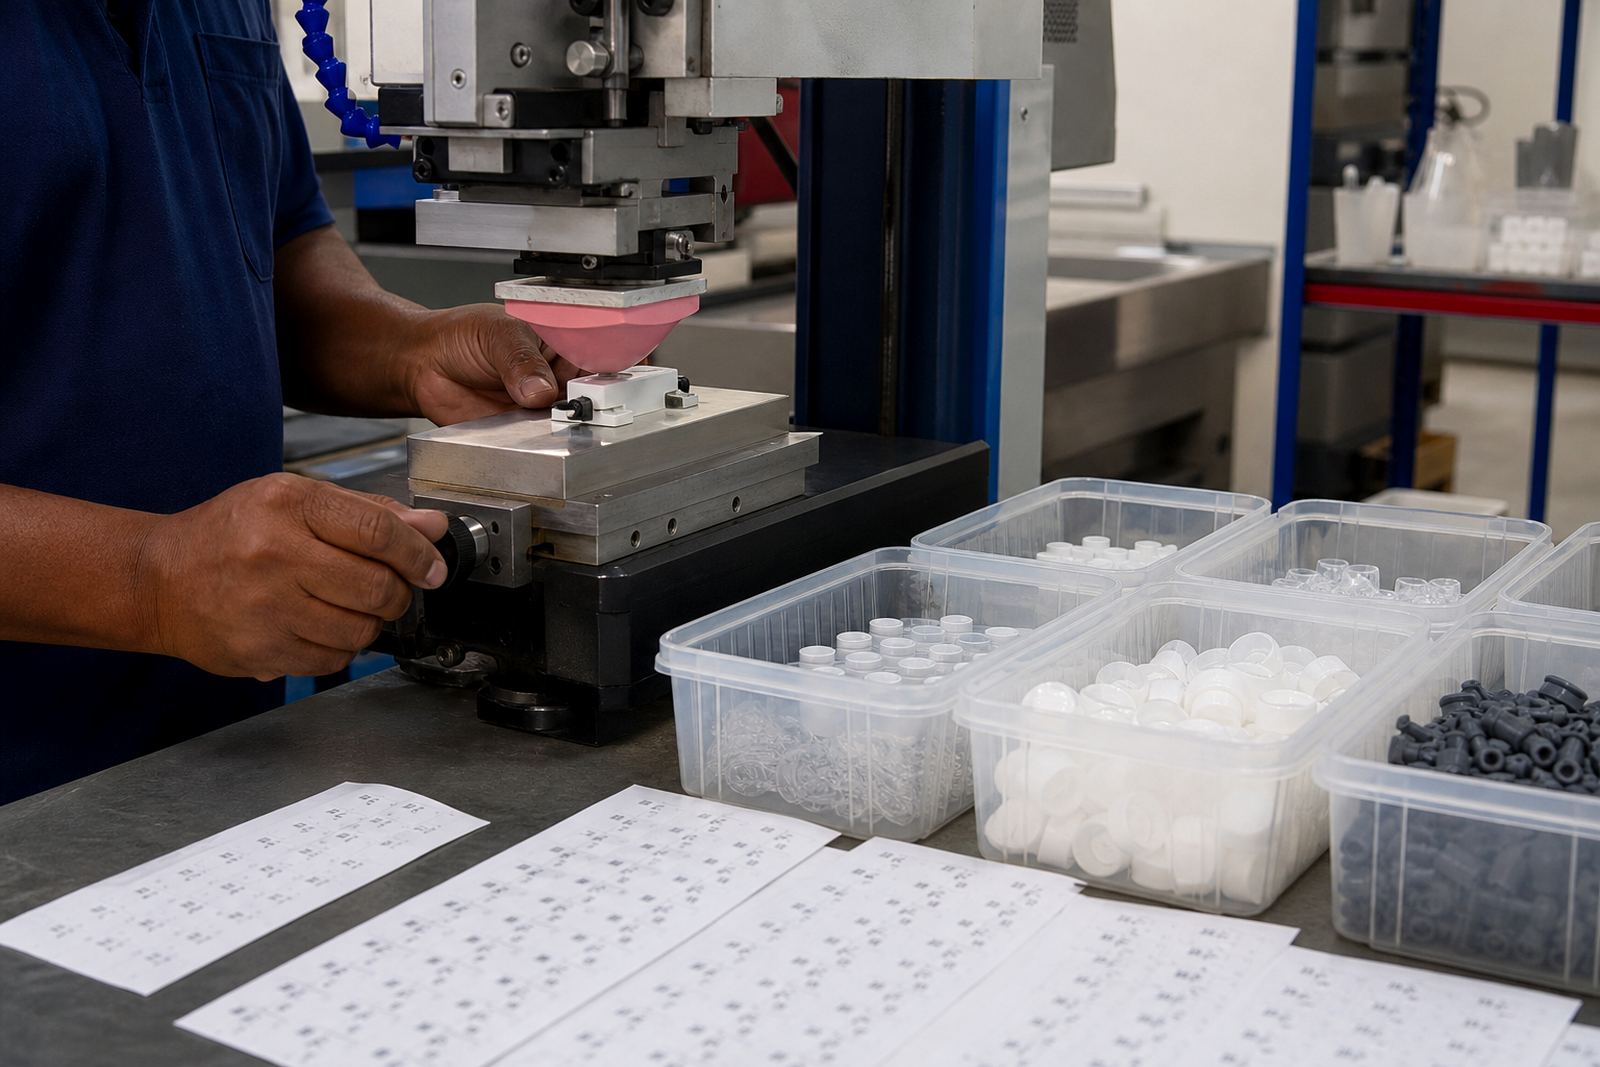
Sensor assemblies usually combine a housing, support brackets, covers, clips and internal parts that all need quick identification during build and service. Pad printing suits these parts because a silicone pad can pick up ink from an etched plate and transfer it onto uneven or slightly curved surfaces without needing a large flat print area. That makes it useful for part numbers, orientation marks, logo marks, channel identifiers and small warnings on plastics, coated metals and mixed material components.
In a production line the print often has to survive handling by fitters, assembly jigs, antistatic wipes and final packing. The right ink choice and curing method matter just as much as the artwork. We work with manufacturers who need neat, repeatable markings on compact components, where a crooked label or fuzzy code can slow down assembly and create scrap. Customers remain responsible for their own device compliance, so the print specification is set around the part and the production need rather than a general assumption.
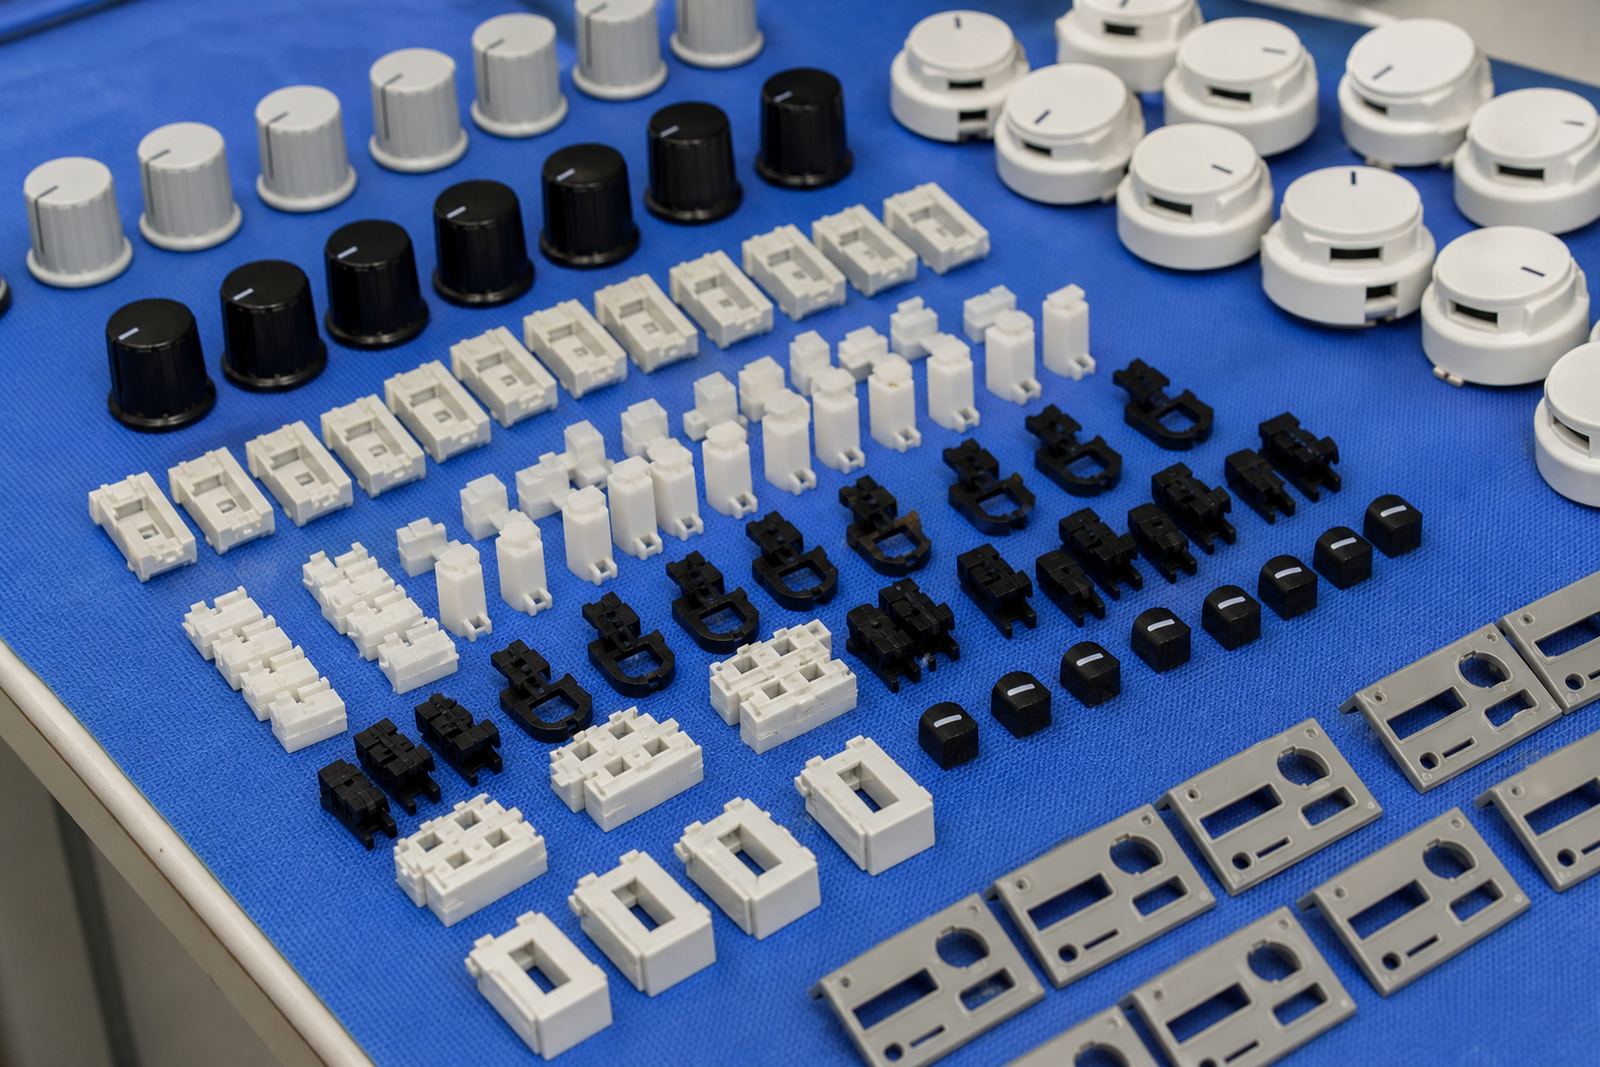
Typical sensor part sets we print for
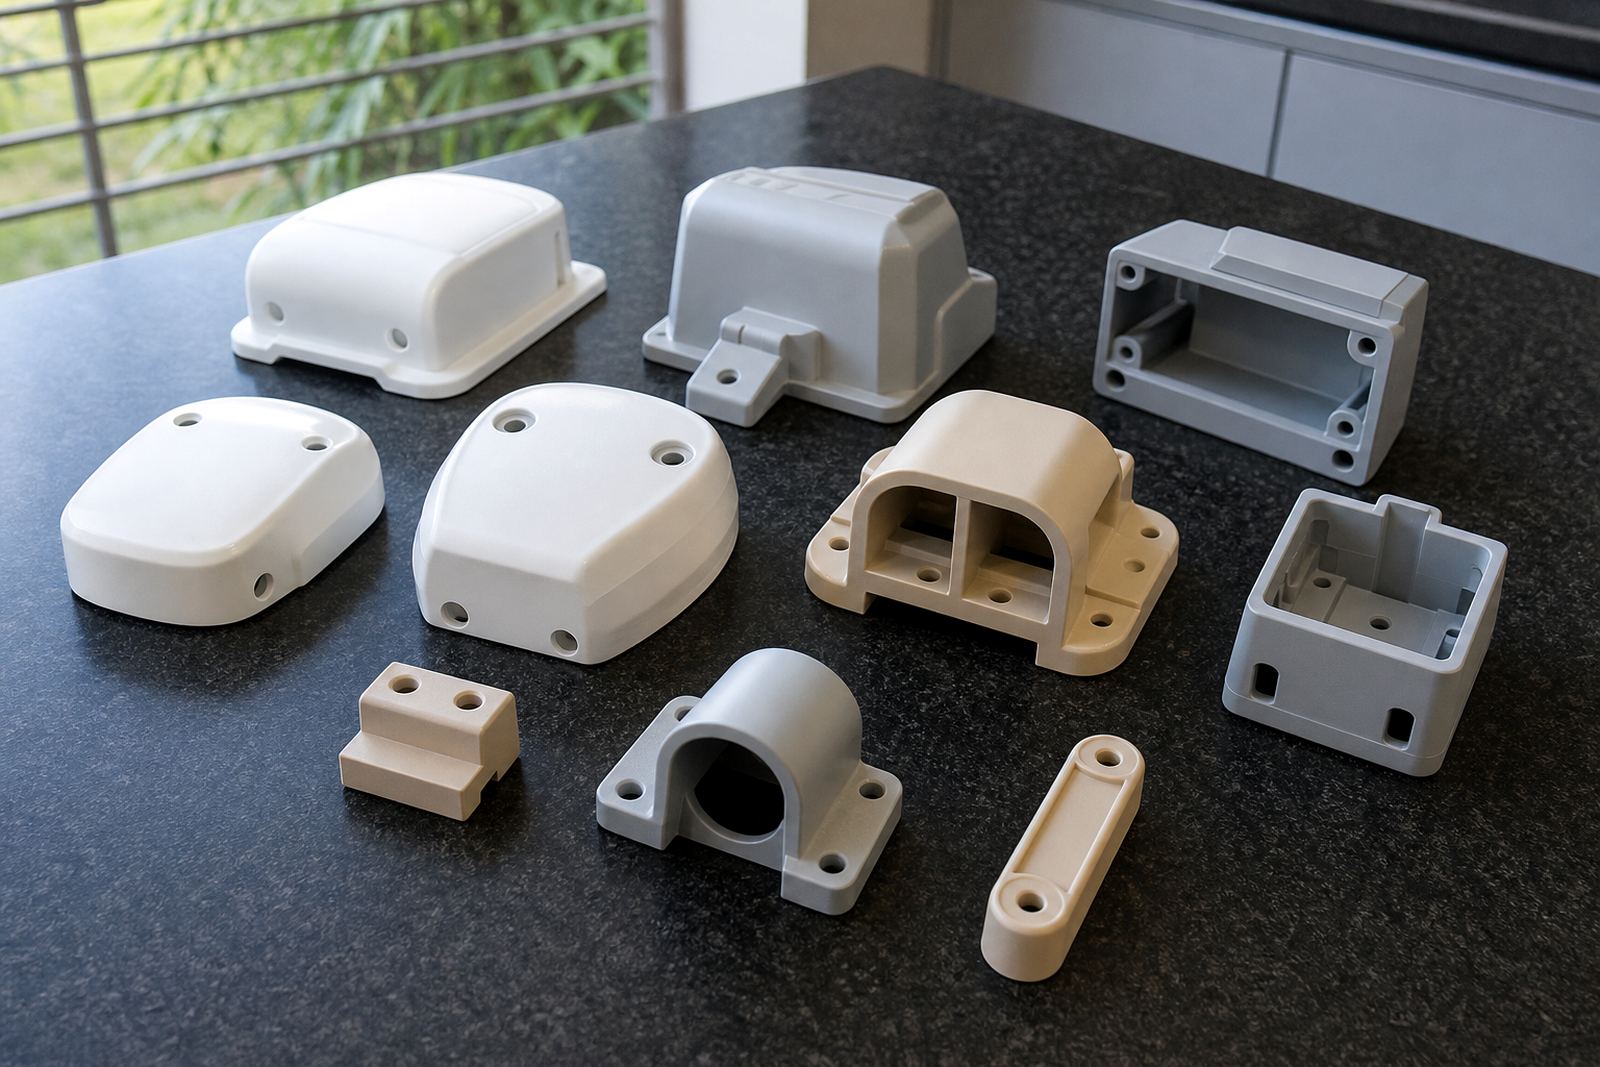
Sensor builds vary from small single housings to multi-part units with clips, shrouds and mounting plates. Some parts are moulded plastic, others are anodised, painted or coated, and some arrive with textured finishes. We plan the print around the exact contact point, the available flat area and how the part sits in a fixture during the run.
- Sensor housings with part numbers, arrows or cavity marks
- Connector covers and end caps with orientation marks
- Mounting brackets, clips and retainers for assembly control
- Cover plates and internal support parts with batch identifiers
- Trial samples for adhesion checks before full production
For electronics-related parts, a clean mark is often more important than a large one. The goal is to keep the print readable without affecting fit, clearance or the look of the finished assembly.
Artwork, plate setup and print area planning
Good pad printing starts before the first test run. We check the artwork, redraw loose logos or symbols where needed, and plan the print area against the actual part geometry. If a housing has ribs, slots, screw bosses or a shallow curve, the mark may need to move a few millimetres to avoid distortion. A small change in placement can make the difference between a clean, centred mark and a print that looks stretched.
Our artwork preparation, logo redraws and plate exposure work are set up for small component marks rather than large decorative graphics. For assembly parts, the main focus is legibility, placement and consistency across batches. If a client has multiple part variants, we map each variant separately so the print stays in the correct position from one run to the next. This also helps when rerun job control is needed later on a repeat order.
- Confirm the true print face, not just the drawing view
- Allow for clamps, fixtures and operator access
- Keep clear of edges that may wear during assembly
- Check whether the mark must remain visible after fitting
Inks, curing and adhesion checks for small parts
Sensor parts often need inks that bond well to specific plastics or coated metals, then cure properly so the mark does not smear during packing or rework. Depending on the material and production method, we may use air curing, heat curing or another controlled curing method after the print. The point is to match the ink system to the part, not force one method onto every component.
Before a production run we can supply adhesion test samples so the client can check handling, wipe resistance and fit in their own process. This is especially helpful where the assembly line uses gloves, alcohol based cleaners or post-print handling by different teams. If the part surface changes between batches, we may need to re-check adhesion or adjust the curing method selection. That kind of control keeps the process stable when the same sensor family is printed month after month.
Common mistakes on sensor assembly jobs
Most problems on sensor assembly prints come from the part itself, not the pad printer. A surface may have mould release residue, the artwork may be too fine for the available print area, or the fixture may allow the housing to shift under pressure. On small parts, even a slight movement can blur the mark or make it land off centre. The print then looks acceptable from a distance but fails under close inspection.
Another common issue is trying to print too much information onto a very small face. Part numbers, trace marks and logo elements all compete for space, so the job needs a clear priority list. We also see jobs where the customer sends a sample that differs from the production part, which leads to a bad fit on the first run. Best practice is to send the actual production component, or as close to it as possible, before full plate work begins.
- Printing on a dirty or oily surface
- Using artwork that is too fine for the part size
- Ignoring how the part sits in the fixture
- Skipping the sample run before bulk printing
- Expecting one setup to suit every variant
Budget ranges for sensor marking work in Rand
Budgets for sensor assembly pad printing depend on the number of colours, the number of part variants, fixture complexity and whether artwork needs redraws or a new plate. A simple one-colour identification mark on a stable part is usually far more economical than a multi-variant job with several setup changes. Trial sample runs, adhesion checks and custom fixture making can also affect the final figure.
As a practical guide, smaller repeat jobs may sit in the low thousands of Rand for setup and sample work, while more involved multi-part production jobs can move higher once tooling, rerun control and packing are included. For manufacturers in Durban, Johannesburg, Cape Town, Pretoria and Gqeberha, it often makes sense to start with a test batch before committing to a full production schedule. That gives a clearer view of print quality, labour time and any adjustment needed at the assembly stage.
We also help with dispatch packing so printed parts reach the next line or site in order. For clients in Pinetown, New Germany and Westville, local turnaround can make short runs easier to manage, while out-of-town supply is planned around the production window and transport timing.
Who prints your parts
Our Westmead team is led by Sibusiso Naicker, Managing Director, with Naledi Kekana handling production, Sanjay Dookhi on artwork and plate work, Lerato Mabunda managing quality checks, Yashika Sewpersad coordinating clients and Mfundo Xaba on machine setup. That structure helps with sensor assembly jobs where accuracy matters and the next batch has to match the last one. The same process suits manufacturers needing support from Pinetown, Durban, Johannesburg supply, Pretoria supply, Cape Town supply and Gqeberha supply.
For a pad printing run, write to PadPrinters through the contact page form with your part, artwork and run size, and we usually begin by confirming the part sample, the mark size, the surface type and the production quantity. From there we can advise on print area planning, plate exposure, plate etching, fixture making, trial sample runs and the best curing route for the part in question. For sensor assemblies, that early planning saves time later because the print has to fit the product and the process, not the other way around.