When enclosure markings need to stay readable
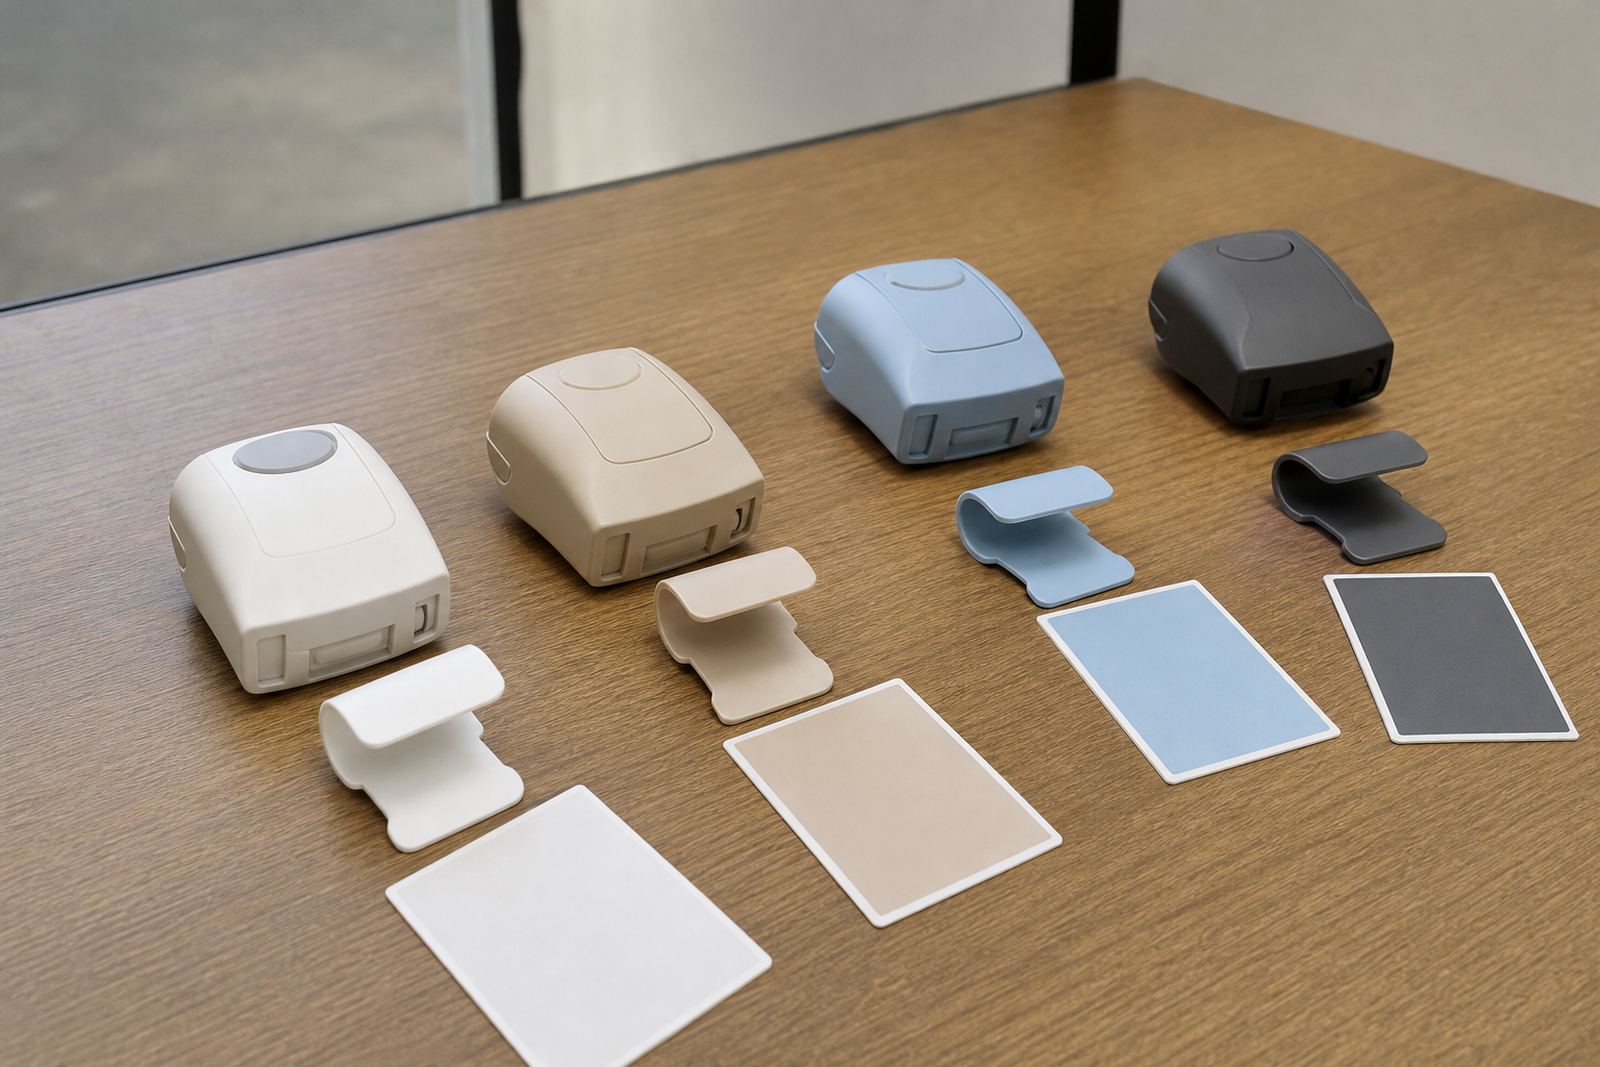
Electronic enclosures often arrive already moulded, textured or lightly curved, which makes flat printing methods a poor fit. Pad printing transfers ink from an etched plate onto the housing using a silicone pad, so text, symbols and logo marks can follow ribs, recesses, bezels and snap-fit surfaces without distorting the part too much. For medical and electronic assemblies, that means the finished legend is easier to read and less likely to smear during handling, packing or light cleaning.
Typical requests include product names, input and output labels, warning symbols, polarity marks, serial fields and cable-routing notes. The goal is not decoration alone, but practical identification that helps assemblers, installers and end users work correctly. Customers remain responsible for their own device compliance and any required sign-off on content, placement or language used on the product.
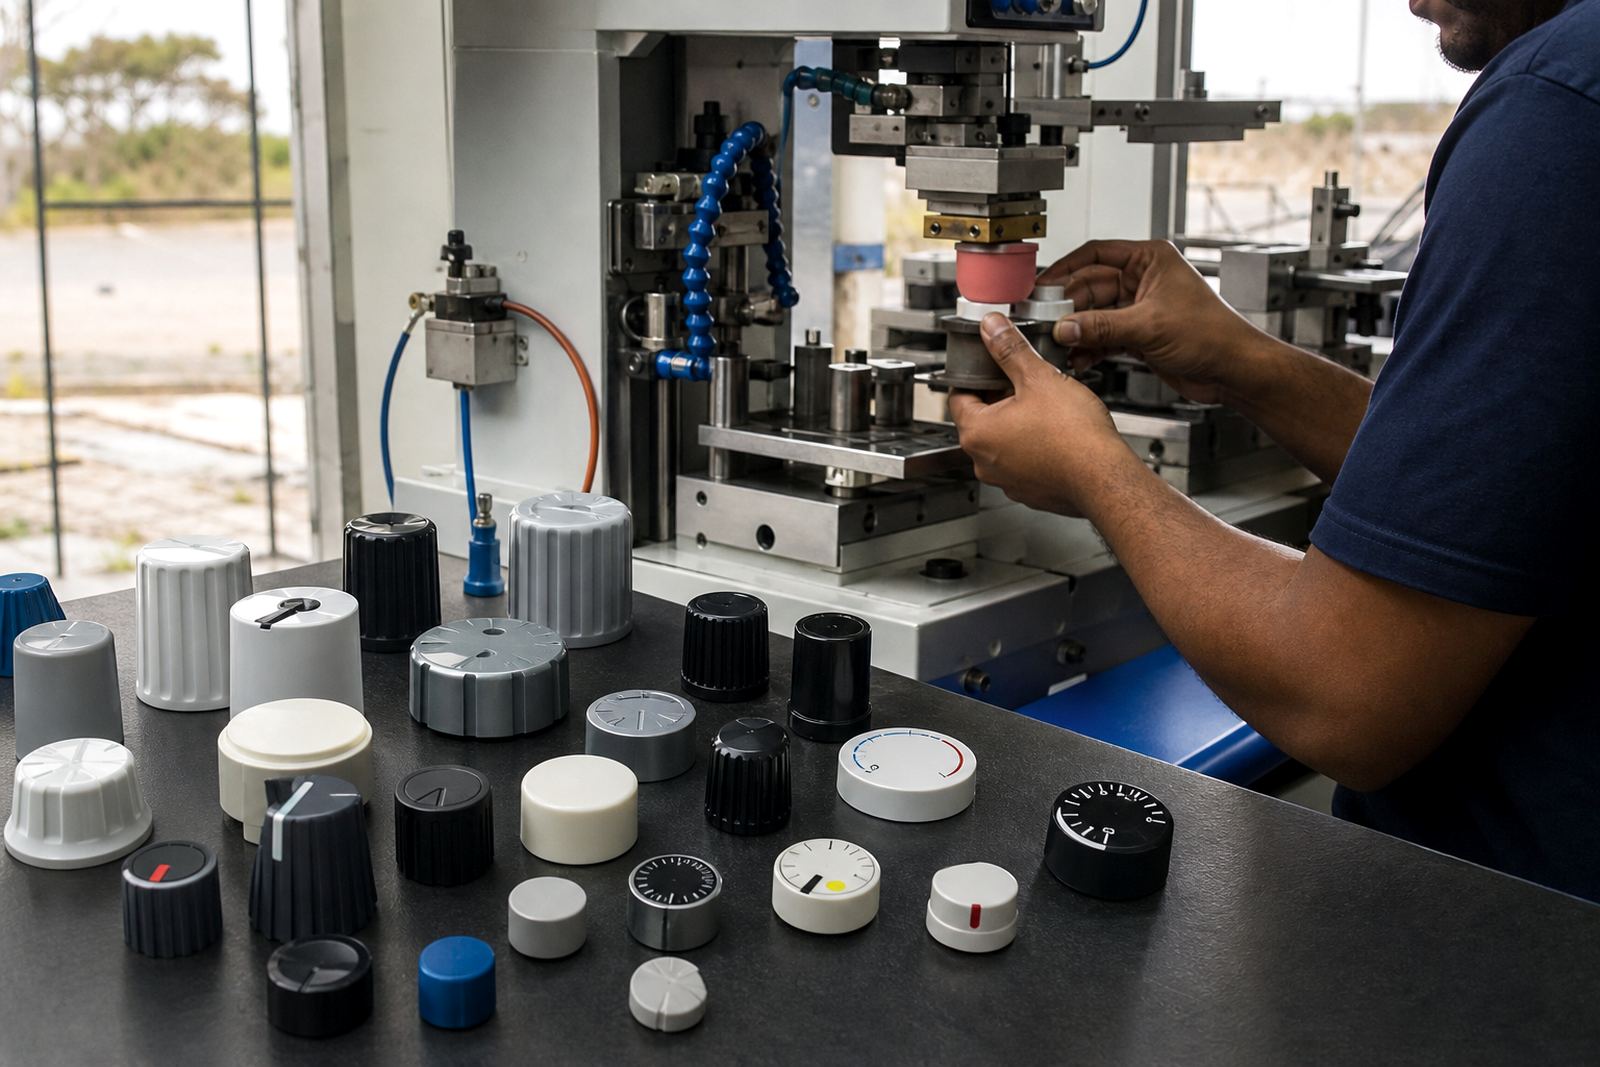
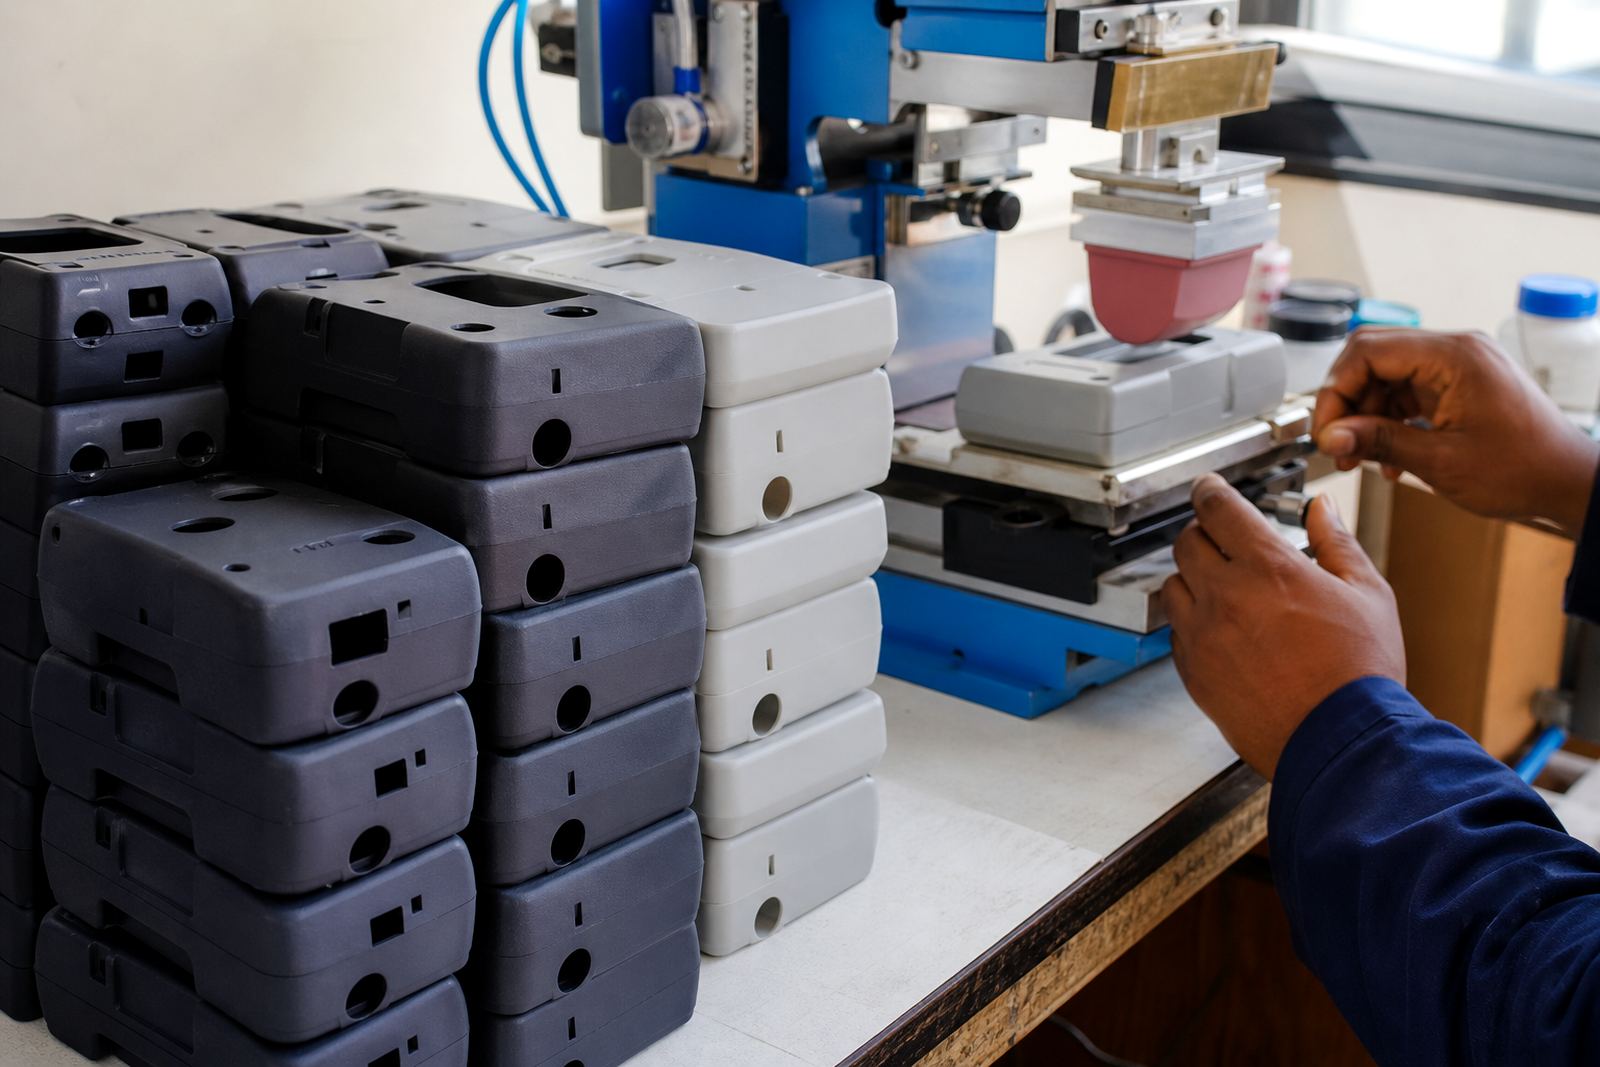
Typical equipment set for enclosure work
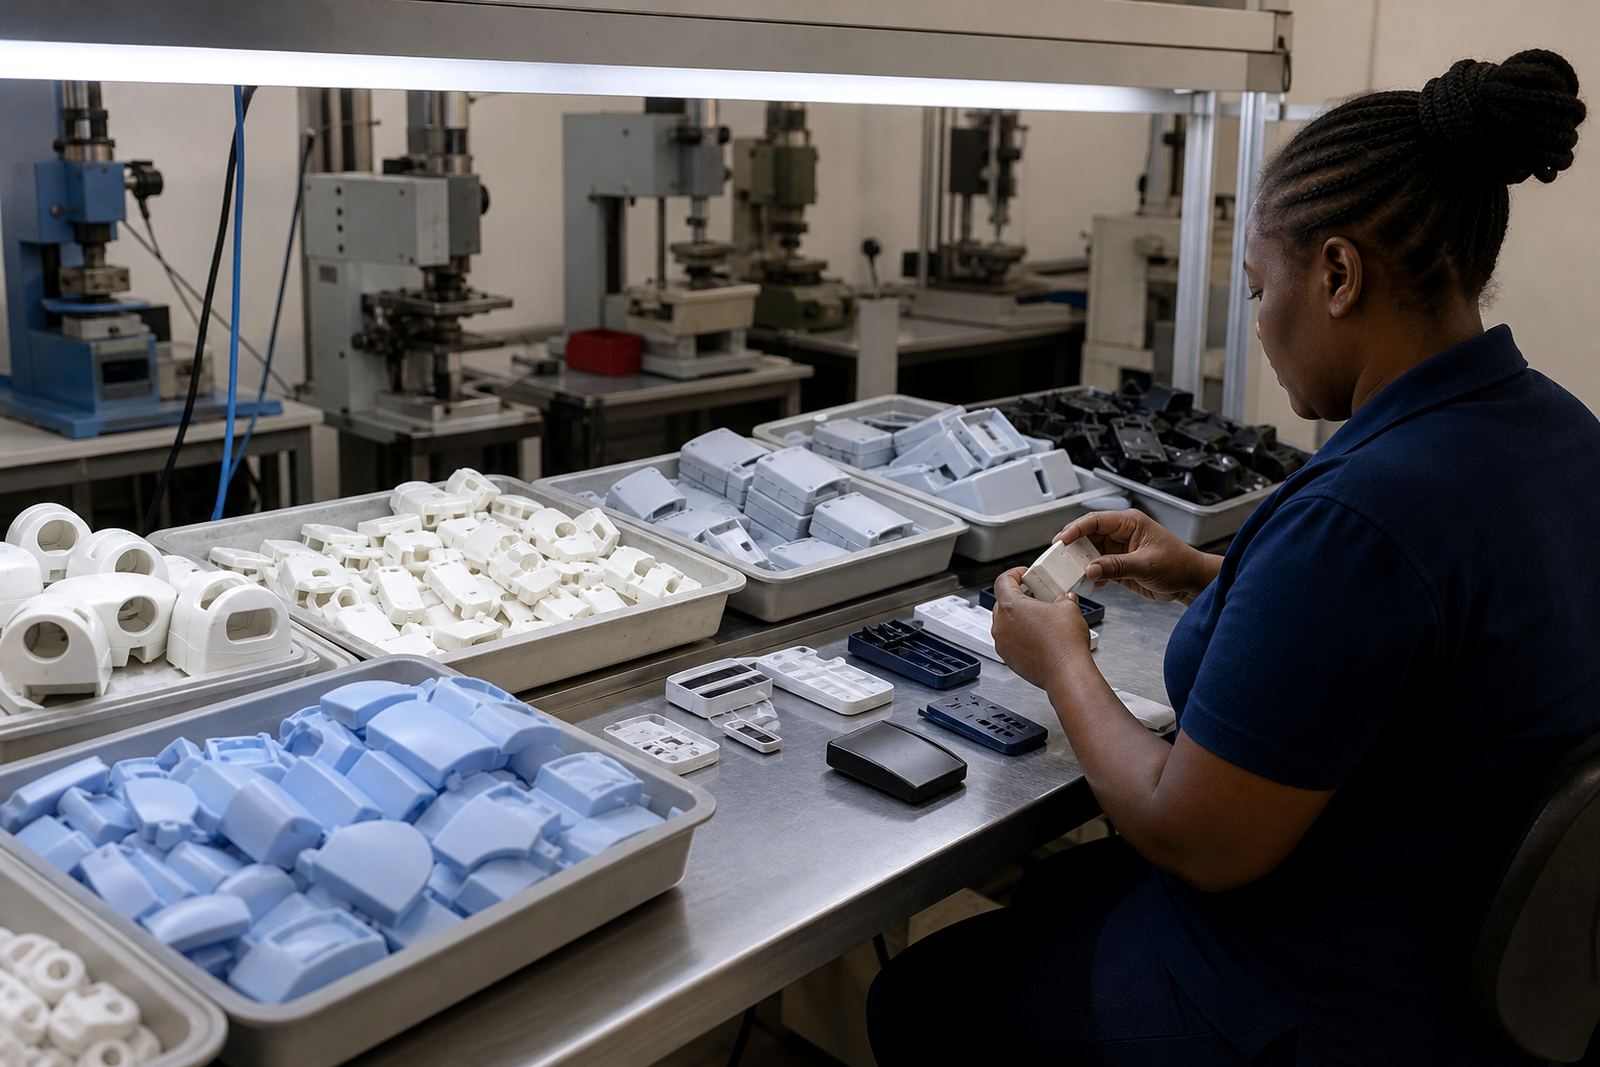
Every enclosure job starts with the part itself. We look at wall thickness, mould texture, draft angles, gate marks and any areas that flex during handling. From there the print area is planned against the housing shape, the required legend size and the way the part will be held in a fixture. A simple box with a flat face is straightforward, while a deeper housing with side recesses may need a more carefully built jig and a slower setup.
- Silicone pad selection matched to part shape and print area
- Artwork preparation and logo redraws where needed
- Plate exposure and plate etching for the image carrier
- Fixture making so the housing sits repeatably in the same position
- Trial sample runs before the main production batch
- Curing method selection for the ink system and production pace
For many jobs, the right fixture is as important as the ink itself. A part that moves by even a millimetre can throw off a legend, especially on small enclosures with switches, LEDs or port cut-outs close to the print zone.
Layout planning for moulded housings
Good layout saves time later. On enclosure work, the first task is deciding what must be seen immediately and what can sit on a less visible face. Brand marks, power ratings, functional legends and caution text should be placed where technicians can find them quickly. If the enclosure has a curved front or a recessed side, the artwork may need to be adjusted so the finished print still looks square after transfer. That sounds simple enough, but small shape changes can affect letter spacing more than clients expect.
We usually advise clients to finalise the part drawing before plate work begins. If the housing is still changing, the print position can drift from one revision to the next. It is better to confirm screw bosses, clip points, mould parting lines and any label windows first, then lock down the print area. A little time spent here avoids reruns and extra plate work later on.
- Leave safe margins from edges, ribs and screw holes
- Keep small text large enough to remain legible after curing
- Avoid placing critical legends across high-gloss curves unless tested first
- Confirm orientation for left and right handed housings
- Plan for future reprints so the same legend can be repeated consistently
Inks, curing and adhesion on plastic parts
Most enclosure work depends on the surface finish and the plastic used. Some housings accept ink more readily than others, and a smooth or greasy surface may need extra attention before printing. The ink system is selected for the part, the environment and how the product will be used. For example, a housing that sits in a warm plant room or near regular cleaning chemicals needs a different approach from a light indoor control box. Curing then locks the print into place so it can be packed, assembled and handled with less risk of rub-off.
Adhesion test samples are useful before committing to a full run. They show whether the print needs a different curing cycle, a surface treatment or a change in ink mix. On some jobs, a simple handling test is enough. On others, the client may want their own internal checks after assembly. Either way, the sample stage is where small problems get caught before they become expensive.
Common mistakes that cause rework
Most enclosure problems are not dramatic, they are small setup misses that build into waste. The wrong fixture can tilt a part. A plate can be exposed with artwork that is too fine for the surface. A legend can be placed too close to a radius and then stretch when transferred. Sometimes the enclosure arrives after mould changes and the artwork is no longer aligned to the latest version. It happens more often than people think.
Another common issue is expecting one print setup to suit every part in a range. Even when housings look similar, slight differences in wall height or texture can change the result. We also see avoidable delays when sample approval is rushed and production starts before the print location is agreed. That leads to reruns, extra packing work and lost time on the line.
- Unconfirmed drawing revisions
- Poorly defined print area or no allowance for ribs and bosses
- Skipping trial sample runs
- Choosing a curing method that does not suit the production pace
- Using the same setup for mixed enclosure sizes without checking fit
Budget ranges for South African production runs
Budget depends on the number of colours, the size of the legend, the shape of the enclosure and how much setup work is needed. A simple single-colour mark on a straightforward housing is usually far easier to price than a multi-position enclosure with several legends and a custom fixture. Artwork redraws, plate work, sample runs and packing requirements also affect the total. For short runs, setup can form a large part of the job; for repeat production, the unit cost often improves once the tooling is settled.
As a broad guide, clients should budget for a setup component plus a per-part printing cost, with additional allowance for fixture making, adhesion samples and any reruns needed for artwork changes. If a job is moving into regular production, it is worth planning the repeat rate from the start so the same setup can be used again with less interruption. In practice, the most affordable route is usually the one that avoids rework, not the one that looks cheapest on the first quote.
PadPrinters Medical works from Westmead, Pinetown and supports manufacturers in Durban, Johannesburg, Cape Town, Pretoria and Gqeberha, with support for Pinetown Printing Support, Durban Manufacturers, Johannesburg Supply, Pretoria Supply, Cape Town Supply, Gqeberha Supply, New Germany Support and Westville Support. Clients get in touch through the sample request form on our contact page for artwork review, sample planning and job scheduling.