Control panel marking for medical and electronics parts
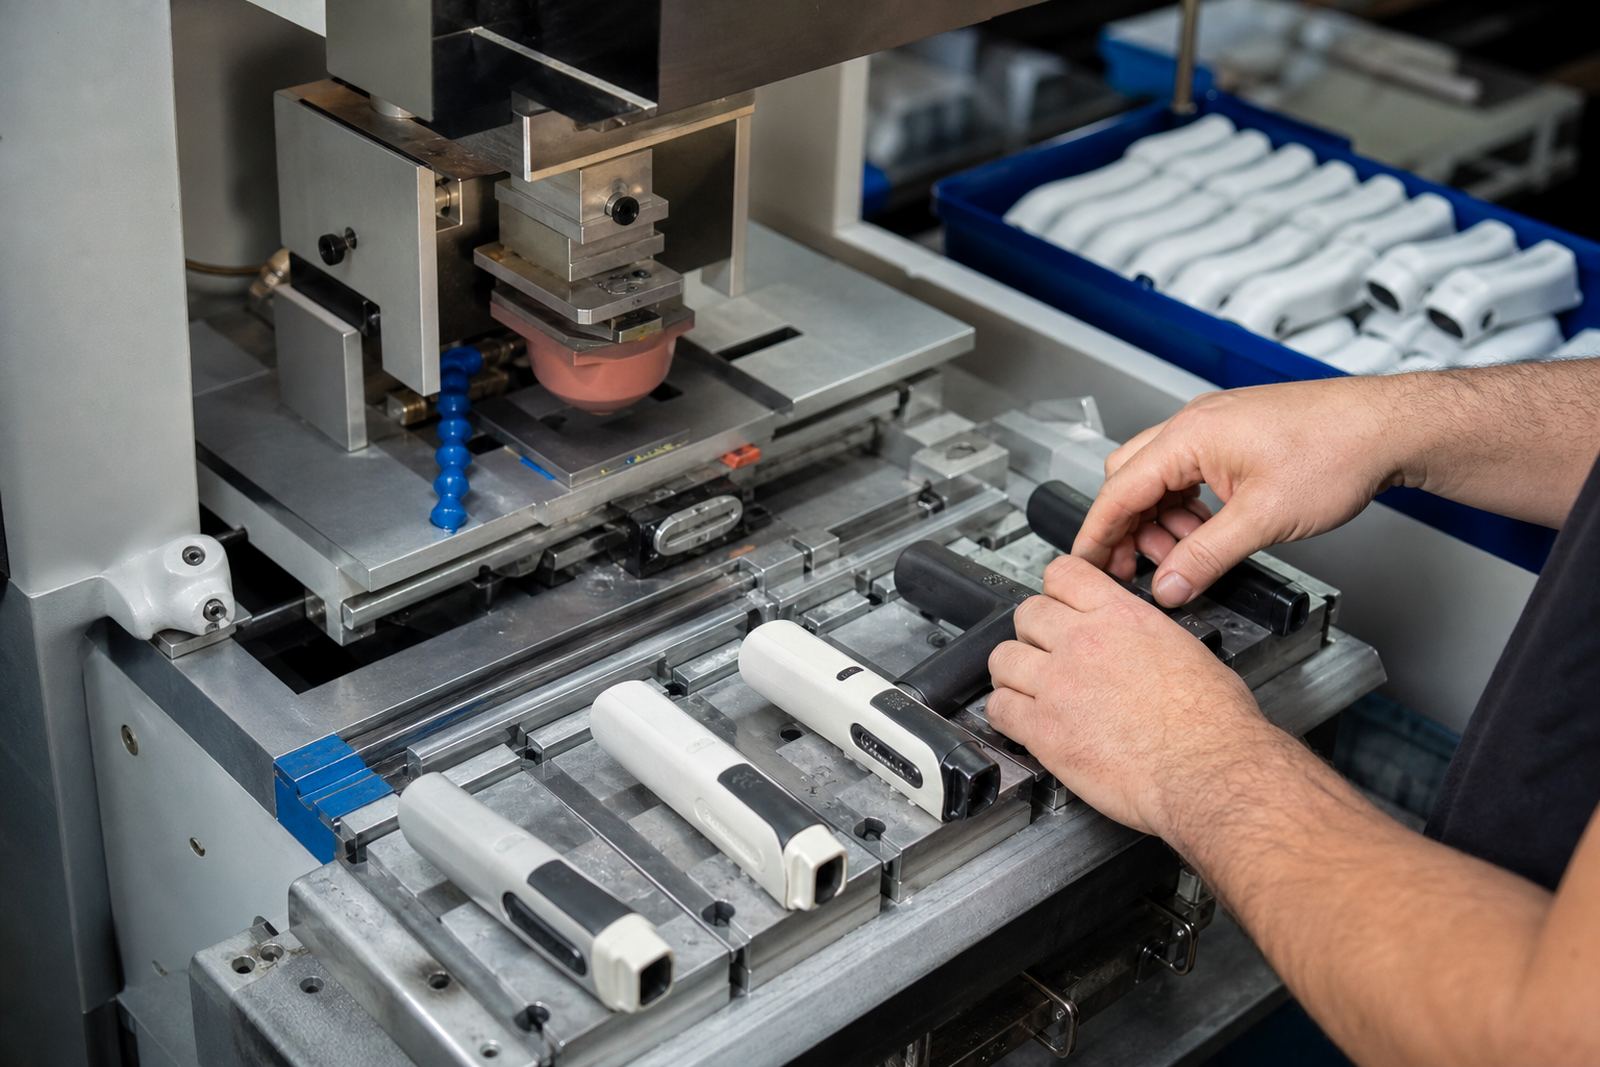
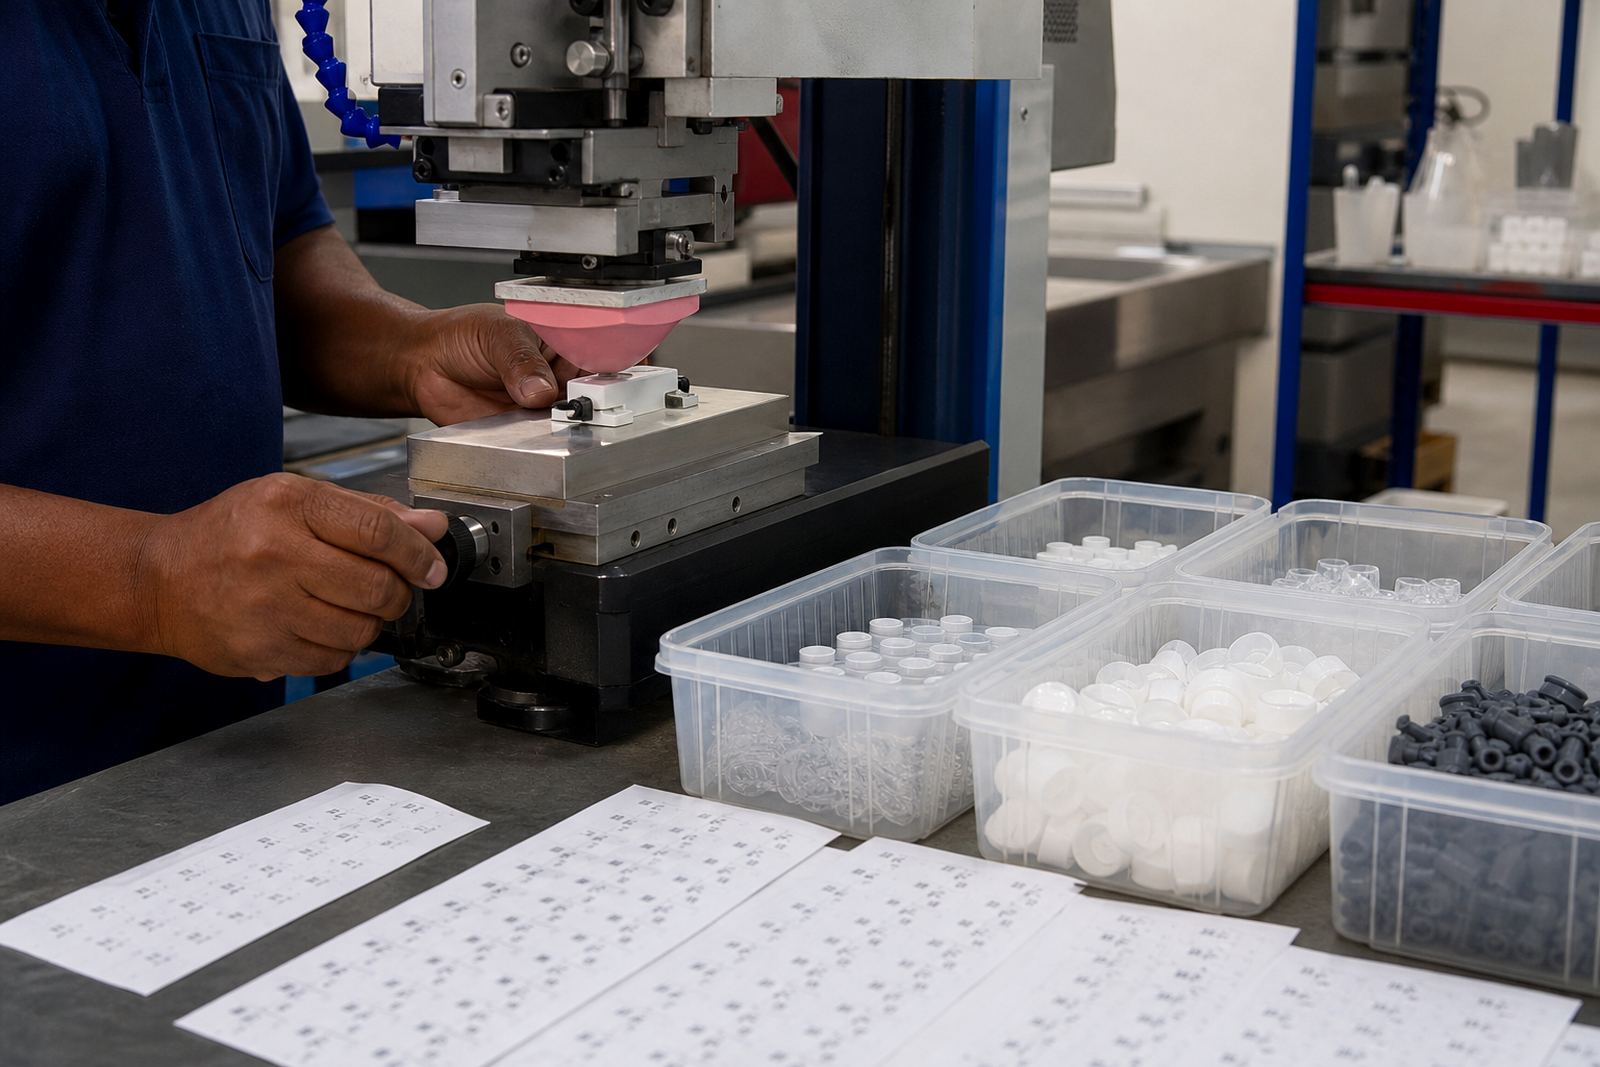
Control panels need markings that stay readable after cleaning, handling and repeated use. On medical and electronic equipment, that usually means crisp text, symbols, numbering and alignment marks applied to rigid parts such as front panels, bezels, housings and switch surrounds. Pad printing suits these parts because the silicone pad can pick up ink from an etched plate and transfer it onto uneven or slightly curved surfaces without forcing the component into a flat-only process.
For panel work, the main concern is not just appearance. It is legibility, placement and how the marking behaves after curing, cleaning chemicals and regular contact. The customer remains responsible for their own device compliance, but the marking method must support the final product by giving a consistent print edge, good ink adhesion and repeatable registration from part to part.
Typical equipment and parts we print onto
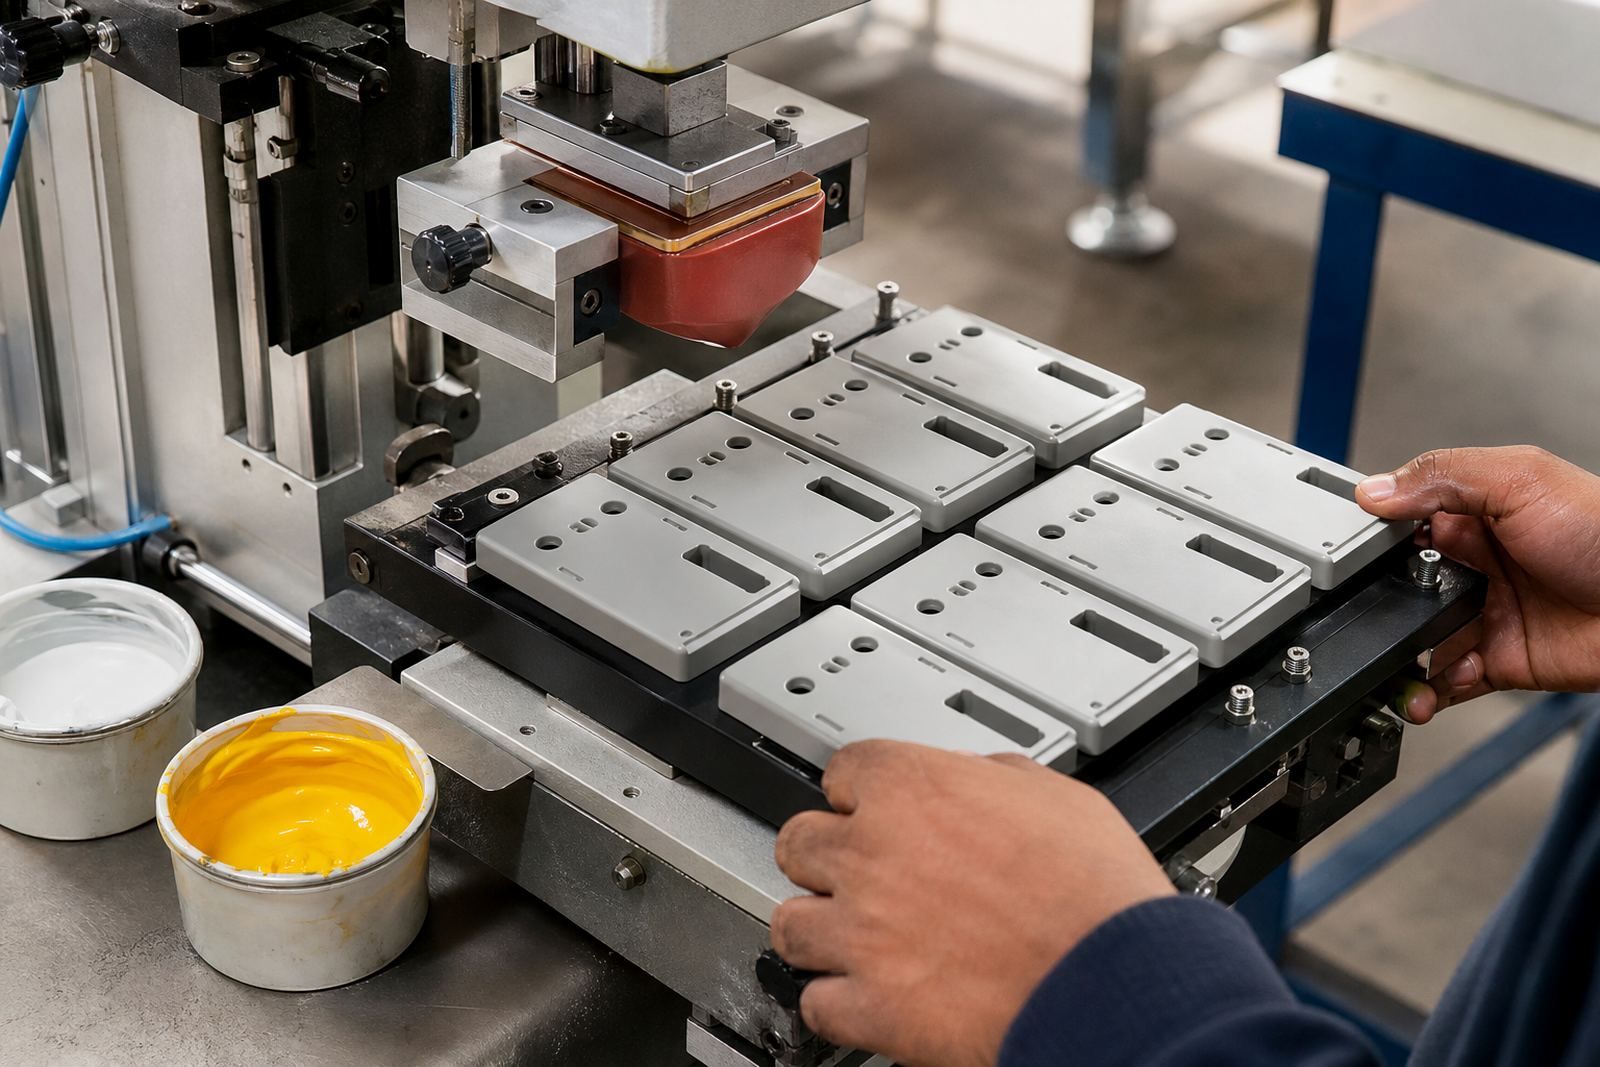
We print onto a wide mix of rigid components used in equipment sold throughout South Africa. In many cases the panel is small, detailed and already fitted with cut-outs, fastener holes or raised areas that affect print position. That is where artwork prep and fixture making matter. A clean artwork file is only part of it, the part itself must be held the same way every time.
- Front panels for control boxes and instrument housings
- Bezels around screens, buttons and indicator windows
- Faceplates with numbers, arrows and operating legends
- Switch surrounds, label strips and keypad frames
- Rigid covers and access panels with warning marks or status icons
Most of these parts need close attention to substrate type, surface finish and the cleaning method used before printing. Glossy plastics, coated metals and textured mouldings each behave differently, and the ink choice must suit the material rather than the other way round.
Layout planning before the first trial run
Good panel printing starts with the layout, not with the machine. Before we set up, we check the printable area, the safe margin from edges, cut-outs and screw points, and the reading direction of every legend. That helps prevent awkward text placement that looks fine on a screen but fails once the part is assembled. On busy panels, even 1 or 2 mm can make the difference between a tidy control face and a panel that looks crowded.
Artwork Preparation, Logo Redraws, Print Area Planning and Colour Matching are often the first steps. If a panel needs both white and black markings, or several spot colours, we plan the print order so each layer sits correctly after curing. For fine scales and indicator lines, we check line weight and spacing before plate exposure. A proper trial sample run often saves a full rerun later.
- Confirm the exact panel orientation in use, not just the drawing
- Allow for chamfers, ribs and raised edges near the print zone
- Keep critical warnings and measurements in the clearest reading area
- Check whether the panel will be backlit, handled often or wiped down regularly
Inks, curing and adhesion for durable marks
Pad printing inks are selected to suit the substrate and the service environment. On control panels, the print may need to tolerate hand contact, cleaning fluids, humidity in coastal areas and long service in plant rooms or clinics. The curing method matters just as much as the ink itself. Some jobs need air drying, others need heat or controlled curing so the mark reaches proper durability before packing.
We also provide Adhesion Test Samples to check how the marking behaves on the actual part. That matters because a print that looks sharp straight after application can still fail if the surface was not prepared properly or if the curing cycle was too short. On electronic parts especially, the finish must stay neat while avoiding overspray, smudging or edge lift. If a panel is supplied with a coating, we test against that finish rather than guessing.
Common mistakes that cost time and money for medical parts
The most common problem is leaving marking until the end of production. If the panel design is already finalised but the print area was not planned, the result is often a rushed layout or a job that needs rework. Another frequent issue is assuming one ink system will suit every material in a mixed batch. That rarely works. Plastic bezels, painted metal panels and coated surfaces can all need different setup choices.
We also see jobs where the artwork is too thin, too close together or too small for the actual viewing distance. If the operator must read the panel in low light or during maintenance, the print must be practical, not just neat on paper. A second mistake is skipping fixture making. Without a proper holding method, repeat jobs drift out of register and the batch starts showing small but costly inconsistencies.
- Do not mix materials in one batch without checking ink compatibility
- Do not approve artwork without viewing it at actual size
- Do not ignore cleaning residue, mould release or surface dust
- Do not leave curing settings to guesswork when the job is time sensitive
Budget ranges and how to plan your order
Panel marking costs depend on the number of colours, the size of the print area, the amount of setup work and whether fixtures or redraws are needed. Small rerun jobs with existing plates are usually simpler than a fresh artwork and plate job. If a panel needs multiple colours, very fine text or several trial samples, the setup effort increases and so does the budget. For planning purposes, many control panel jobs fall into a modest setup range for short runs, then improve on cost per unit as volumes increase.
When clients ask for a budget, we usually look at the following: the material type, the size of the panel, the number of legends, the quantity required, and whether dispatch packing must be done part by part. If there is a deadline linked to production release or assembly, that can affect the sequence of work too. In practical terms, it helps to send the part sample, the artwork and the required quantity together so the quote reflects the real job, not a rough estimate.
- Fresh artwork, plate exposure and setup work typically cost more than repeat jobs
- Single-colour legend sets are simpler than multi-colour indicator panels
- Trial sample runs are useful for approval before larger quantities go through
- Short runs and urgent turnarounds can need tighter scheduling in Westmead, Pinetown
Working from Westmead for panel jobs across South Africa
PadPrinters Medical is based in Westmead, Pinetown and supports manufacturers across Durban, Johannesburg, Cape Town, Pretoria and Gqeberha. The team is led by Sibusiso Naicker and includes Naledi Kekana in production, Sanjay Dookhi on artwork and plates, Lerato Mabunda in quality, Yashika Sewpersad in client services and Mfundo Xaba on machine setup. That mix helps when a control panel job needs both neat artwork handling and practical print setup.
For clients in industrial areas, medical assembly spaces and electronics production facilities, the normal process is straightforward. Send the enquiry through the contact page, share the part details and ask for a trial if needed. We can handle rerun job control and dispatch packing so the printed parts return ready for the next step in your production line. Around Durban and the coastal belt, we also keep an eye on humidity and storage conditions because those small factors can affect print handling more than people expect.