Why trial sample runs matter before volume printing
Pad printing looks simple when the final mark is small, but medical and electronic components often need very tight positioning, neat edges and consistent ink coverage on curved or uneven surfaces. A trial sample run gives you a practical check before you commit to a larger batch. It shows whether the artwork holds its shape at the required size, whether the part sits correctly in the fixture, and whether the chosen ink bonds properly after curing.
For components used in clinics, laboratories, instrumentation, housings and control units, there is no room for guesswork. A sample run lets you see the mark on the actual substrate, not on paper. That means you can review line thickness, logo legibility, fine text, contrast and orientation before production. If something needs adjusting, it is much easier to correct it at sample stage than after a full run. This saves time, material and rework, especially where parts are supplied into busy manufacturing lines.
We work with manufacturers across Durban, Johannesburg, Cape Town, Pretoria and Gqeberha, so sample runs also help when different sites need the same mark to appear the same way. For export-bound or contract-manufactured parts, that consistency matters. It also gives your own quality team evidence for internal approval. You stay responsible for your device compliance and product release decisions, while we provide the print sample and process information needed for your review.
What is included in a sample run
A trial sample run is more than a quick print test. It is a controlled set-up using your approved artwork, a matching silicone pad profile where needed, the intended ink system and the same curing approach that would be used on the full job. Where useful, we can test one colour or a small colour set, depending on the part and the mark specification.
- Artwork check and size confirmation against the printable area
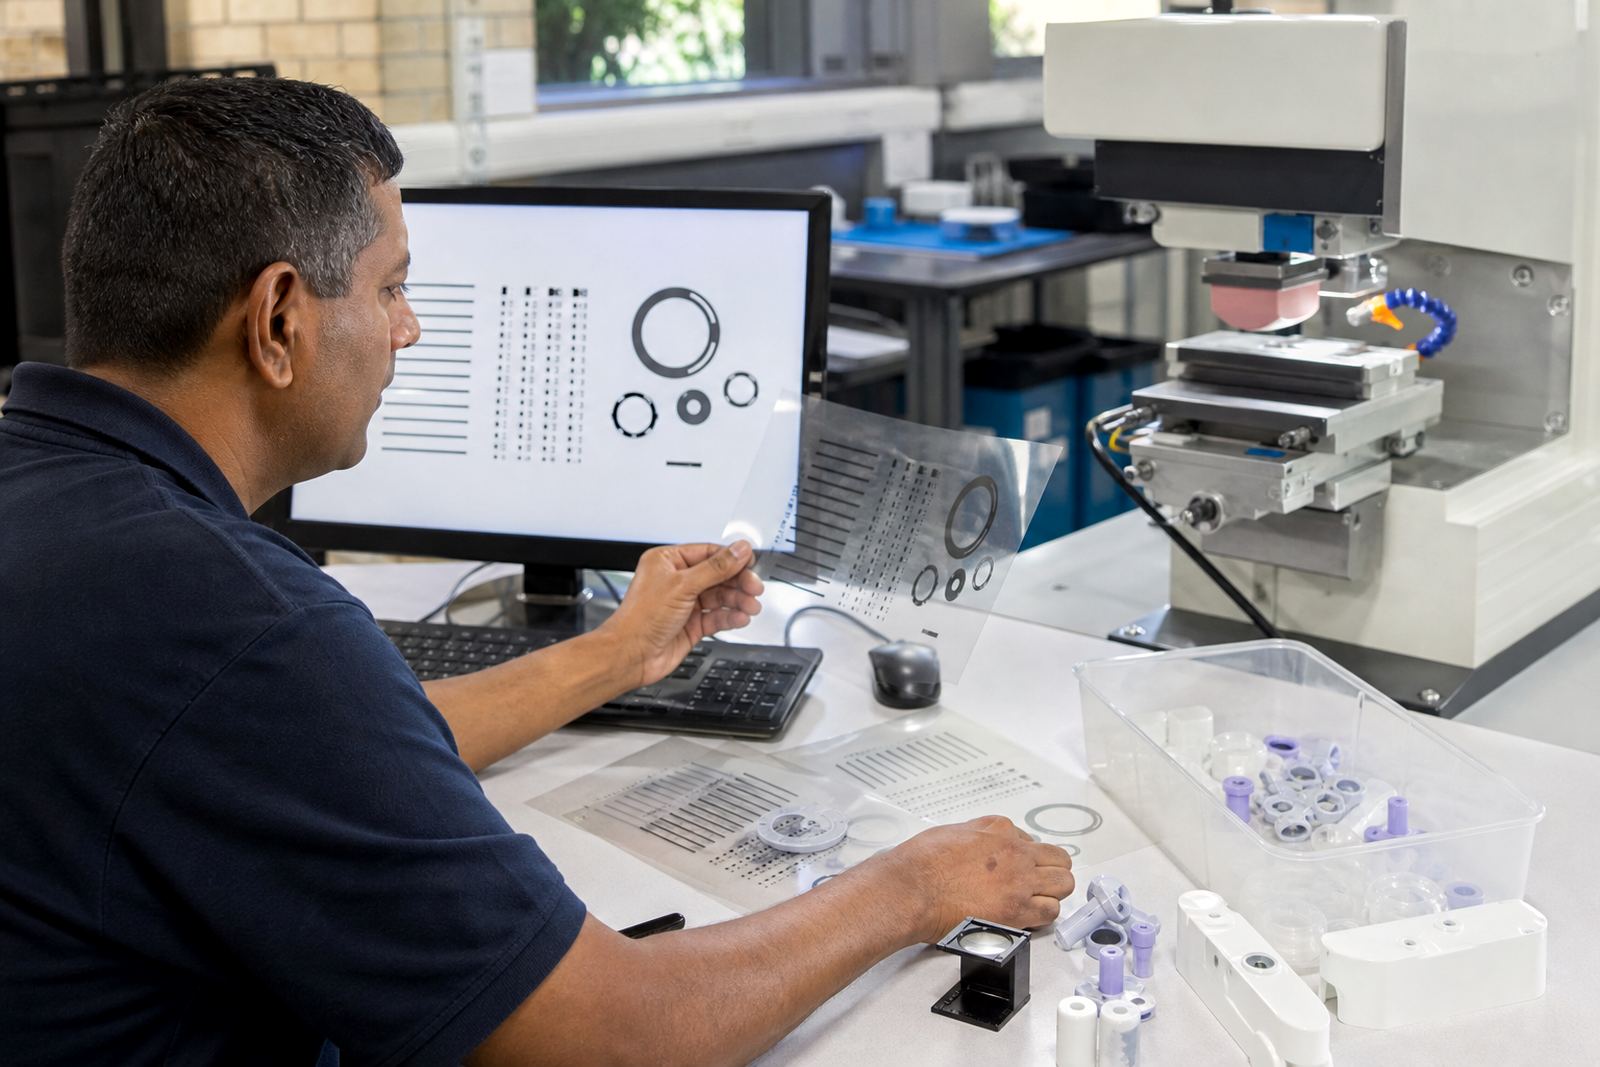
- Logo redraws or line clean-up where fine detail needs adjustment
- Print area planning for curved, recessed or small components
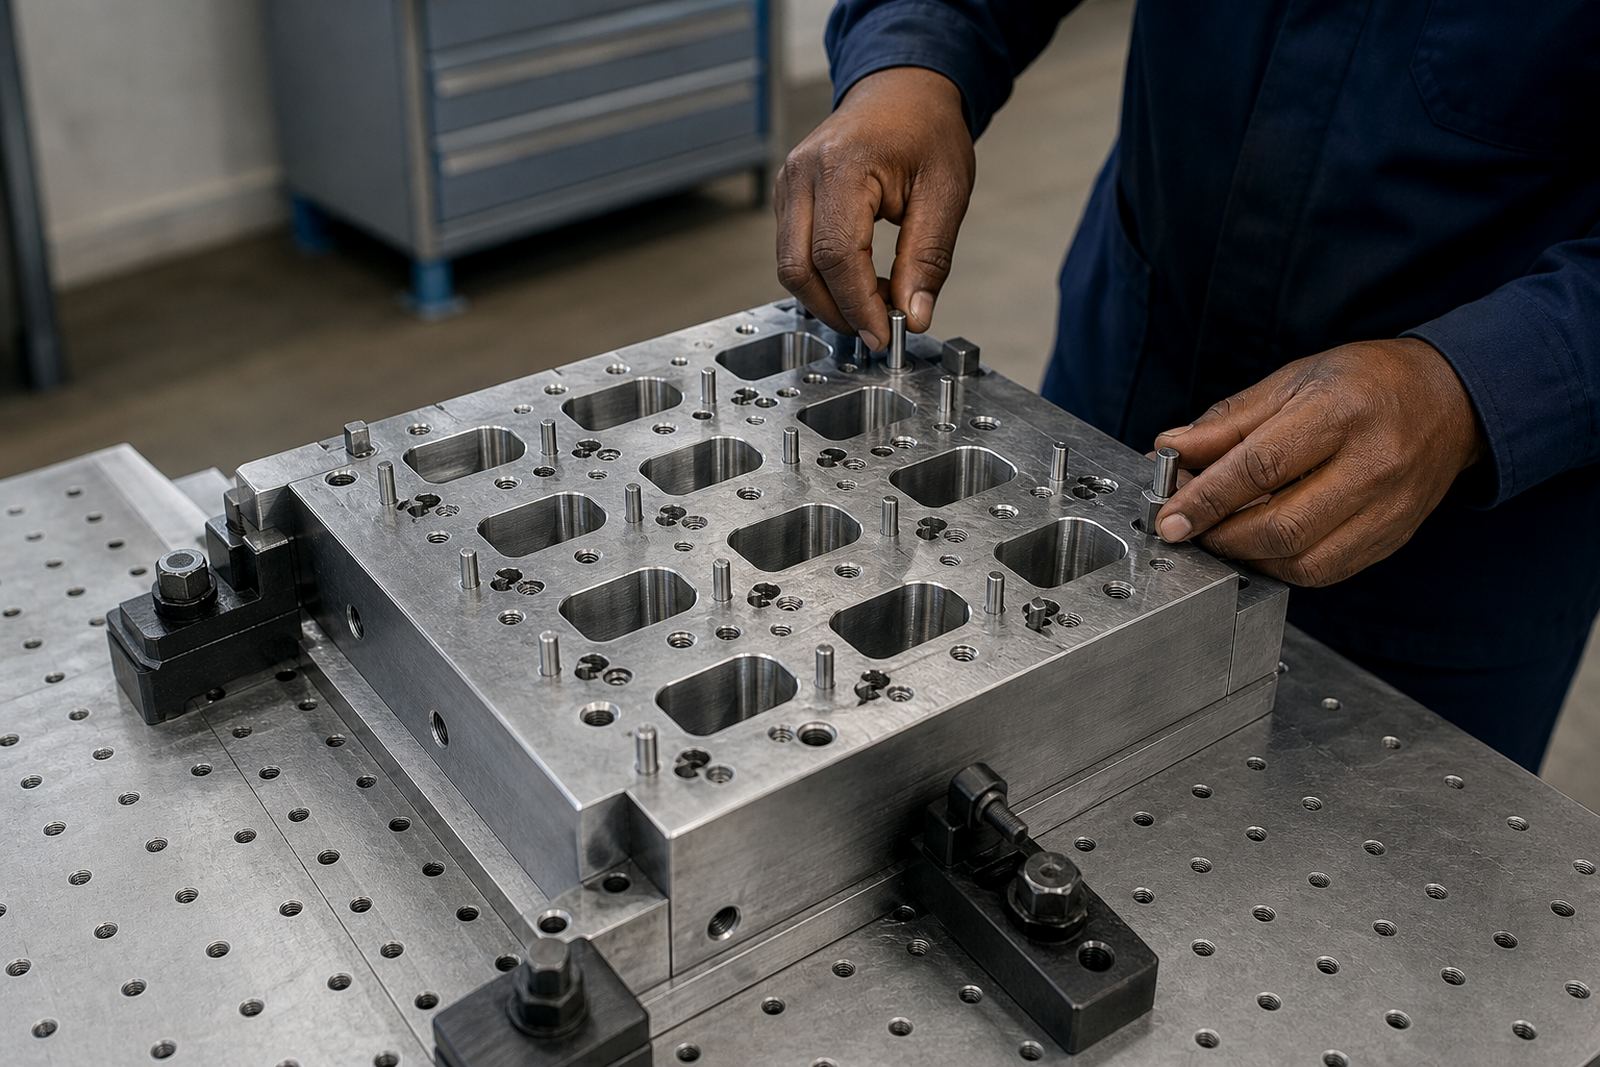
- Fixture making if the part needs repeatable positioning
- Adhesion test samples on the intended material type
- Trial prints with curing method selection for your substrate
We can also include rerun job control notes so the sample setting can be repeated later with less trial and error. If the component has a textured finish, a shallow recess, or a sensitive surface, we will look at whether a softer pad, different plate depth or changed ink viscosity gives a cleaner result. In coastal conditions around Durban, humidity can affect ink behaviour and drying, so sample runs are also useful for checking how the mark behaves in real workshop conditions, not just on a cool morning.
How the trial sample process works
The process usually starts when you send through the component, the artwork and the print requirement. We then assess the part shape, surface condition and the amount of detail in the mark. If the artwork needs tidying, we prepare a redraw or clean-up version before plate exposure. The plate is then etched, the fixture is set up and the first sample impressions are taken carefully. During this stage we check registration, colour laydown, ink transfer and how the silicone pad releases the image onto the part.
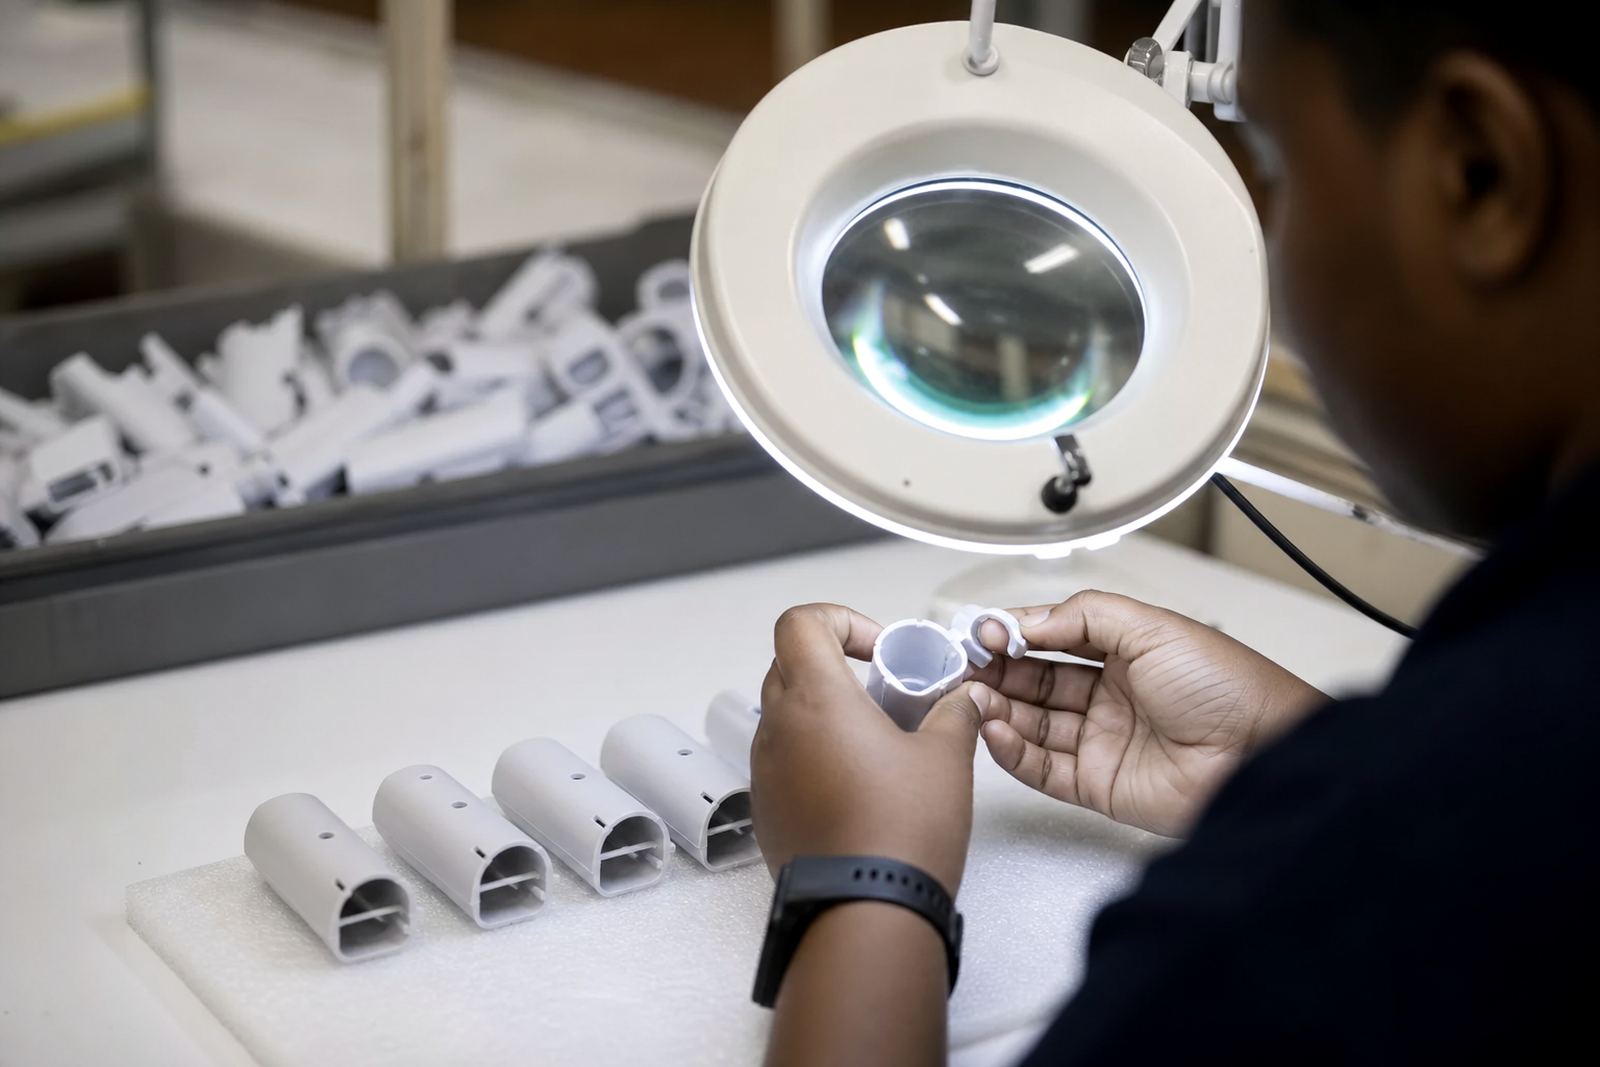
Once the first samples are printed, we inspect them under practical viewing conditions and after curing. That can include handling checks, simple rub resistance checks and alignment comparison across multiple pieces. If the mark needs a change, we adjust one point at a time so the cause is clear. That way your team gets a sample that reflects a proper production process rather than a loose test with no traceable setup. It keeps the handover organised and the next steps easier to plan.
- Receive part, artwork and print brief
- Prepare or correct artwork for the pad print process
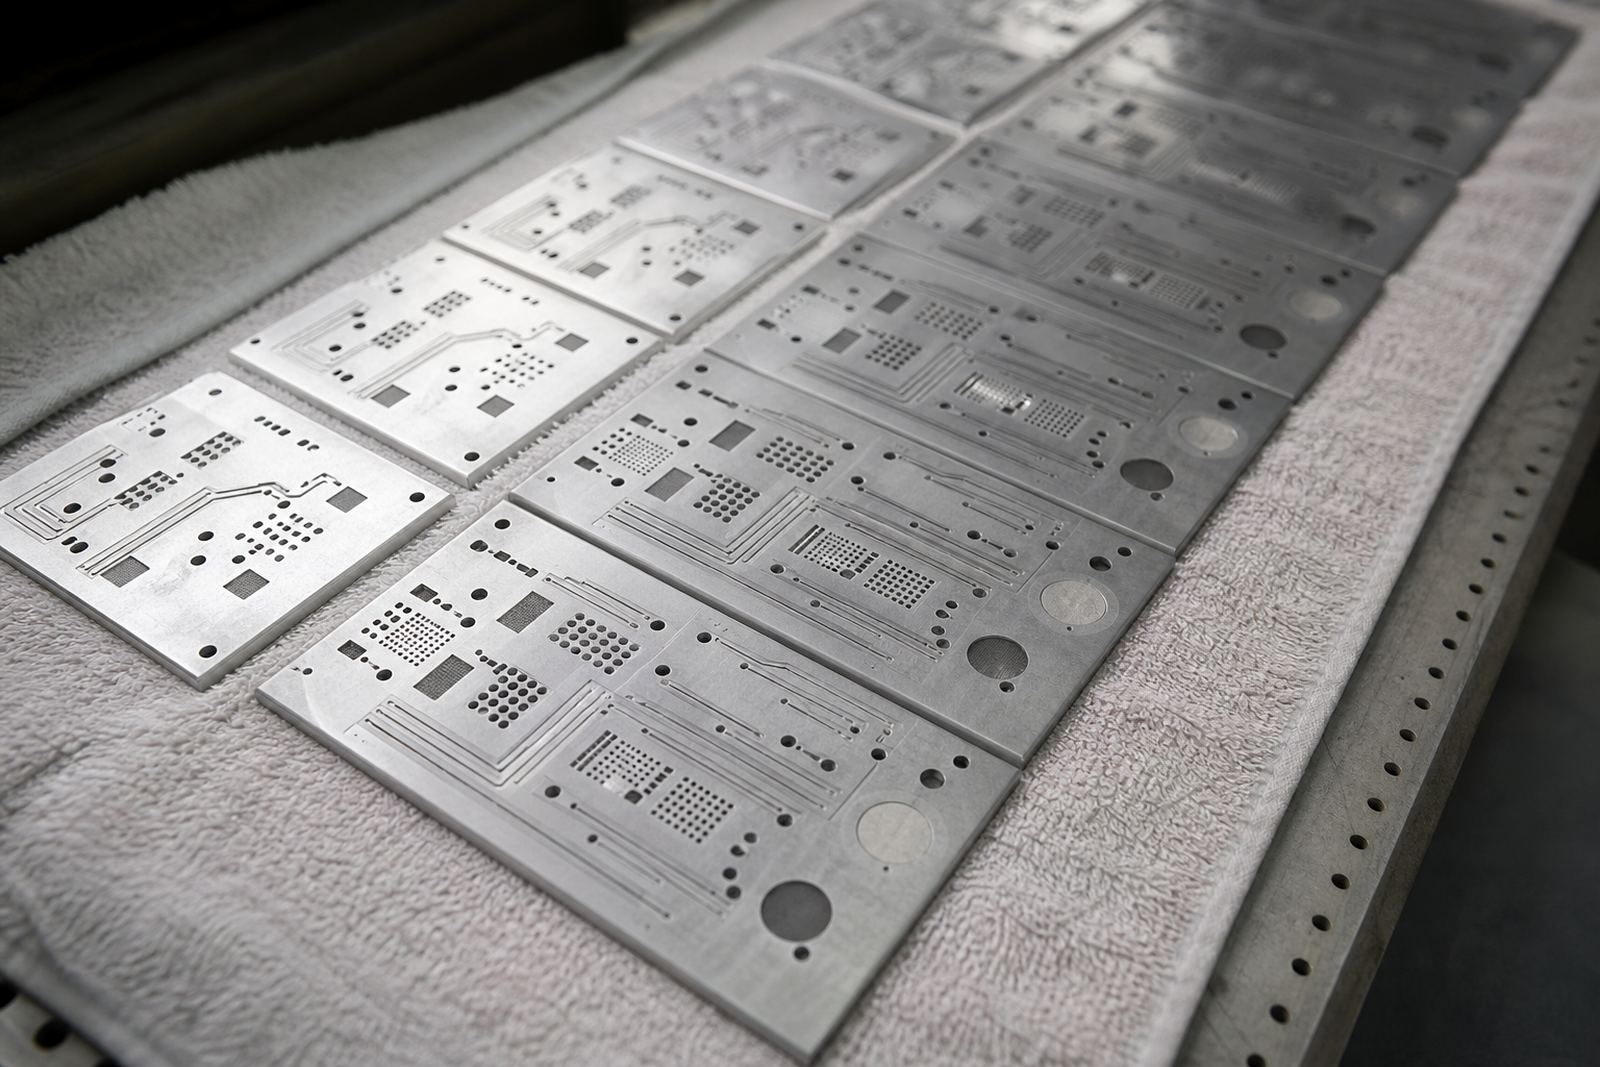
- Expose and etch the printing plate
- Make the fixture and set registration
- Print sample pieces and cure them
- Review results, then adjust if needed
Turnaround and timing for sample jobs
Turnaround depends on the complexity of the mark, how much artwork work is needed and whether a new fixture must be made. Simple sample runs can move quickly once the part and artwork are in hand, while detailed medical or electronic parts with fine text or multiple print positions need more set-up time. If colour matching is involved, allow extra time for review and adjustment. We will always try to give a practical lead time up front rather than promise something unrealistic.
For clients in Pinetown, New Germany and Westville, same-week movement is often possible on straightforward work if the brief is complete. For Johannesburg, Pretoria, Cape Town and Gqeberha supply requirements, courier timing should be factored in as well. If a second sample round is needed, we will say so plainly and explain what has changed from the first run.
Pricing approach for trial samples
Trial sample runs are priced according to the work involved, not a one-size-fits-all rate. The main factors are artwork preparation, number of colours, plate work, fixture requirements, curing method and how many sample pieces are needed for review. If the part is unusual or very small, the set-up can take longer than the actual printing, so we price on the full preparation needed to do the job properly.
We keep the approach practical. If the sample is intended only to confirm size and registration, we can scope that more tightly than a sample set that also needs adhesion checks and colour matching. You will know what is included before work begins. If a rerun is needed because the component design changes, that is handled separately so the job record stays clear. This is the best way to manage sample work for manufacturers who need accurate costing before moving into a production batch.
- Artwork preparation and redraws
- Plate exposure and etching
- Fixture fabrication or adjustment
- Sample printing and curing
- Review changes and rerun control
Keeping sample settings stable for future batches
Once a sample run is approved, the settings need to be kept in good order for the next batch. That includes the plate reference, fixture position, ink notes, curing method and the approved sample piece. In practical terms, that means checking the setup whenever the job has been idle for a while, after a major machine clean, or when the print quality starts to drift.
Silicone pads wear with use, plates can lose definition and inks behave differently in warm or humid weather. On medical and electronic parts, a small shift in pad condition or fixture alignment can show up straight away in the final mark. That is why we keep sample records in a way that supports repeatability. It helps your production team bring a job back into line faster and reduces avoidable stoppages. For Westmead clients and manufacturers elsewhere in South Africa, this disciplined approach is especially useful when multiple sites or shifts are involved.
Run details
| Minimum sample quantity | Usually 3 to 10 pieces, depending on the part and review needs |
|---|---|
| Artwork formats handled | Vector files preferred, with redraws available for fine line work |
| Printable part types | Medical housings, caps, panels, keys, dials and electronic components |
| Ink and cure checks | Adhesion and curing reviewed against the actual substrate and handling |
| Typical setup items | Pad selection, plate exposure, fixture alignment and colour matching |
| Service area | Westmead, Pinetown and supply to Durban, Johannesburg, Cape Town, Pretoria and Gqeberha |