Fixtures Built Around the Part, Not the Other Way Round
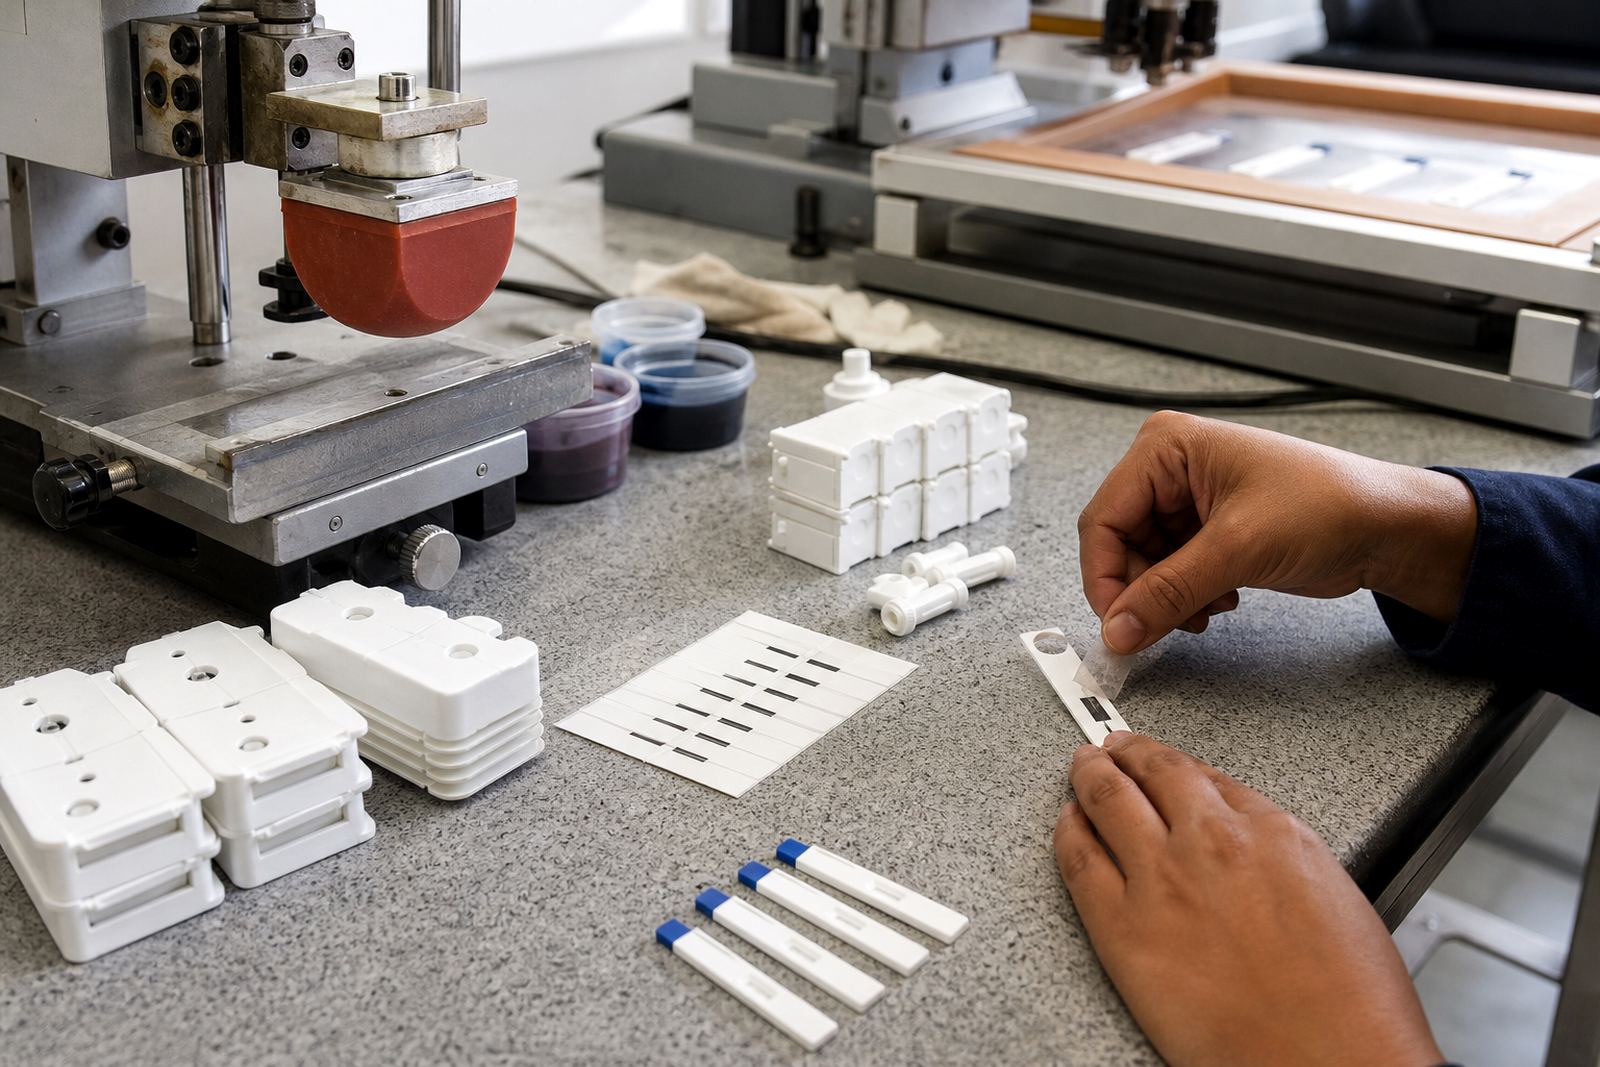
Fixture making is the part of pad printing that keeps components in the right position while the silicone pad picks up ink from the etched plate and places it onto the part. For medical and electronic parts, even a small shift can affect alignment, legibility or the usable print area. That is why we make custom jigs and nests to suit the actual component shape, finish and handling method rather than forcing a generic holder to do the job.
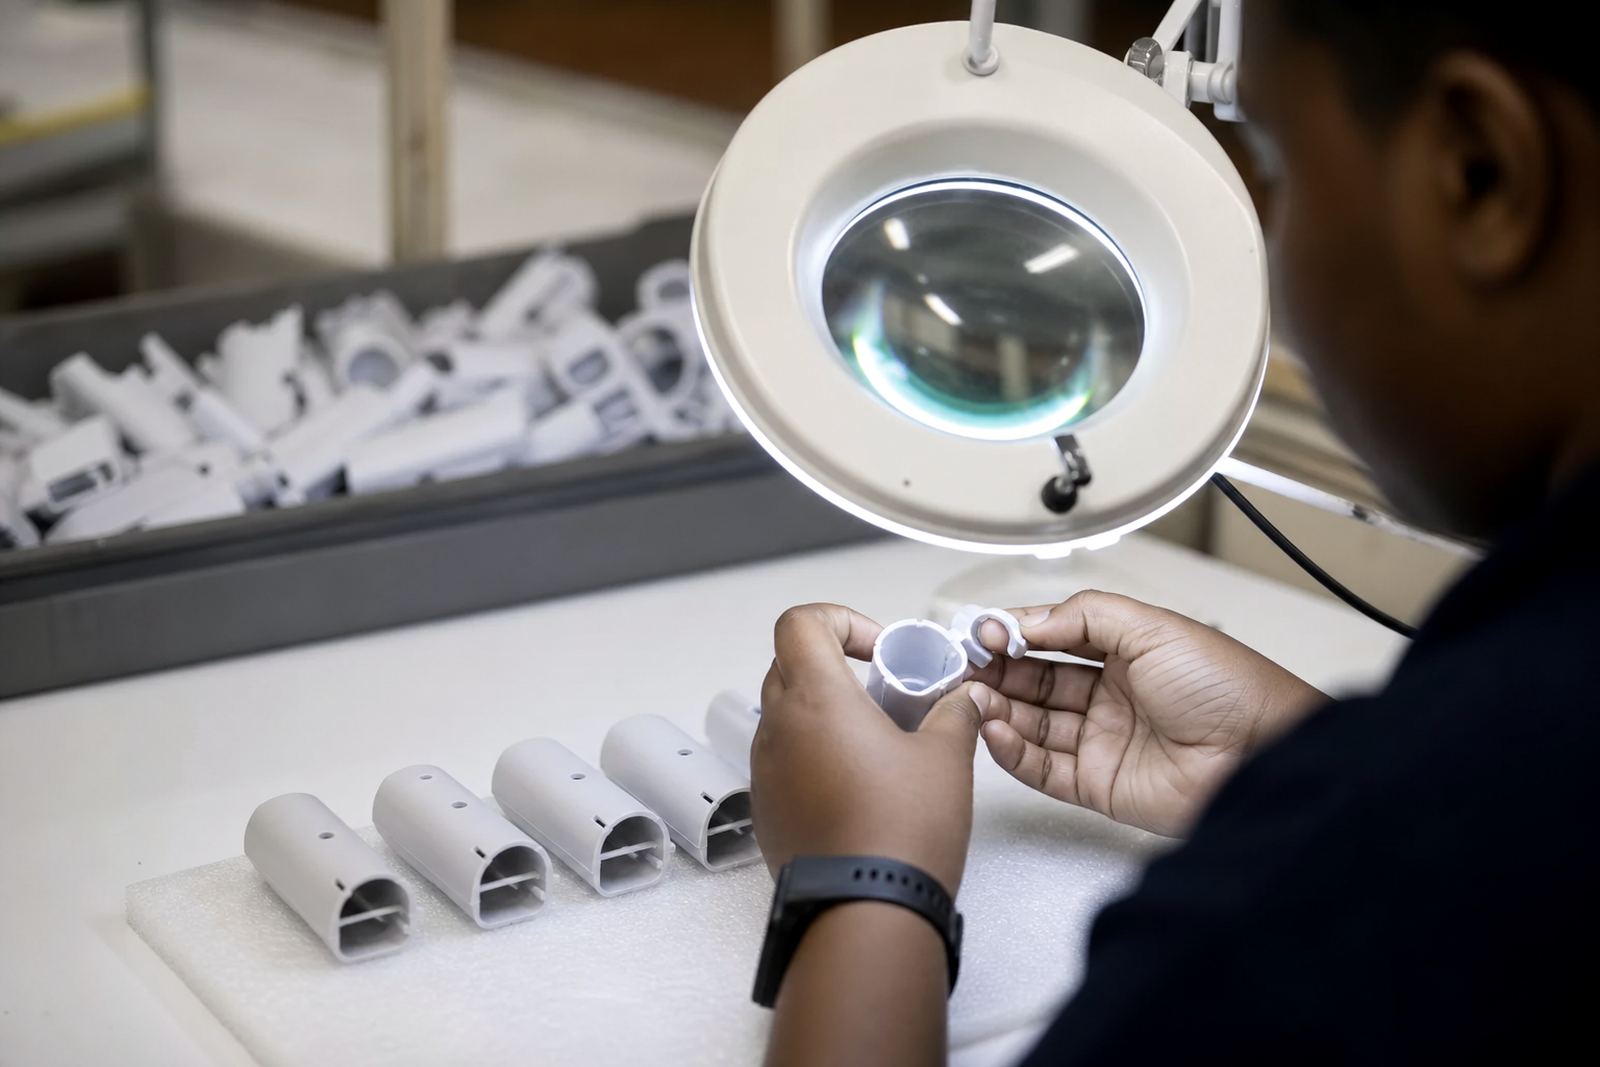
In our Westmead workshop we work with parts such as housings, caps, bezels, switches, connectors and small medical device components. Fixtures can be made for flat, curved or stepped surfaces, and they are planned with the print face, operator access and drying or curing method in mind. A good fixture should hold securely without damaging delicate surfaces or leaving pressure marks.
- Made to suit one part or a family of similar parts
- Supports consistent registration on repeat jobs
- Reduces operator variation during loading and unloading
- Can be designed for manual or semi-automatic print runs
What Is Included in Our Fixture Making Service
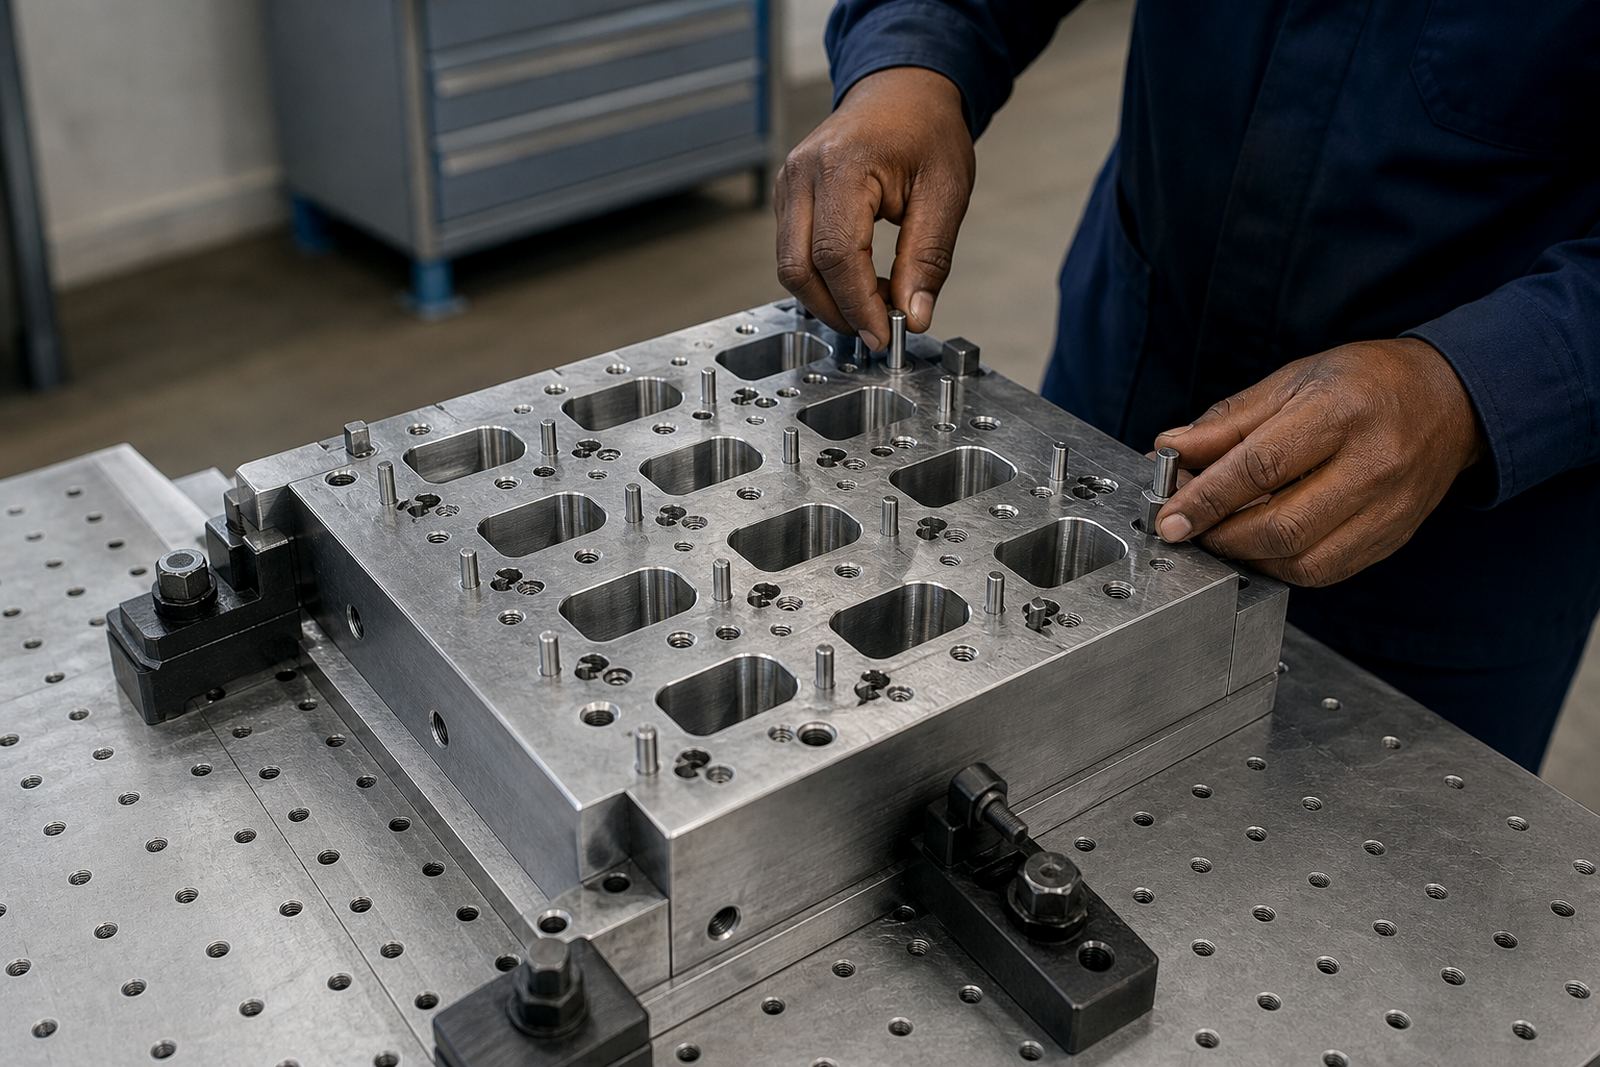
Our fixture making service starts with the component itself. We look at the size, geometry, print position, material and how the part is handled in your process. From there we decide whether the job needs a simple locating block, a multi-cavity nest, an adjustable jig or a fixture with replaceable inserts. Where needed we also plan for parts that need curing after printing, or for two-stage jobs that require rerun control.
We supply fixtures for pad printing on plastics, coated metals and other commonly used production materials. If the print area is small or the part has a tricky edge, we can build fine locating points and support surfaces so the component sits correctly every time. This helps the print remain centred and reduces the risk of smudging during transfer.
- Component assessment and fixture concept planning
- Custom nests, locating pins and holding points
- Repeatable loading positions for operators
- Trial fitting with sample parts before live production
The Making Process from Sample to Production Run
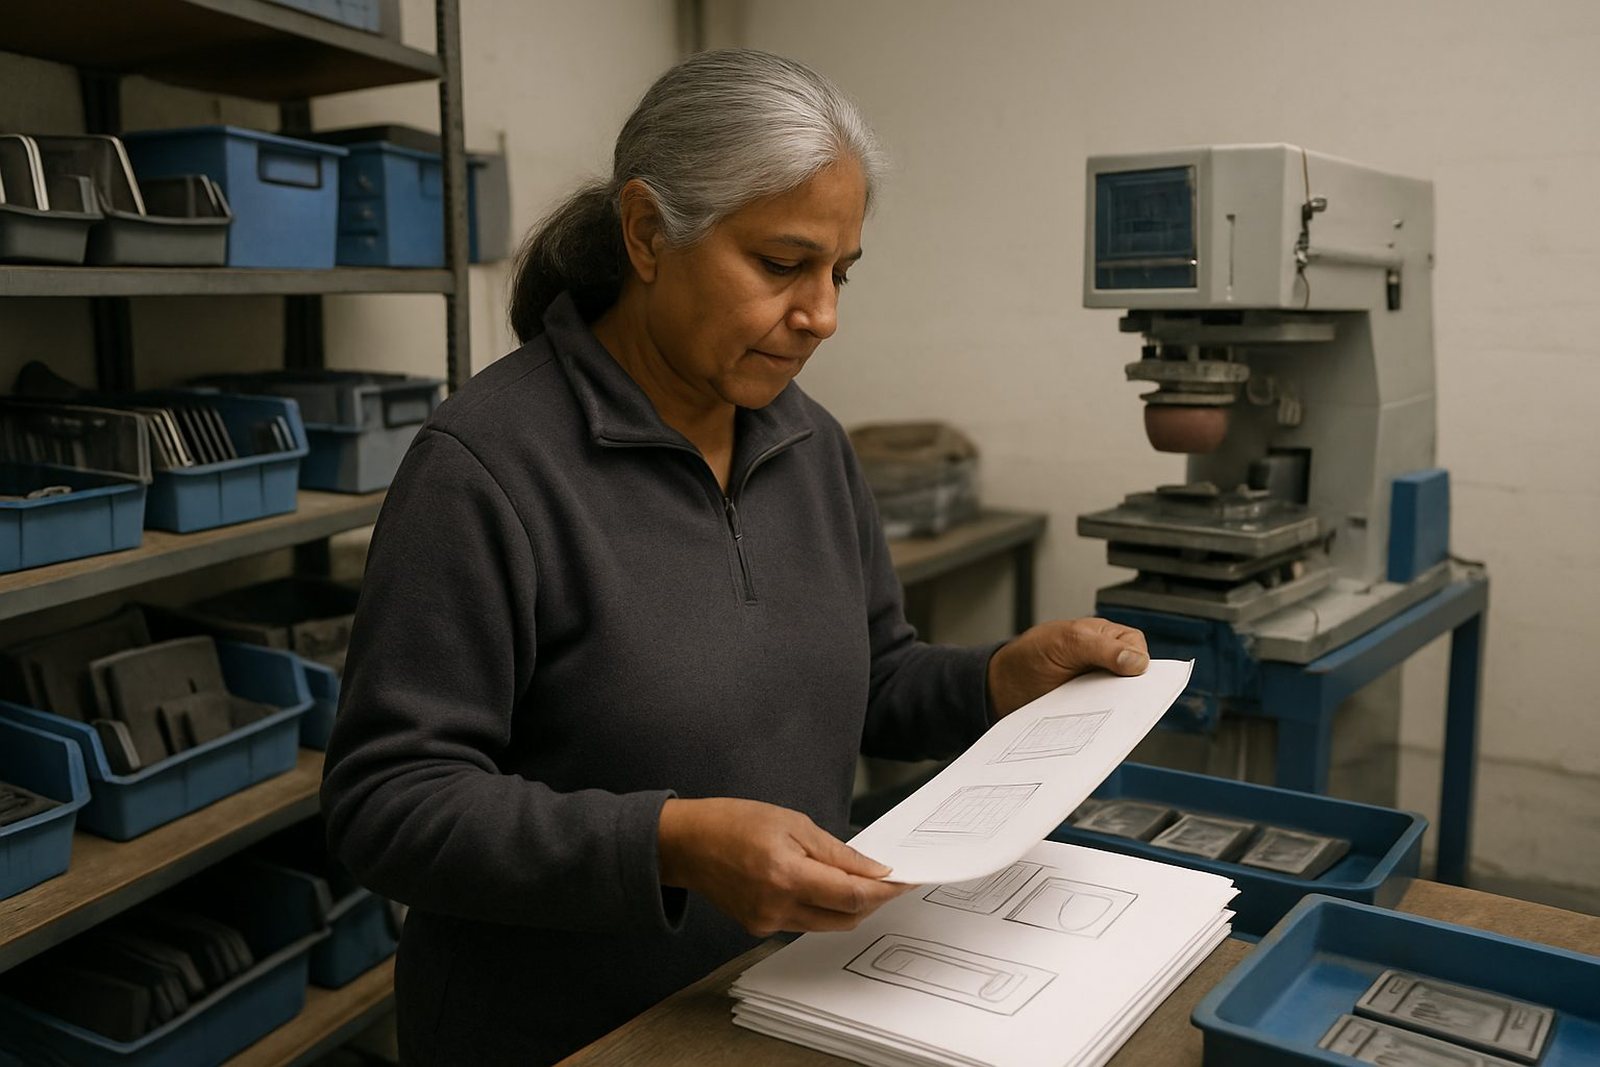
We usually begin with a sample part or a drawing, then confirm the dimensions that matter for print registration. If the component varies slightly from batch to batch, we allow for that in the fixture design so production does not stall on minor tolerance changes. The next step is selecting the right construction method and the most practical fixing points for the job.
Once the fixture is made, we test fit it with the component and run trial samples to check alignment, print clarity and handling. If adjustments are needed, we make them before the job goes fully live. This process saves time later and is especially useful when a client is working with high volumes or parts that are sensitive to scratching. The goal is not just to hold the part, but to hold it in a way that supports the full printing cycle.
- Measure, confirm and plan the print location
- Build and fit the fixture to the sample component
- Run trial prints and check ink transfer
- Adjust locating points if the part movement is too loose or too tight
Typical Fixture Specs for Medical and Electronic Parts
Fixture specifications depend on the part, but most jobs are built around practical production needs. We consider cavity count, access for the pad, material choice for the fixture body and whether the part needs quick changeover. For some repeat jobs, a single fixture may hold one component with high precision. For other jobs, a multi-up nest may improve output where the print position is the same across several parts.
Where required we can factor in electrostatic sensitivity, surface finish protection and operator safety. On electronic parts, clean handling is important and on medical components, the holding method must not compromise the printed face or introduce contamination.
- Single-cavity or multi-cavity nesting options
- Fine location points for repeatable alignment
- Low-mark contact areas for delicate surfaces
- Fixture builds suited to manual, bench-top or semi-automated use
Turnaround, Pricing and Job Planning
Turnaround depends on the complexity of the fixture and whether new sample parts are available at the start. Simple jigs may be turned around faster than fixtures that need several rounds of trial fitting. For clients in Durban, Pinetown, Johannesburg, Pretoria, Cape Town and Gqeberha, we plan around the dispatch schedule so the fixture arrives ready for testing or live use. If a job needs a fast revision, we will first confirm whether the existing fixture can be modified instead of starting from scratch.
Pricing is based on the fixture design, the number of cavities, the amount of machining or assembly required and any testing involved. We quote according to the actual job requirements, not a standard one-size-fits-all figure. That keeps the cost tied to what the part really needs. For repeat work, we also look at wear points so the fixture can be serviced or adjusted instead of replaced too soon.
- Quoted per fixture, not as a generic service fee
- Repeat jobs can use updated or repaired fixtures
- Rush work depends on part availability and approval of the sample run
Maintenance Intervals and Ongoing Fixture Care
Fixture maintenance matters because even a well-made jig can wear over time, especially on high-volume jobs. Contact points can loosen, locating edges can pick up residue and replacement inserts may be needed after repeated loading cycles. We recommend checking the fixture at set intervals so the print remains consistent and the part still sits in the correct position. If the fixture is used in a humid coastal environment like Durban, a routine clean and inspection helps prevent buildup and handling issues.
If a part design changes, the fixture may need a small adjustment rather than a full rebuild. Our team can assist with rerun job control, replacement inserts and modifications when the same component returns for another production cycle.
- Check locating points and contact surfaces regularly
- Clean ink residue and dust after production runs
- Replace worn inserts or guides before alignment drifts
- Review fixture fit when the part mould or housing changes
Run details
| Use case | Custom jigs and nests for pad printing on medical and electronic components |
|---|---|
| Location | Westmead, Pinetown, Durban |
| Part types | Housings, caps, bezels, switches, connectors and small device parts |
| Fixture styles | Single-cavity, multi-cavity, adjustable and replaceable-insert fixtures |
| Process support | Artwork preparation, trial sample runs, curing method selection and rerun job control |
| Coverage | Manufacturers across South Africa including Durban, Johannesburg, Cape Town, Pretoria and Gqeberha |