Why adhesion test samples matter before production
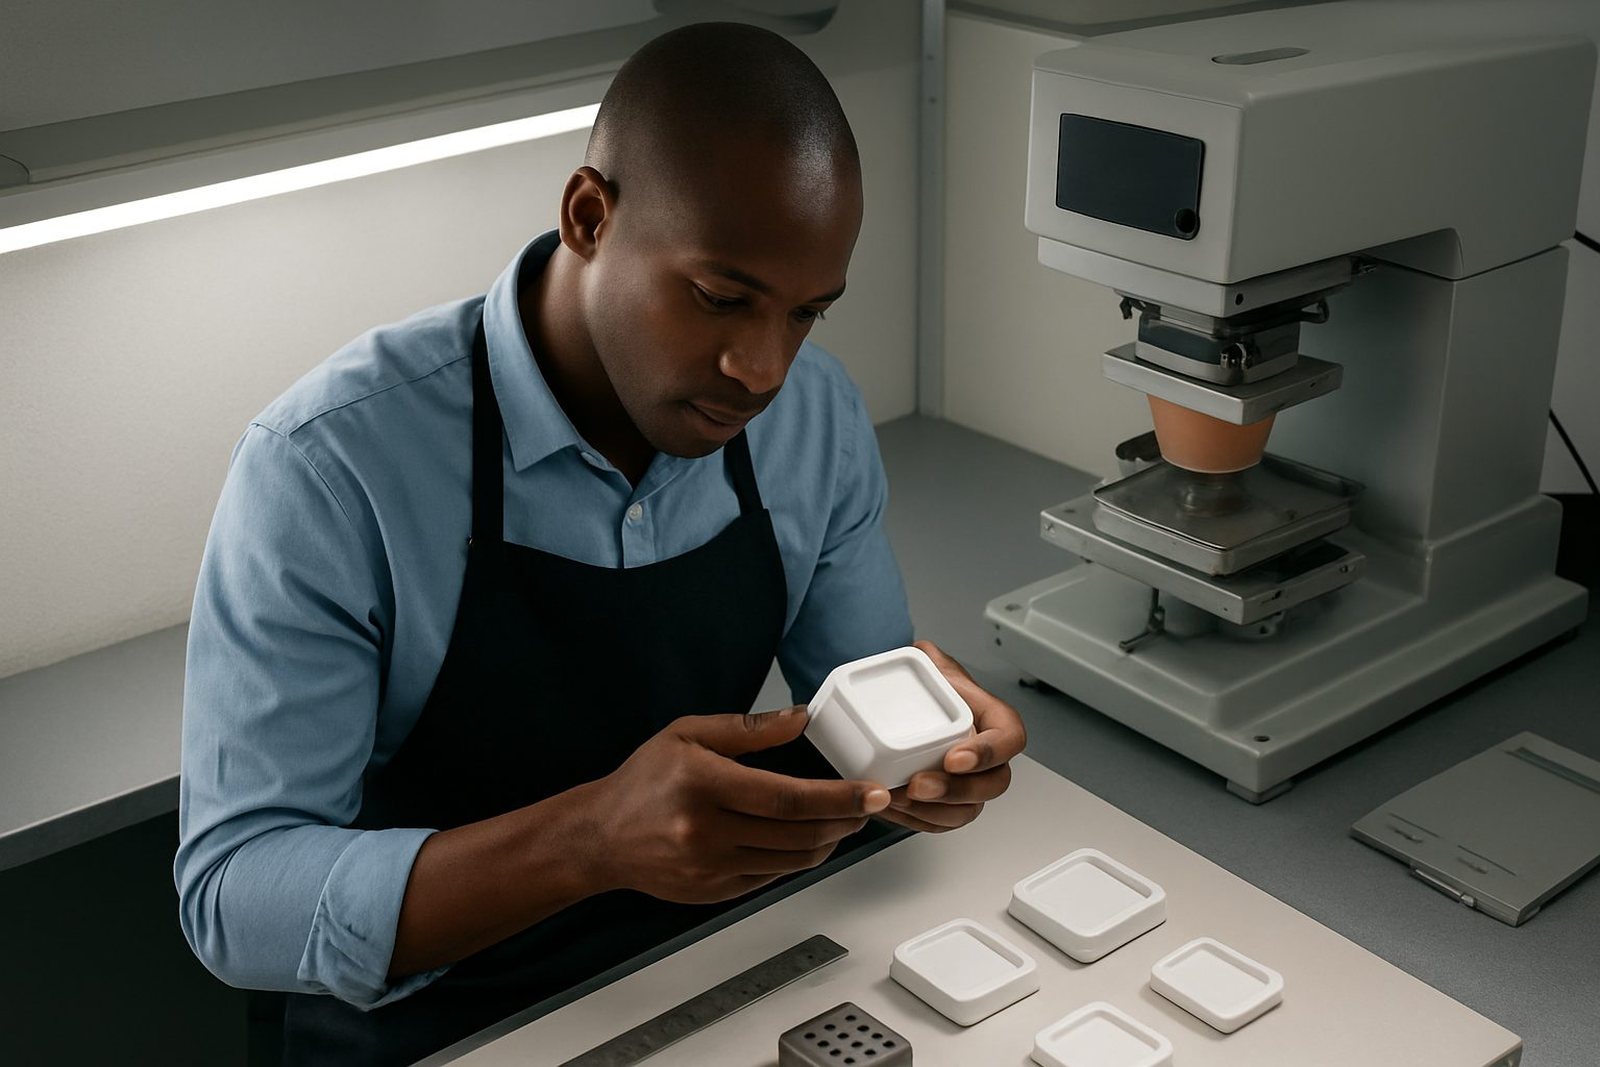
Pad printing can look perfect at first glance, but the real test is how the mark performs once the part is handled, cleaned, sterilised, clipped, flexed or packed. Adhesion test samples let you verify the print on your own substrate before committing to a full batch. This is especially useful for medical housings, device buttons, connectors, switch covers and electronic casings where a mark must stay readable and intact under regular use.
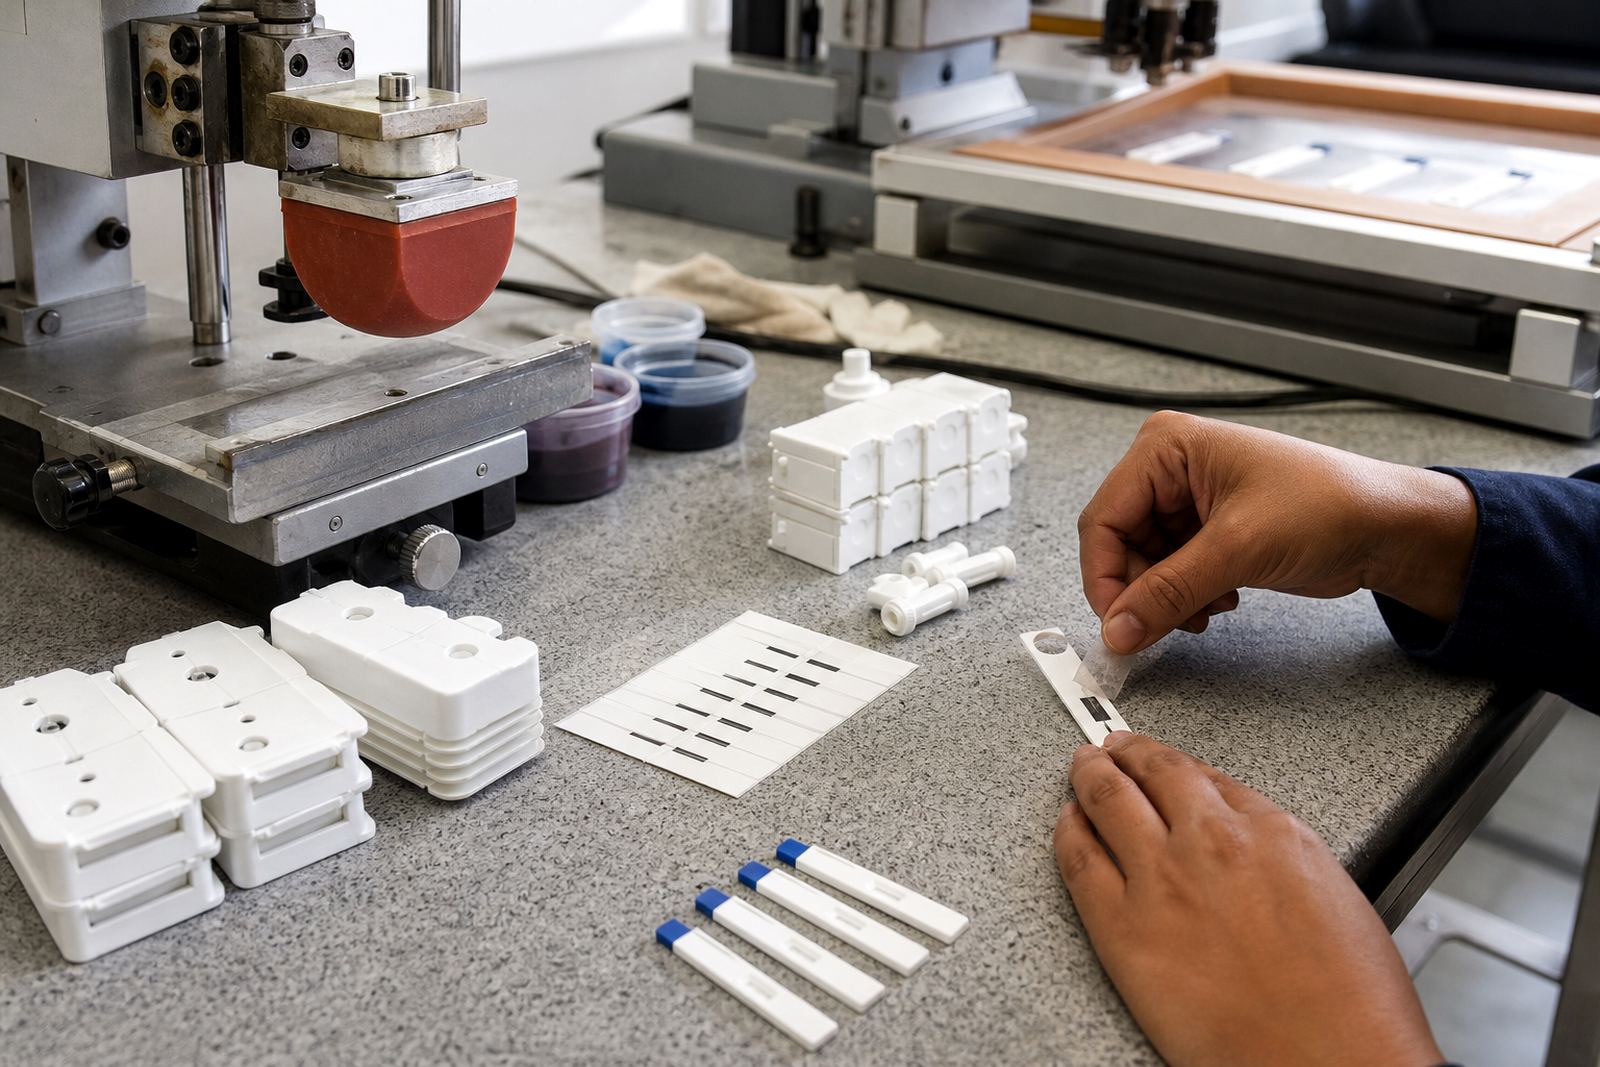
We prepare sample prints to show how the chosen ink, pad shape and curing method behave on the actual component. That means you can check whether the surface needs more preparation, whether the colour needs adjustment and whether the mark sits well in the print area. It is a practical step that helps reduce rejects later and gives your production team a clear basis for approval.
What is included in an adhesion test sample run
Each sample run is set up to answer a simple question: will this mark stay put on this part. We work from your sample part, artwork, and any known surface requirements. If your component is moulded plastic, coated metal, glass or another engineered surface, we assess the likely transfer and prepare trial prints to suit that finish.
- Artwork check and image sizing for the actual print area
- Ink selection guidance based on substrate and handling conditions
- Trial pad print on supplied parts or representative samples
- Curing method selection for air dry, heat cure or mixed drying requirements
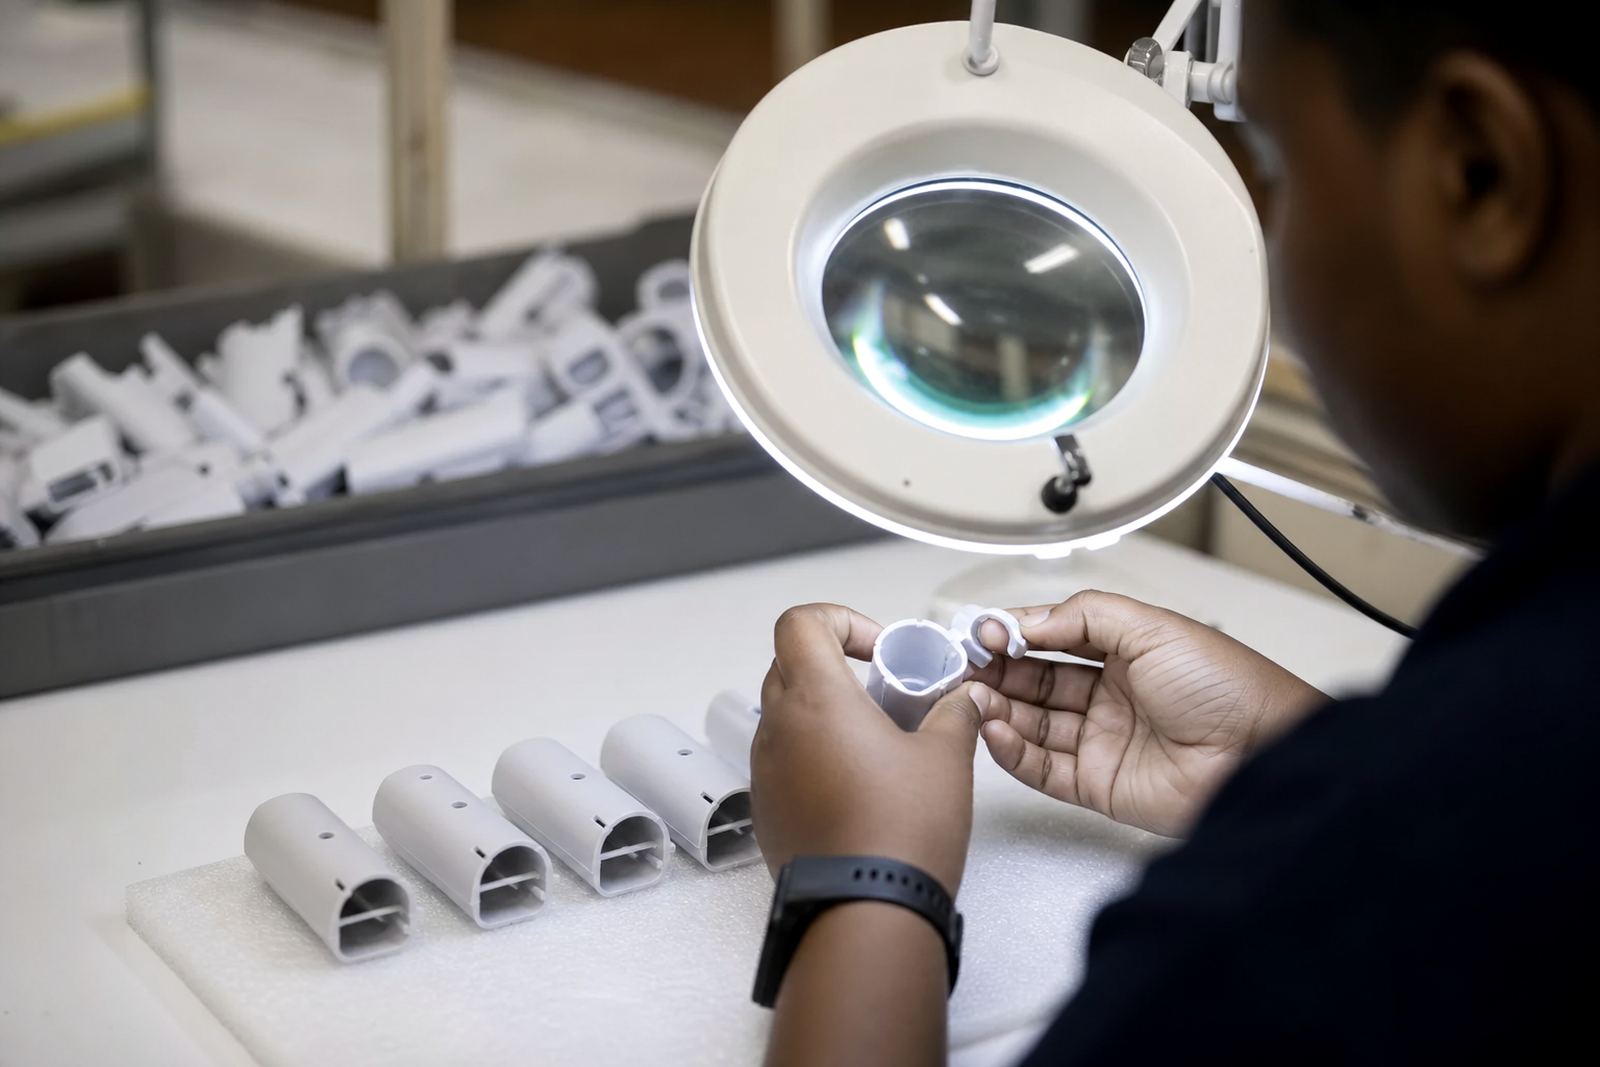
- Visual review for edge sharpness, registration and fill quality
- Basic adhesion check using agreed handling or tape style assessment
- Feedback on any surface prep changes needed before production
Where needed, we also test more than one colour or finish. For small legends, icons or serial style markings, we can confirm whether the detail holds under the chosen print process and whether the mark remains legible after curing.
Our sample process from part receipt to sign-off
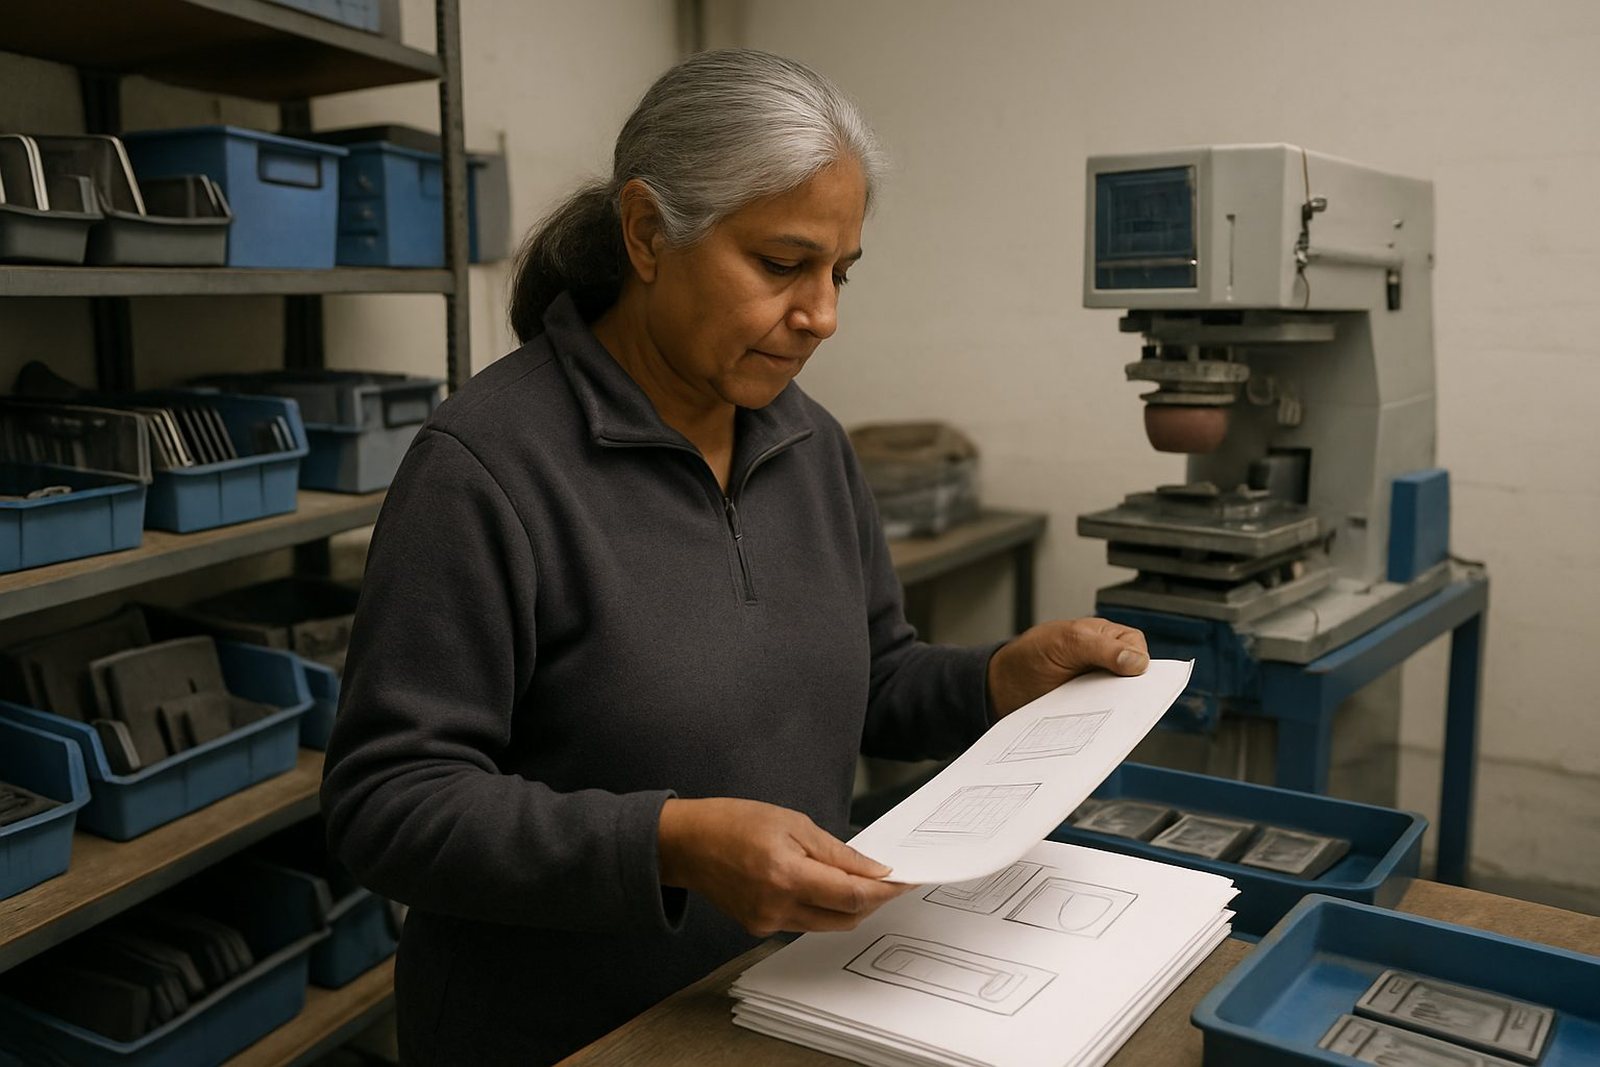
The process starts when you send through your enquiry form with the part details and artwork. We then review the print area, material type and the purpose of the mark. From there we prepare the sample plan, which may include a straight trial print or a few variations to compare ink response and cure behaviour. If the part has a curved or awkward surface, we may make a simple fixture so the sample sits correctly during printing.
Once the sample prints are complete, we inspect the result and share the findings with you. If the first version needs changes, we adjust the artwork, plate exposure, ink choice or curing settings and repeat the trial. The aim is to get a sample that reflects what you can expect in production, not just a one off pretty print. Our team in Westmead, Pinetown handles the process day to day, and we support clients in Durban, Johannesburg, Cape Town, Pretoria and Gqeberha.
- Enquiry and part review
- Artwork and print area check
- Trial setup with pad, plate and fixture
- Sample print and curing
- Assessment and feedback
- Re-run if needed before final approval
Typical turnaround and how we manage urgent jobs
Turnaround depends on the condition of the sample parts, whether artwork needs redrawing and how many test variations are required. A simple single colour trial on supplied parts can usually move faster than a job that needs new plate work, fixture making or several adhesion comparisons. We always try to give a realistic lead time rather than promise something that later needs chasing.
For customers under pressure from assembly schedules or export packing dates, we can prioritise sample work where the information is complete and the parts are ready to print. We also pack and dispatch test pieces carefully so they arrive in order and do not pick up handling marks en route. In some cases clients prefer to keep one or two extra samples for internal sign-off and compliance records.
Pricing approach for adhesion test samples
We price sample work according to the actual effort involved. That usually includes the artwork preparation needed, plate exposure if new artwork is required, trial print time, curing setup and any fixture adjustments. Where the sample is straightforward, the cost is kept to the essentials. If multiple substrate types or several ink options need to be compared, the pricing reflects the added setup and labour.
Because every medical or electronic part behaves differently, we do not treat sample work as a one size job. Some clients only need one verified sample to move ahead, while others need a few rounds to fine tune a mark for better adhesion. We will explain what is included before the run begins, so you know whether the work is for a single approval sample or a fuller test sequence. This keeps the process practical and avoids surprises when the final production run is approved.
Ongoing sample checks and maintenance intervals
Even after a sample has passed, it is wise to repeat adhesion checks when something changes. A new mould finish, a different plastic batch, a revised ink colour or a shift in curing method can all affect how the print behaves. For parts used in medical or electronic assemblies, we recommend a fresh test sample whenever the substrate or handling conditions change, not only when the artwork changes.
It also helps to revisit sample prints at sensible intervals if your production runs are spread over time. Seasonal humidity, especially on the Durban coast, can influence drying and handling. In other cases, dust, storage changes or a different supplier on the raw part can alter the result. Regular sample checks keep the print process honest and help the production team avoid slow leaks in quality that only show up once the batch is already packed.
- Repeat samples after any material or coating change
- Retest when curing settings are adjusted
- Check again after tool or mould changes
- Review prints if storage or shipping conditions shift
- Schedule a new sample when a part is redesigned
Run details
| Service area | Pinetown, Durban and clients across South Africa |
|---|---|
| Typical parts | Medical housings, device buttons, electronic covers, switches, connectors |
| Sample formats | Single colour, multi-colour, fine text, symbols and small legends |
| Process methods | Artwork check, plate exposure, trial print, curing, adhesion review |
| Materials handled | Moulded plastics, coated surfaces, metal parts and selected engineered substrates |
| Support note | Customers remain responsible for their own device compliance and validation |