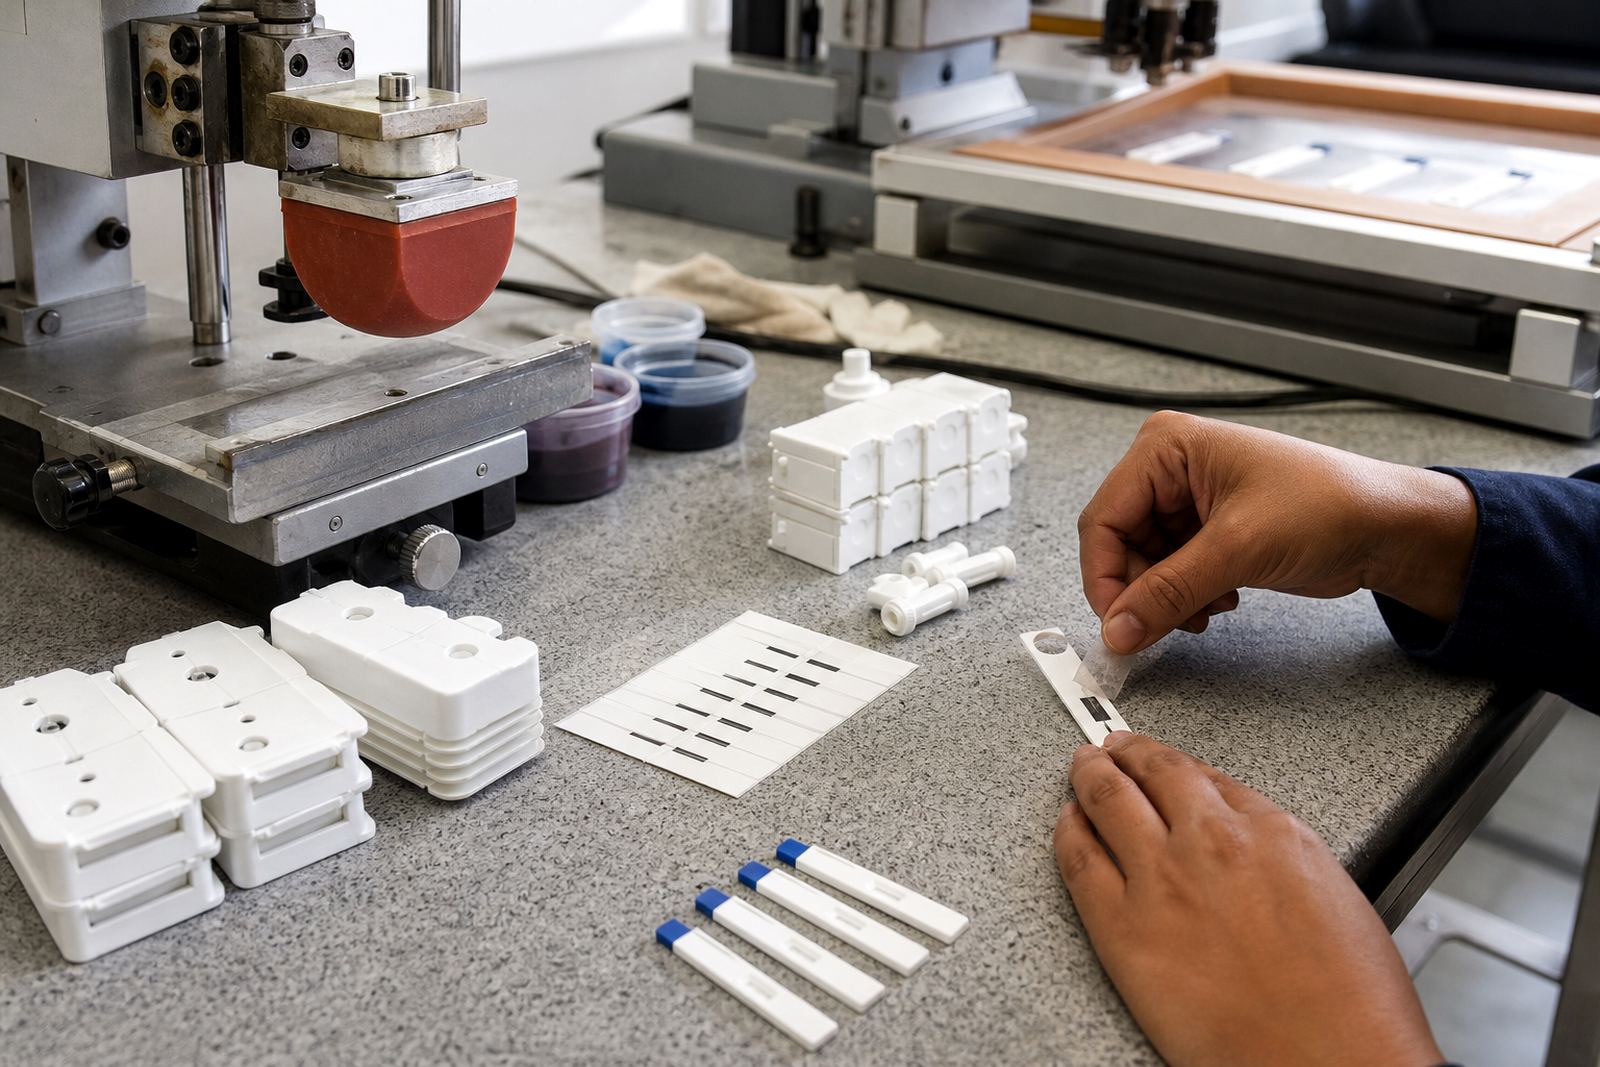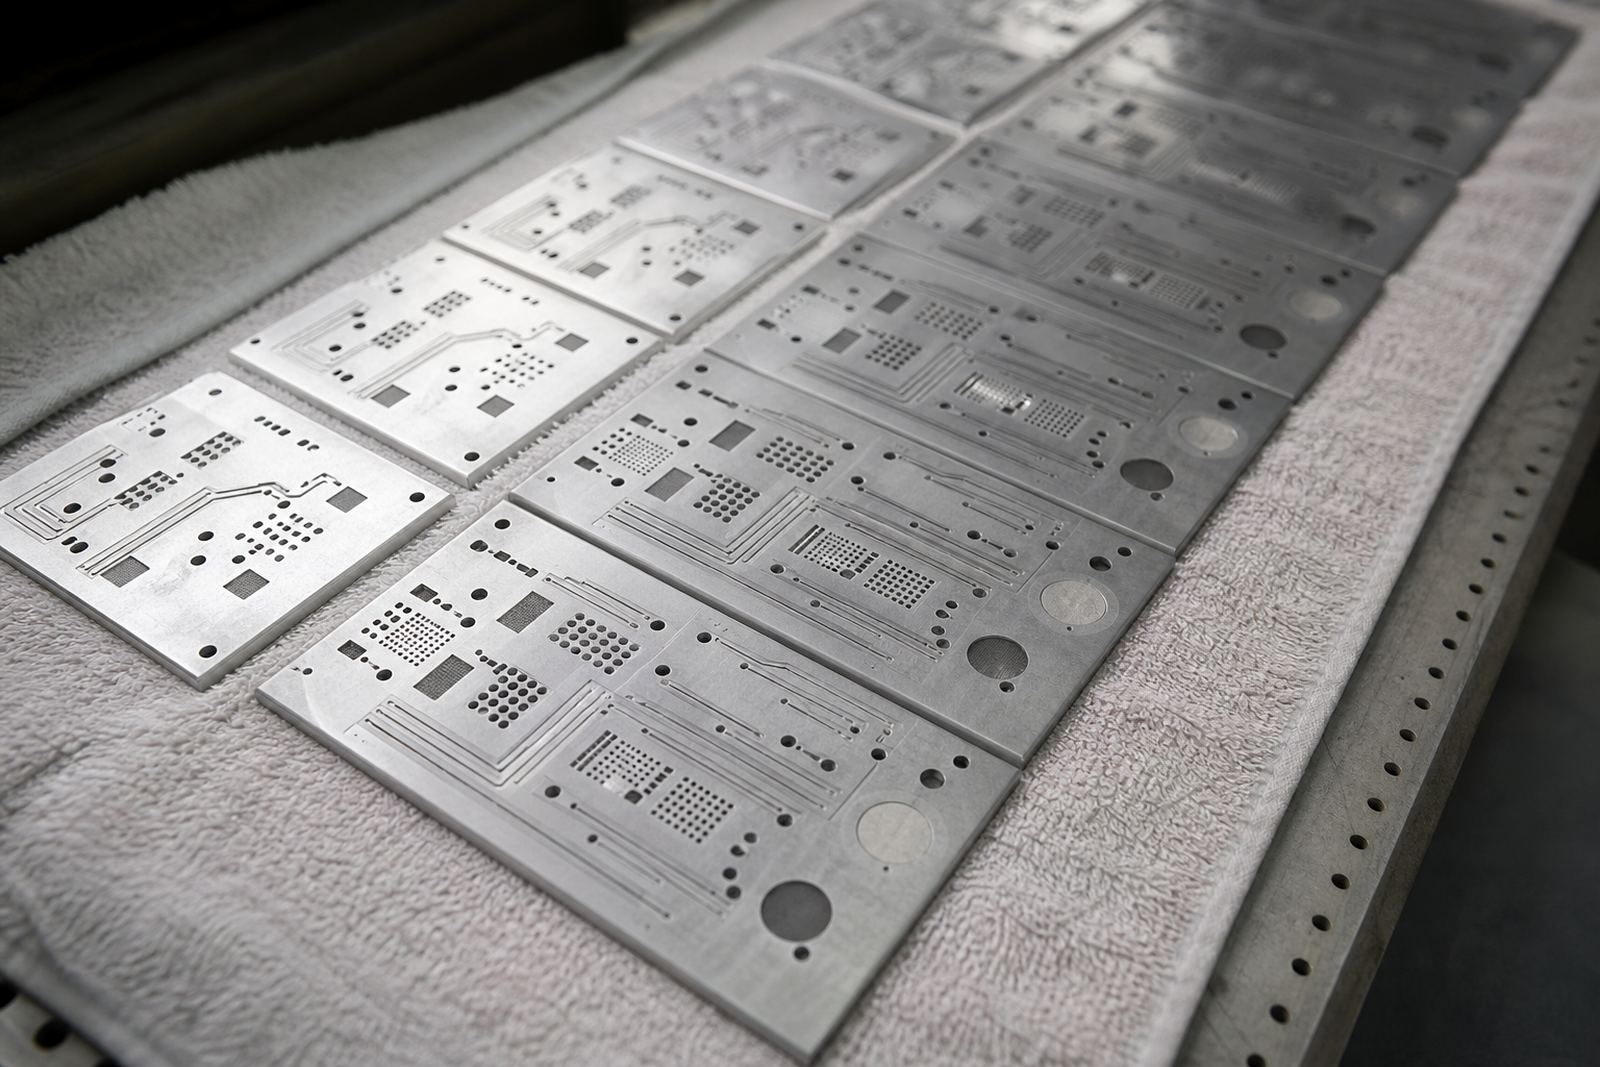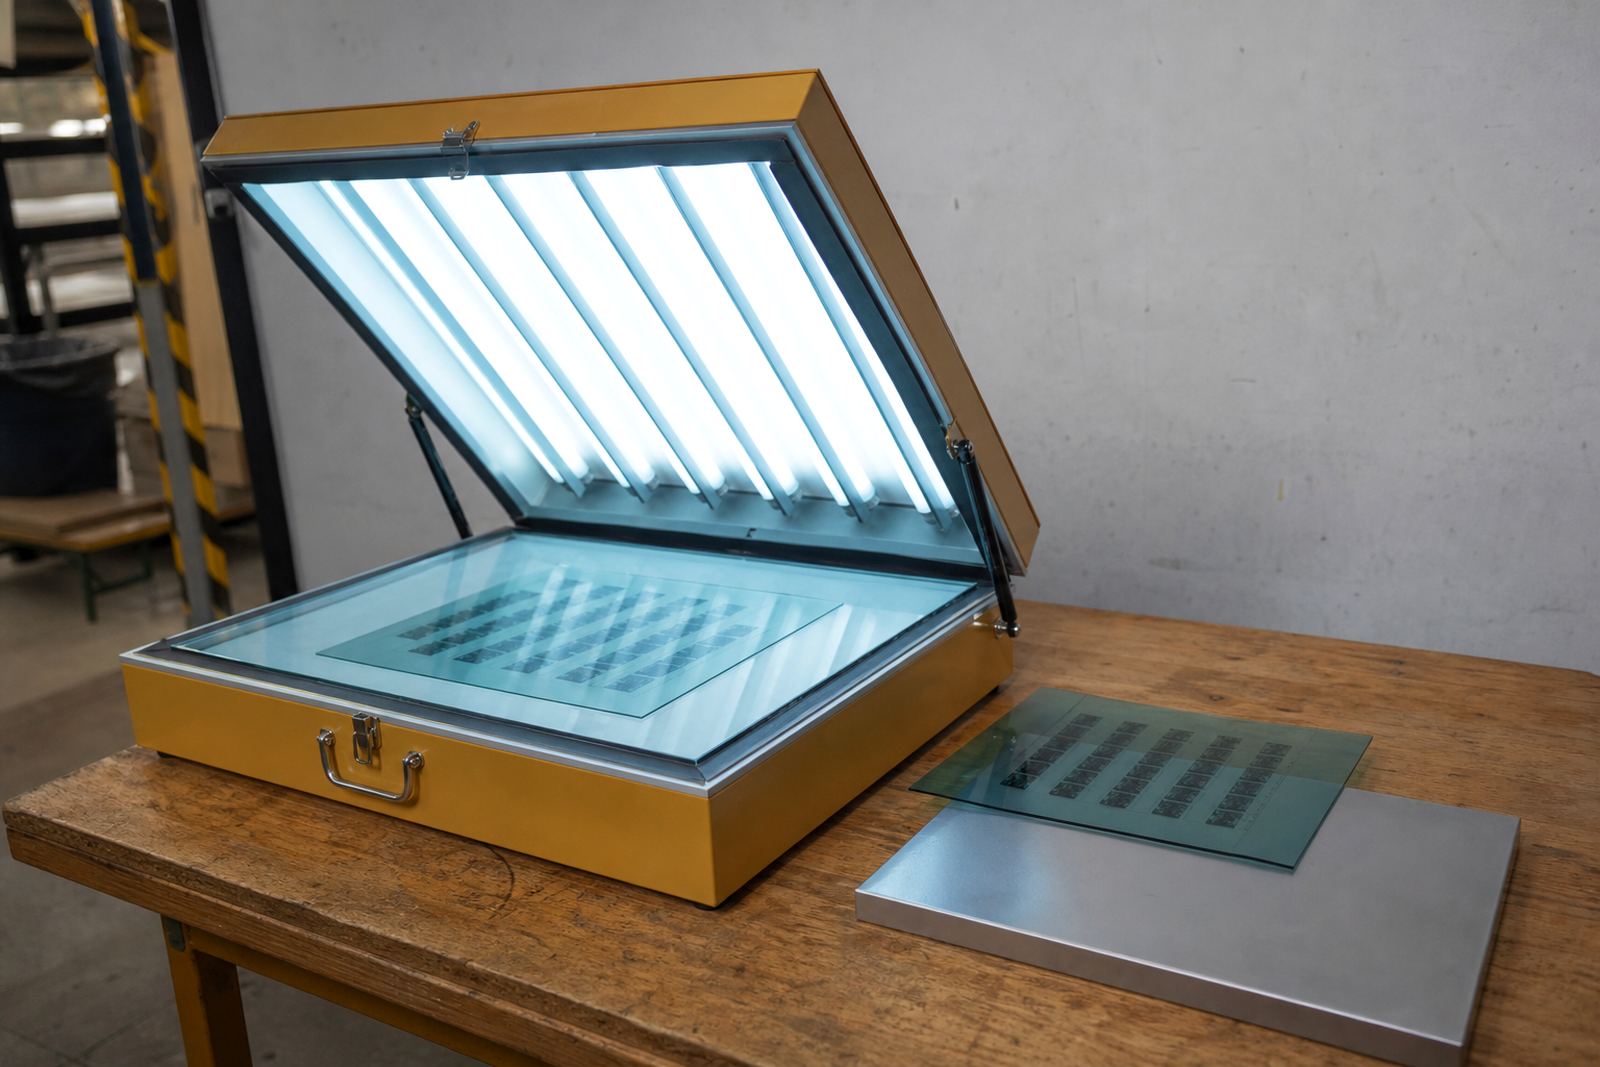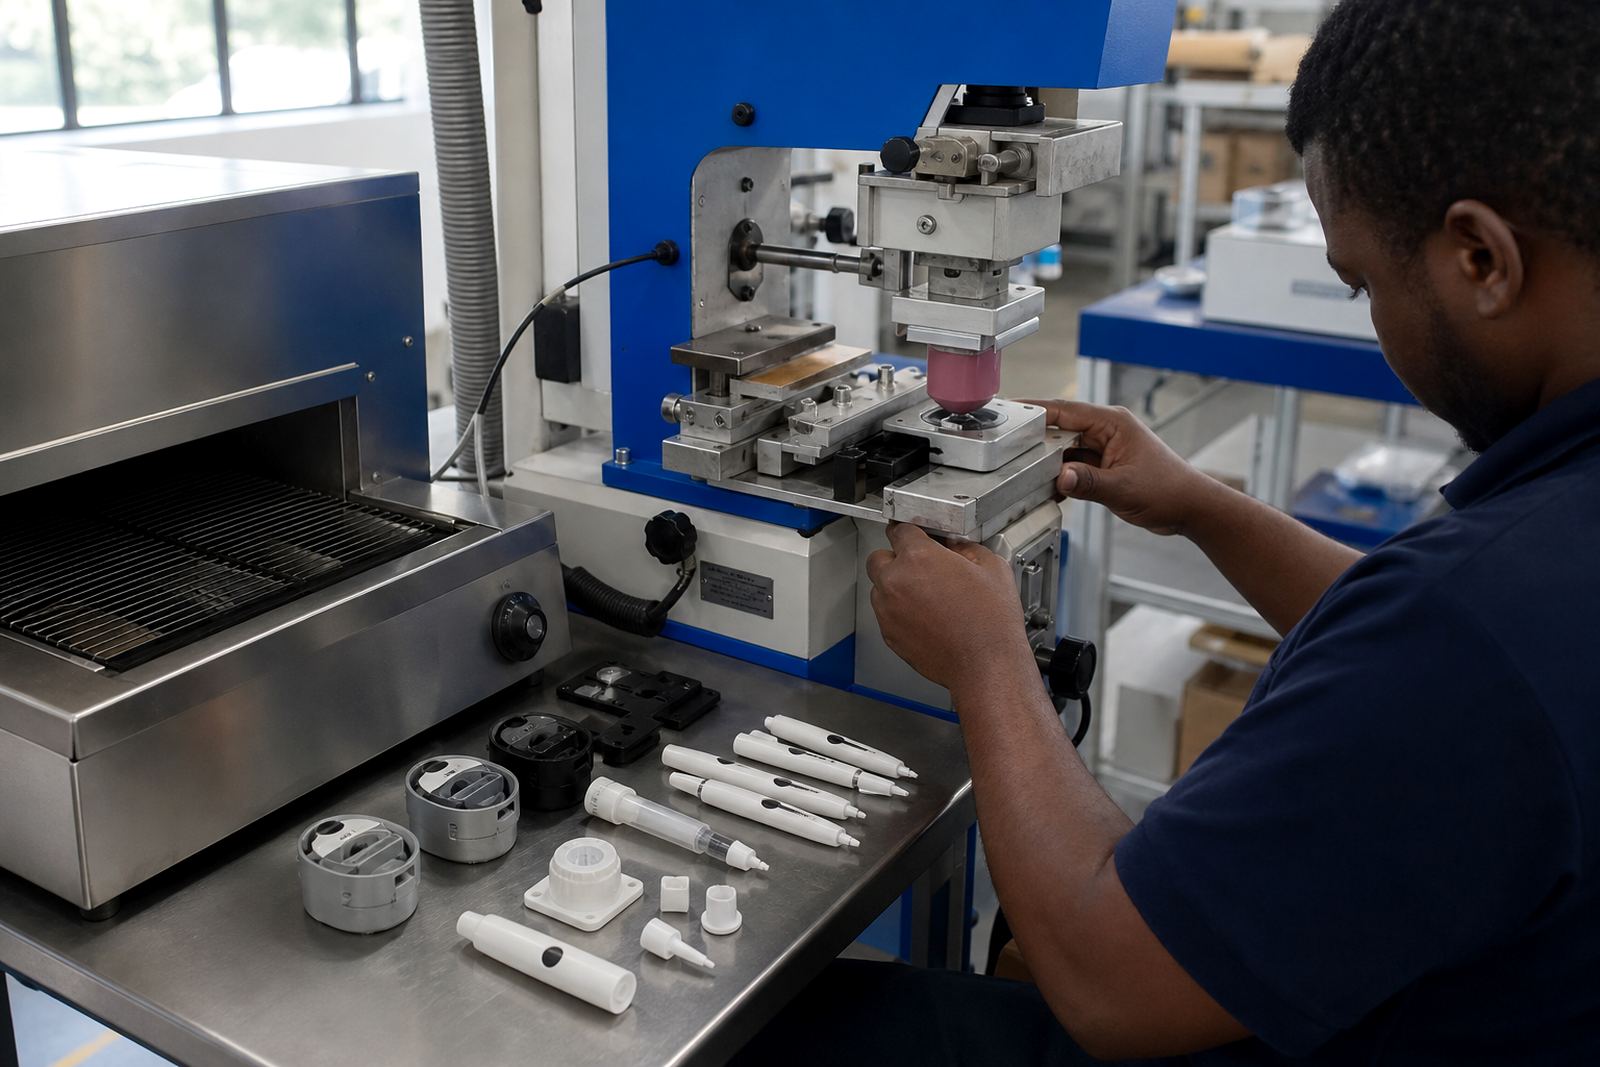
How we choose the right cure for each part
Pad printing on medical and electronic components is not only about getting the image onto the part. The curing stage fixes the ink film so it can handle packing, assembly, cleaning and normal handling without smudging or lifting. We select the method according to the ink chemistry, the substrate, the part shape and the time available for production. A polypropylene housing, a glass vial holder, a coated plastic cap and a small metal control panel all ask for different settings.
Our team in Westmead, Pinetown checks the printed sample before release and looks at film build, cure depth and how the part reacts to heat or solvent exposure. Some jobs need air drying first, then heat. Others need forced drying in a controlled cabinet. Where the substrate is heat sensitive, we plan a lower temperature cure with longer dwell time and careful part spacing. For components with tight traceability marking or fine legends, the aim is even curing across the whole print area, not just a quick surface dry.
We also keep the end use in mind. Parts that will sit in a warehouse in Durban humidity, travel to Johannesburg, or spend time in a warm enclosure may need a more stable cure profile than parts used once and packed immediately. Customers remain responsible for their own device compliance, but we can help set up a practical curing method that suits the way the part is made and handled.
What is included in the curing method selection service
This service covers the full decision process around drying and curing, from the first test print to the approved production setting. We do not guess. We test, adjust and record the settings that give the best result on the chosen part material. That includes assessing whether the ink should air dry, heat cure, or pass through a controlled curing stage after printing.
- Assessment of part material and surface condition
- Ink system compatibility check for the print job
- Selection of air drying, heat drying or controlled cure
- Trial sample runs with part specific settings
- Temperature and dwell time guidance
- Advice on handling time before packing or assembly
- Rerun notes so repeat jobs stay consistent
Where needed, we also advise on simple holding fixtures for curing so small parts do not move, mark against each other or pick up dust. This is useful on high volume runs for electronics and on medical parts where the print area is small and the tolerance for damage is low. Lerato Mabunda, our Quality Coordinator, checks that the chosen method gives a stable finish before the job moves on.
Process steps from sample to release
The process begins with the artwork and part review. Sanjay Dookhi checks the print area and the size of the characters or logo, then the team looks at the substrate and the ink type. If the part is smooth, textured, coated or slightly flexible, the curing approach changes accordingly. We may also use adhesion test samples before committing to a full run, especially on new moulded plastics or mixed material parts.
Once the print sample is made, Naledi Kekana and the production team review the drying behaviour. If the ink skins too fast or stays tacky, we adjust airflow, temperature or curing time. For some jobs, curing is done in stages. The first stage settles the print, the second stage gives the ink full strength. This helps on parts that go straight into assembly lines where fingerprints and stacking marks can become a problem.
- Review part drawing or sample component
- Prepare plate, ink and fixture for the job
- Print a trial piece or short sample run
- Test drying speed and surface finish
- Set cure method and production settings
- Approve repeatable settings for ongoing work
- Pack and dispatch with handling notes where required
Typical cure methods for medical and electronic parts
Different components respond differently to heat and time. Small electronic housings often suit controlled hot air or low temperature oven curing, while certain medical plastics need a gentler setting to avoid distortion. Metal parts can usually take a firmer cure, but coating type and print area still matter. We do not force one method across every job. The method follows the ink and the component.
For fine marks such as serial numbers, symbols or small legends, we look closely at edge sharpness after curing. A good cure should not blur the image or make the print brittle. On transparent or light coloured parts, ink opacity and cure time must be balanced so the marking stays legible without overbuilding the print layer.
- Air drying for low heat tolerance parts
- Forced warm air for faster handling
- Controlled cabinet curing for repeatable batches
- Staged cure for sensitive substrates
- Longer dwell time for thicker ink deposits
- Cool down period before packing or assembly
Turnaround and pricing approach for selected curing work
Turnaround depends on the number of samples needed, the cure trials required and whether the job is being run alongside artwork preparation or plate work. Simple repeat jobs can move quickly once the cure method is already approved. New parts or unfamiliar substrates usually need a sample stage first so we can confirm that the ink bonds properly and the finish stays clean.
Our pricing is job based. The cost depends on the number of test cycles, the curing setup required, the time spent setting temperatures and holding times, and whether fixtures must be made for small or irregular parts. We quote clearly before work starts, so manufacturers in Pinetown, Durban, Johannesburg, Pretoria, Cape Town and Gqeberha can plan properly. If a customer only needs guidance on an existing job, we can scope that separately from a full production setup. Yashika Sewpersad manages client updates and keeps the schedule moving without confusion.
For urgent work, we will say upfront what is possible and what is not, especially when a part needs cooling time before it can be packed. The right cure is worth waiting for. Rushing a job and sending out tacky parts usually costs more in rework later.
Maintenance intervals and production control
Once a curing method is approved, it should still be checked at regular intervals. Ink batches, weather, machine settings and part mould changes can all affect results. We recommend reviewing the cure on a new batch, after a change in substrate, after a machine service, and after any change in production speed. That is especially important in humid coastal conditions around Durban and during seasonal heat swings.
Our maintenance approach is practical. We look at temperature consistency, airflow, fixture wear, drying time and whether the print is still passing handling checks. A small shift in settings can affect adhesion or gloss, so routine control saves time. Mfundo Xaba handles machine setup and will check that the same cure can be repeated cleanly on the next run. For high volume jobs, it helps to keep a simple record of the approved setting, the ink batch and the part batch so reruns stay consistent.
- Review after first sample approval
- Check again after any material or ink change
- Replace worn fixtures that mark the part
- Keep a record of approved settings for reruns
If the job is part of an ongoing supply line, we can build the curing step into the repeat process so production stays steady from one batch to the next. That gives manufacturers a clear method for markings that need to stay neat, legible and usable through assembly and packing.
Run details
| Service area | Pinetown, Durban and South Africa wide |
|---|---|
| Base | Westmead, Pinetown |
| Part types | Medical and electronic components, plus mixed material parts |
| Cure methods | Air drying, forced warm air, controlled cabinet curing, staged cure |
| Key variables | Ink system, substrate, part size, line speed, handling time |
| Review triggers | New material, new ink batch, machine change, rerun job, humidity shift |