1. Start With the Substrate and Surface Condition
Pad printing behaves differently on plastics, coated metals, glass, rubber and moulded parts with textured faces. Before any job starts, the surface must be checked for mould release, oils, dust, anti-static residue and light scratches because these affect ink bond and print clarity. On medical and electronic parts, even a small change in surface finish can alter how the image transfers and how the ink cures.
For parts used in Durban, Johannesburg, Cape Town, Pretoria and Gqeberha, we often ask for samples from the same production batch. That helps us see whether the part has a glossy skin, a soft-touch coat, or a matt moulded finish. If the part is handled a lot before printing, clean packing and glove use matter more than people expect, especially in humid coastal conditions.
2. Set the Print Area Before Artwork Is Final
Artwork should be planned around the actual flat or curved area available on the component, not only around the logo size on screen. Pad printing can place fine detail into small or irregular spaces, but the image still has to fit the pad shape, fixture position and available clearance. On tight parts, we may need to split a mark into two locations or simplify line weight so the final print stays legible.
- Confirm the usable print window in millimetres
- Check if the part rotates, slopes or sits inside a recess
- Allow space for jigs, gates, vents and mould parting lines
- Keep critical text away from edges that may warp during handling
Good planning at this stage saves reruns later and makes colour matching easier too, because the same artwork can print differently on a curved face than on a flat one.
3. How Silicone Pads and Plates Shape the Result
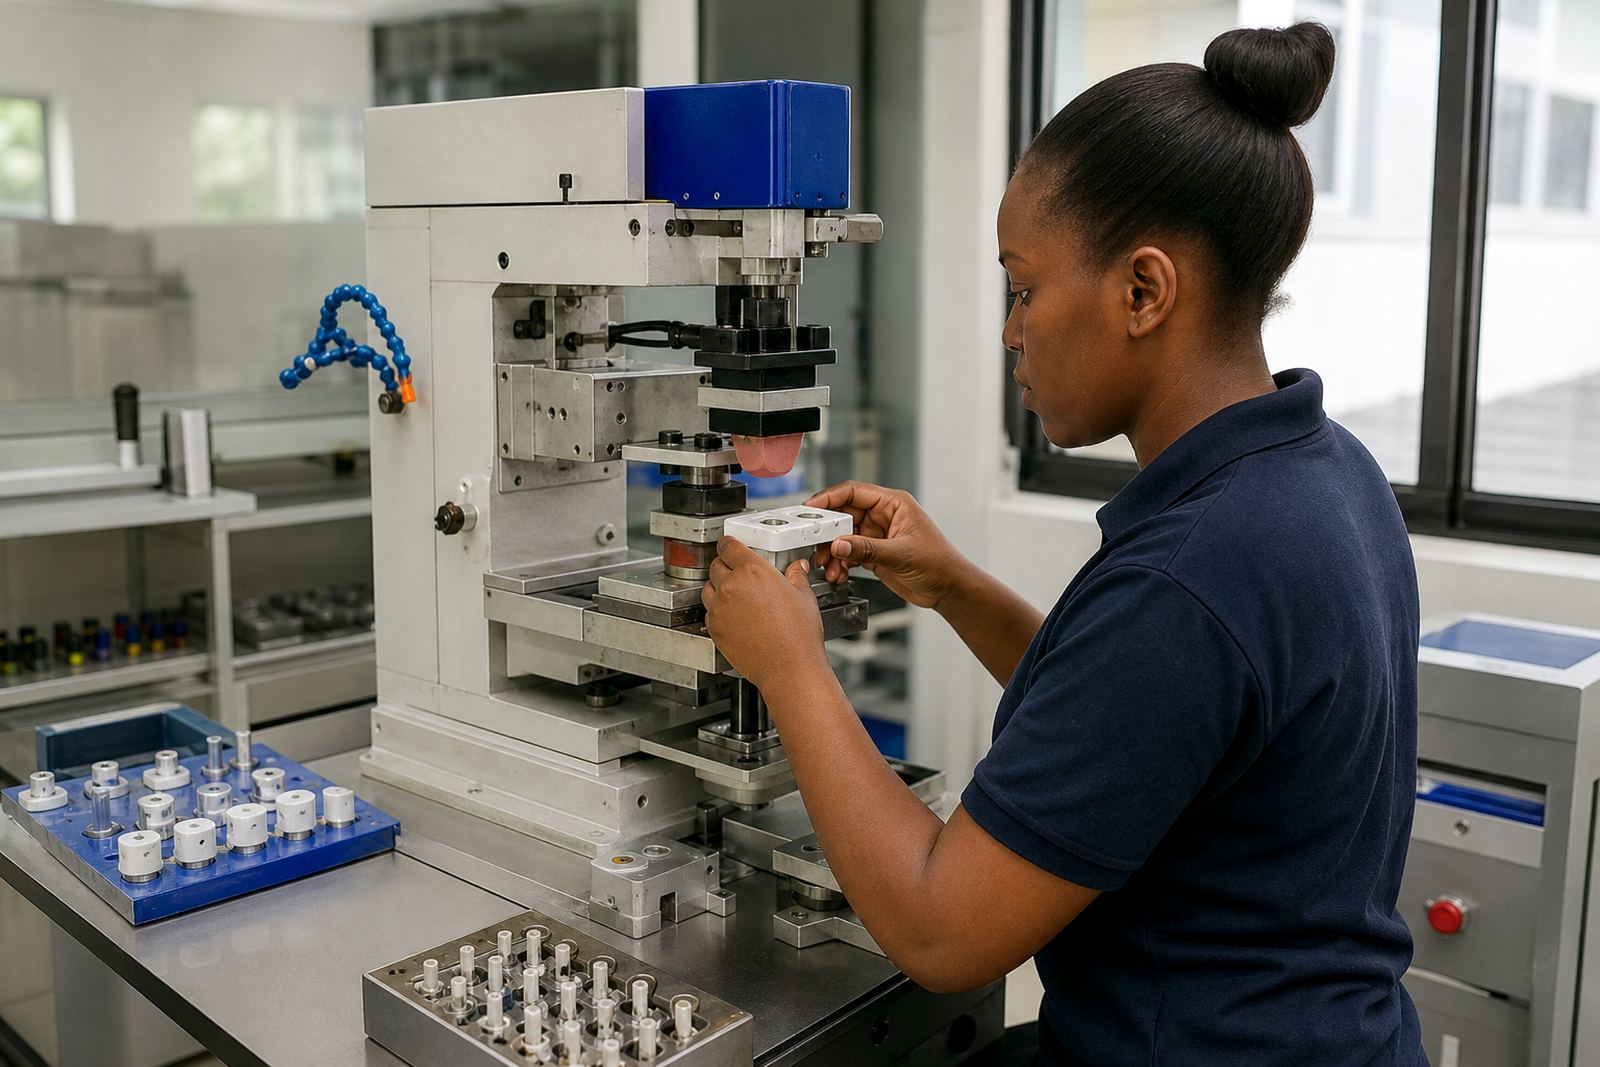
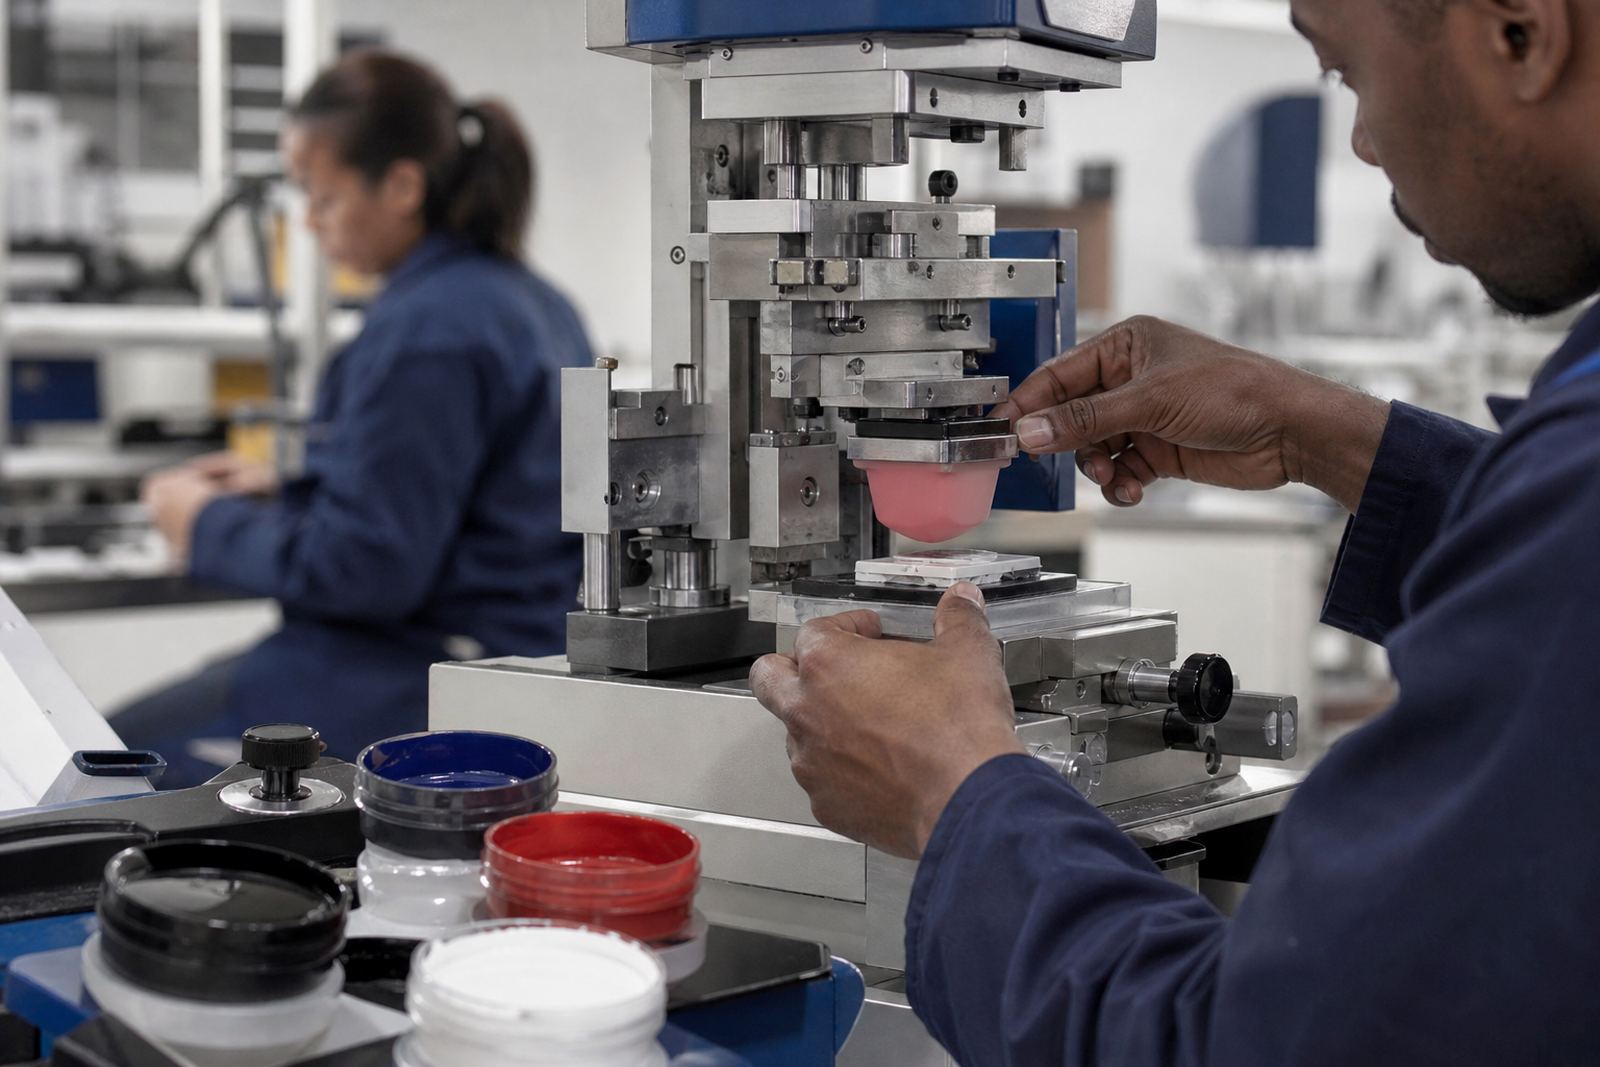
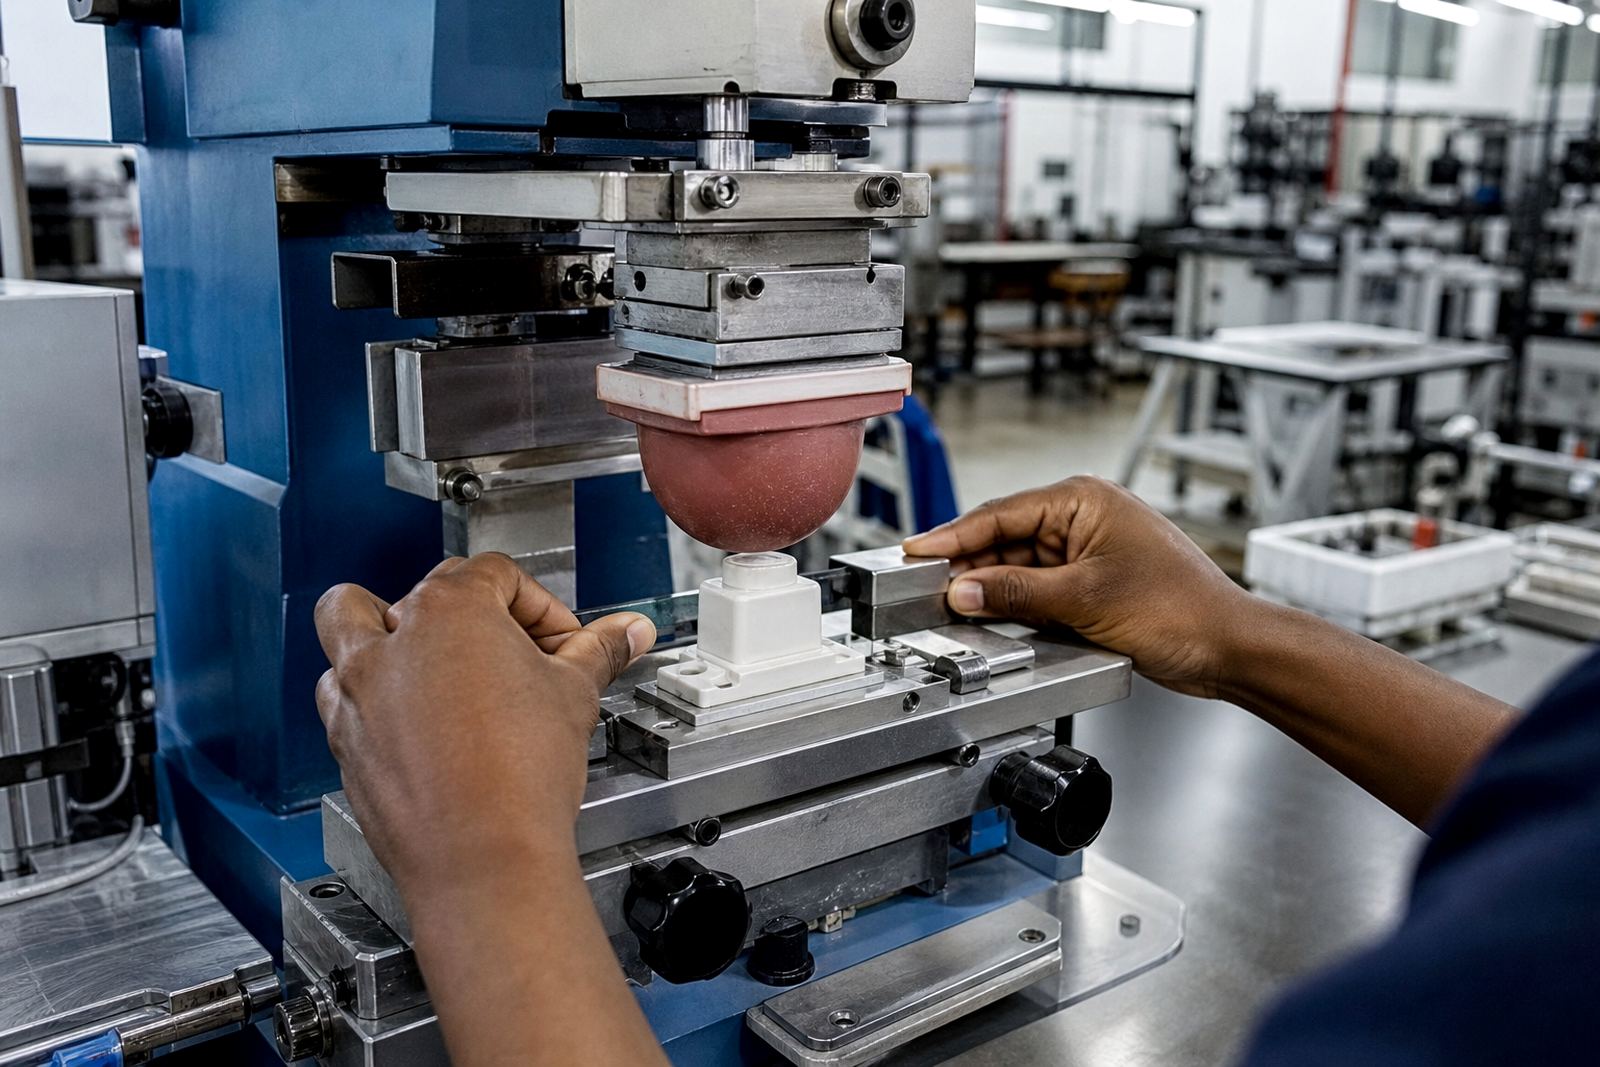
Pad printing uses an etched plate, solvent or UV curing inks, and a silicone pad that lifts the image from the plate and transfers it to the part. The pad shape, hardness and pressure all affect the final result. A soft pad can reach into shallow contours, while a firmer pad is better for sharper transfer on flatter areas. Plate depth and etch quality also influence how much ink is released.
For electronics and medical components, the aim is usually a clean mark with consistent edges and a controlled ink layer. That means the plate exposure, etching time and pad selection must be matched to the part. When those variables are wrong, you may see broken lines, double images or incomplete transfer.
4. Curing Options and Drying Control
Ink curing depends on the ink system, the substrate and the speed of the production line. Some jobs need air drying, others need heated curing, and some use UV curing where the part and ink system allow it. The right option is chosen to balance bond strength, cycle time and part sensitivity. Heat can help with throughput, but it can also affect thin plastics or assembled parts if the temperature is too high.
- Allow for full cure before stacking or bagging parts
- Test whether the part can tolerate heat without warping
- Check if the print must survive wipes, handling or light abrasion
- Keep curing areas free from dust and overspray
Inconsistent heat or lamp time can lead to prints that look fine at first but fail after packing or dispatch.
5. Adhesion Tests, Trial Runs and Rerun Control
Before a full production run, we normally work through adhesion test samples and trial prints. These checks show whether the ink bonds properly, whether the artwork lands in the right place, and whether the cure cycle holds up under normal handling. If the part fails a test, the response is usually to adjust surface prep, ink choice, curing method or fixture alignment rather than push on with a full batch.
Rerun job control is important on repeat work. Saved settings, plate references and fixture notes help keep the result consistent from one order to the next. That matters for manufacturers in Pinetown, Westville and New Germany as well as clients further afield, because a repeat order should not need a full reset every time.
6. Packing, Handling and Dispatch Guidance
Freshly printed parts should be handled with care until the ink has fully cured. Finger marks, friction and tight packing can damage a good print before it reaches assembly. We advise dispatch packing that suits the part shape and the printed area, with layers or separators where needed. For small electronic components, anti-scuff packing is often just as important as the print itself.
- Do not stack uncured parts directly on one another
- Keep bags and cartons clean and dry
- Avoid pressure on printed faces during transport
- Store finished stock away from direct sun and high moisture
Clear handling notes make it easier to keep printed markings in good condition from our floor to your line.