What Artwork Needs Before It Can Print Well
Pad printing works best when the artwork is set up for the actual component, not just for a screen on a computer. Small text, fine symbols, serial marks and control legends all need crisp edges because the silicone pad picks up and releases a very thin ink film. If the linework is too light, too close together or built with the wrong spacing, the print can fill in or break up on the part.
Artwork must also suit the material finish, the shape of the item and the available print area on medical and electronic components. Curved housings, moulded recesses and narrow panels all affect how the image lands. We look at the artwork first, then match it to the part, the fixture and the curing method so the job can run properly from the first sample onward.
How We Prepare Logos, Legends and Line Work
Many jobs arrive as low-resolution files, old scans or drawings that were never made for print. We redraw logos and legends into clean vector artwork so the edges stay sharp when the image is etched into the cliché. This is especially important on instrument bodies, switch plates, keypads and small electrical housings where there is little room for error.
- Rebuild faded or rough logos into clean line art
- Adjust letter spacing for small print areas
- Remove tiny details that will not print cleanly
- Set stroke weights for pad printing rather than general graphic use
- Prepare separate layers for colours, marks or repeated versions
We also check how the text sits on the part. A warning legend or part code may need a different size to a brand mark, and a tiny shift in spacing can make a label far easier to read on the production line. That sort of detail saves time later, especially when the same component is printed again months down the line.
Artwork Checks Before Cliché Production
Before a cliché is made, we confirm that the artwork suits the plate size and the print method. That includes checking line thickness, knockout spaces, reversed text, registration marks and any areas where ink might bridge. If the design needs to sit on a curved or recessed surface, we adjust the image so the final print reads clearly once transferred by the pad.
Clients in Durban, Johannesburg, Cape Town, Pretoria and Gqeberha often need the same mark applied to more than one component. In those cases, we help keep the core artwork consistent while allowing for different fixtures or slightly different print zones. That way the mark stays recognisable across the range, even if the parts themselves are not identical.
- Confirm final print size against the component
- Check for weak lines, thin fonts and closed counters
- Allow for the way ink spreads on the substrate
- Plan for single or multi-colour printing where needed
- Review the artwork against the actual production sample, not just the drawing
Why Print Area Planning Matters On Small Parts
Small medical and electronic parts leave very little margin for guesswork. If the artwork sits too close to a mould line, screw boss or raised edge, the pad may not contact the surface evenly. That can lead to patchy transfer, shifted text or marks that look fine on a flat proof but fail on the real part.
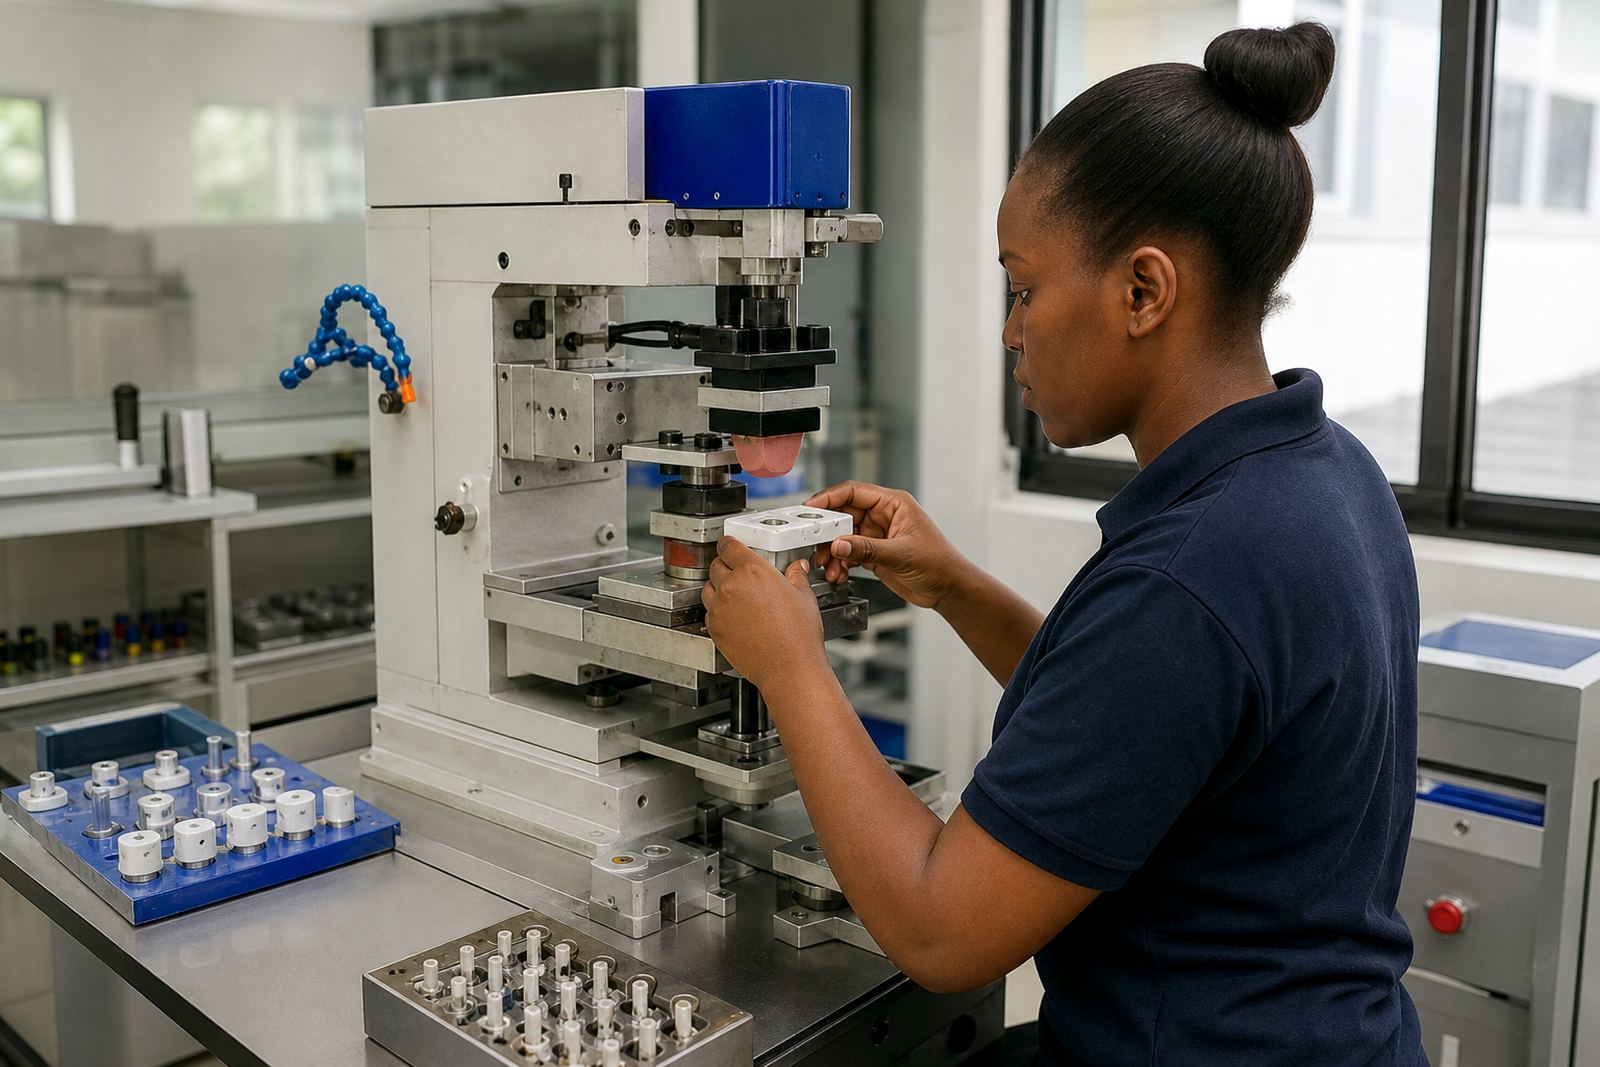
We help plan the print area around the part itself. That includes checking the direction of the print, the available contact space and whether the component needs a fixture to hold it steady. On some jobs, a small change in artwork position makes the difference between a sharp legend and a missed corner. It is practical work, not guesswork, and it keeps the run steady once production starts.
Samples, Trials and Colour Matching
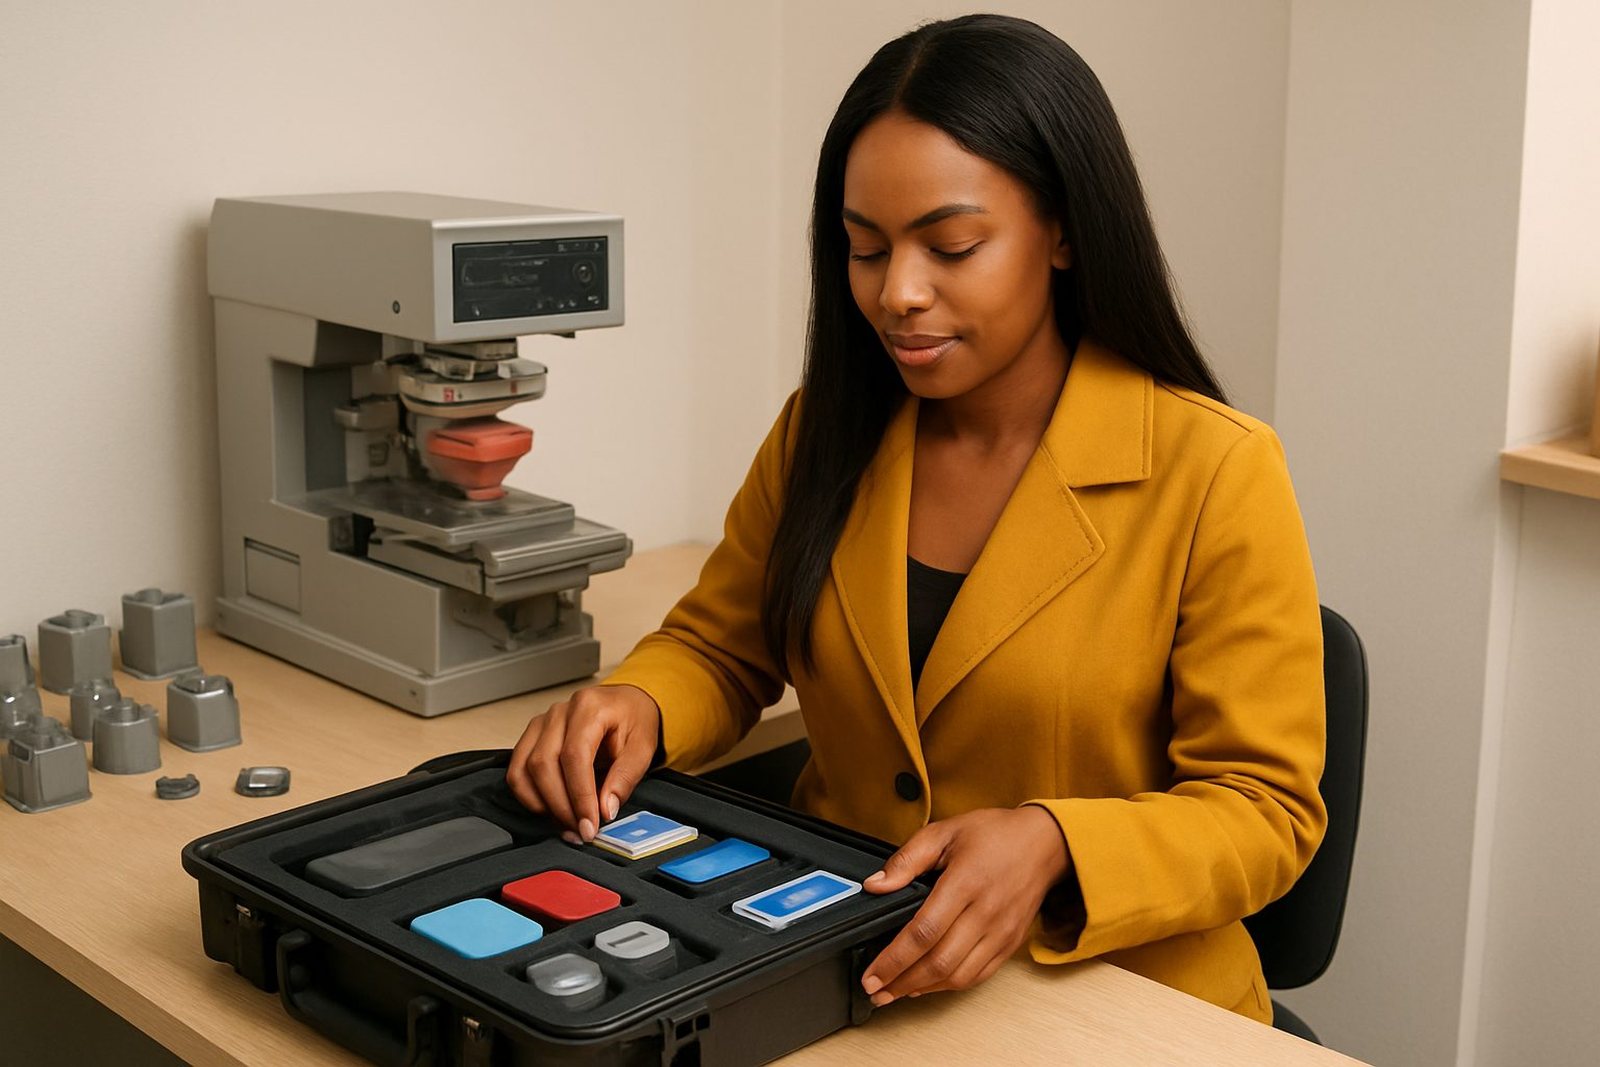
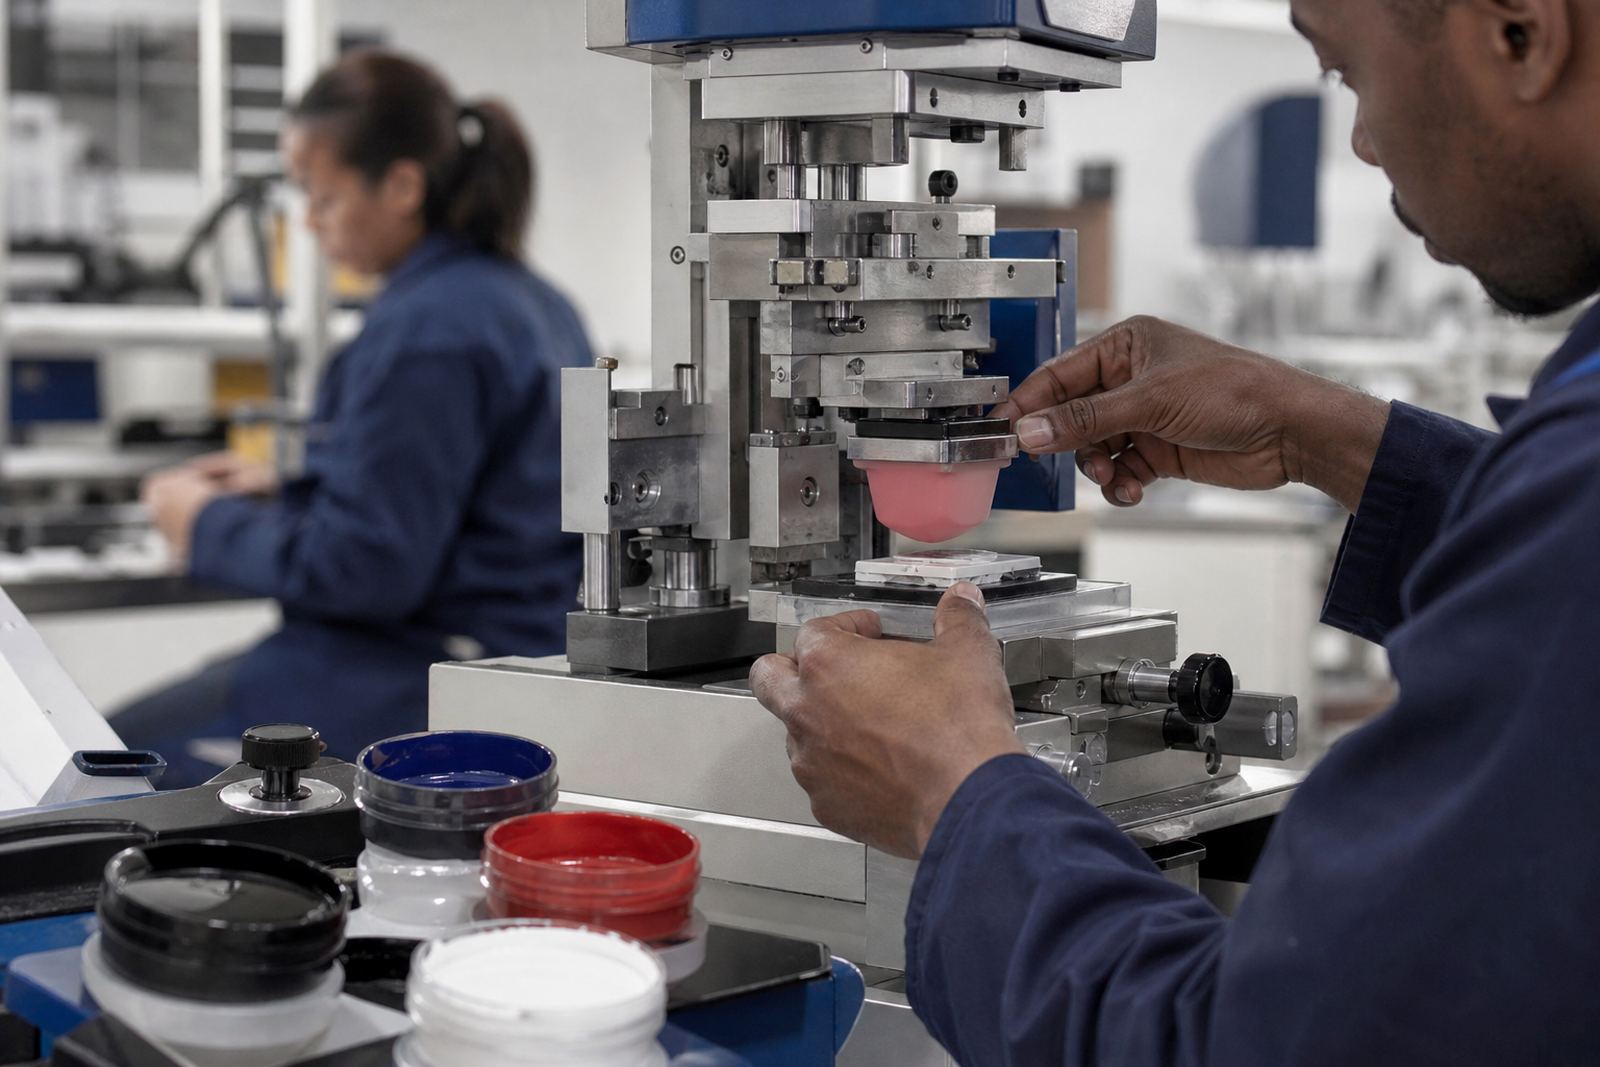
Once the artwork is prepared, trial samples help confirm that the size, placement and finish are right for the component. This is where we check how the ink sits on the material, whether the detail holds and if the cure method is giving the desired result. For some parts, a heat cure or another curing method may suit better than a quick air dry, depending on the substrate and the production flow.
We also handle colour matching where required. A mark may need to sit close to an existing housing colour, a control panel legend or a warning symbol. Matching needs to be done against the real part and the real light conditions because a colour that looks correct on paper can read differently on plastic, coated metal or textured surfaces.
- Trial sample runs for new artwork or revised copy
- Adhesion test samples before production begins
- Colour checks against the actual component finish
- Review of the cured result before repeat work is released
What You Should Send Us With Artwork
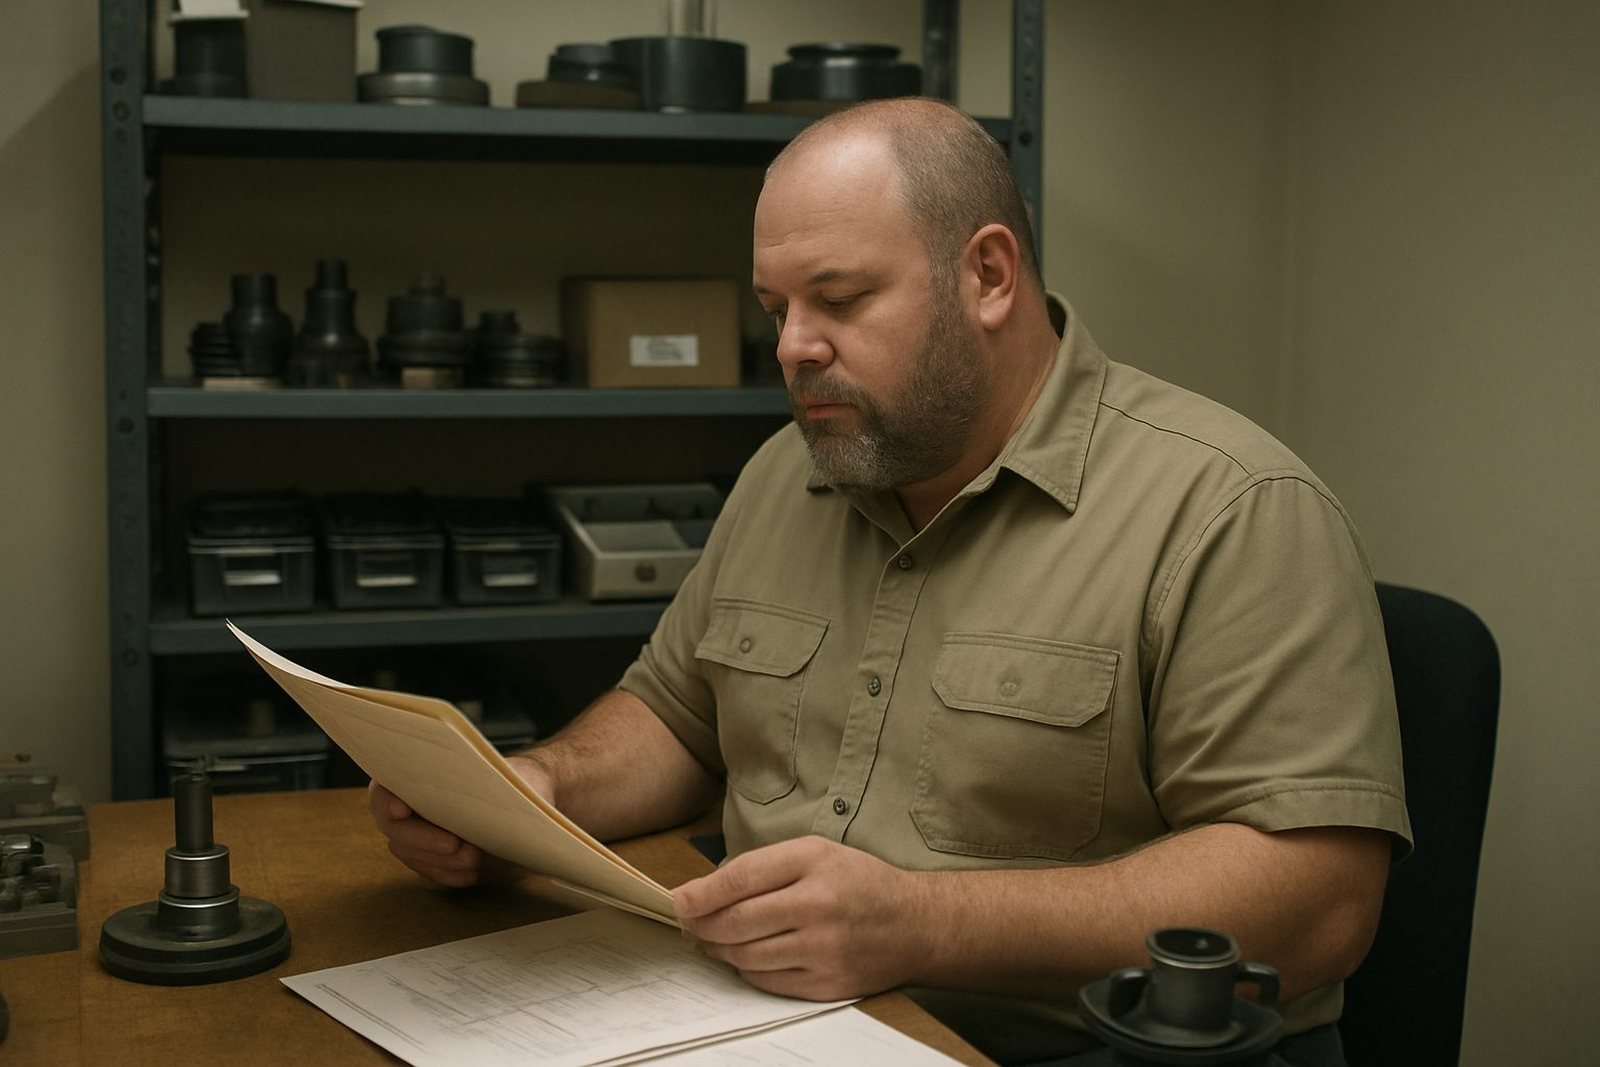
If you are preparing a new job, send the clearest file you have, along with a photo or drawing of the component and an idea of where the mark must sit. If there is an old print to follow, include a sample image or an actual part if possible. The more exact the reference, the easier it is to prepare the plate and avoid unnecessary back-and-forth.
Clients can reach us through the quote form on our contact page, and we will guide the next step from there. If the artwork needs reworking, we will say so early and keep the process practical. A small fix at the start is usually cheaper than a reprint later.