How We Start With Your Artwork
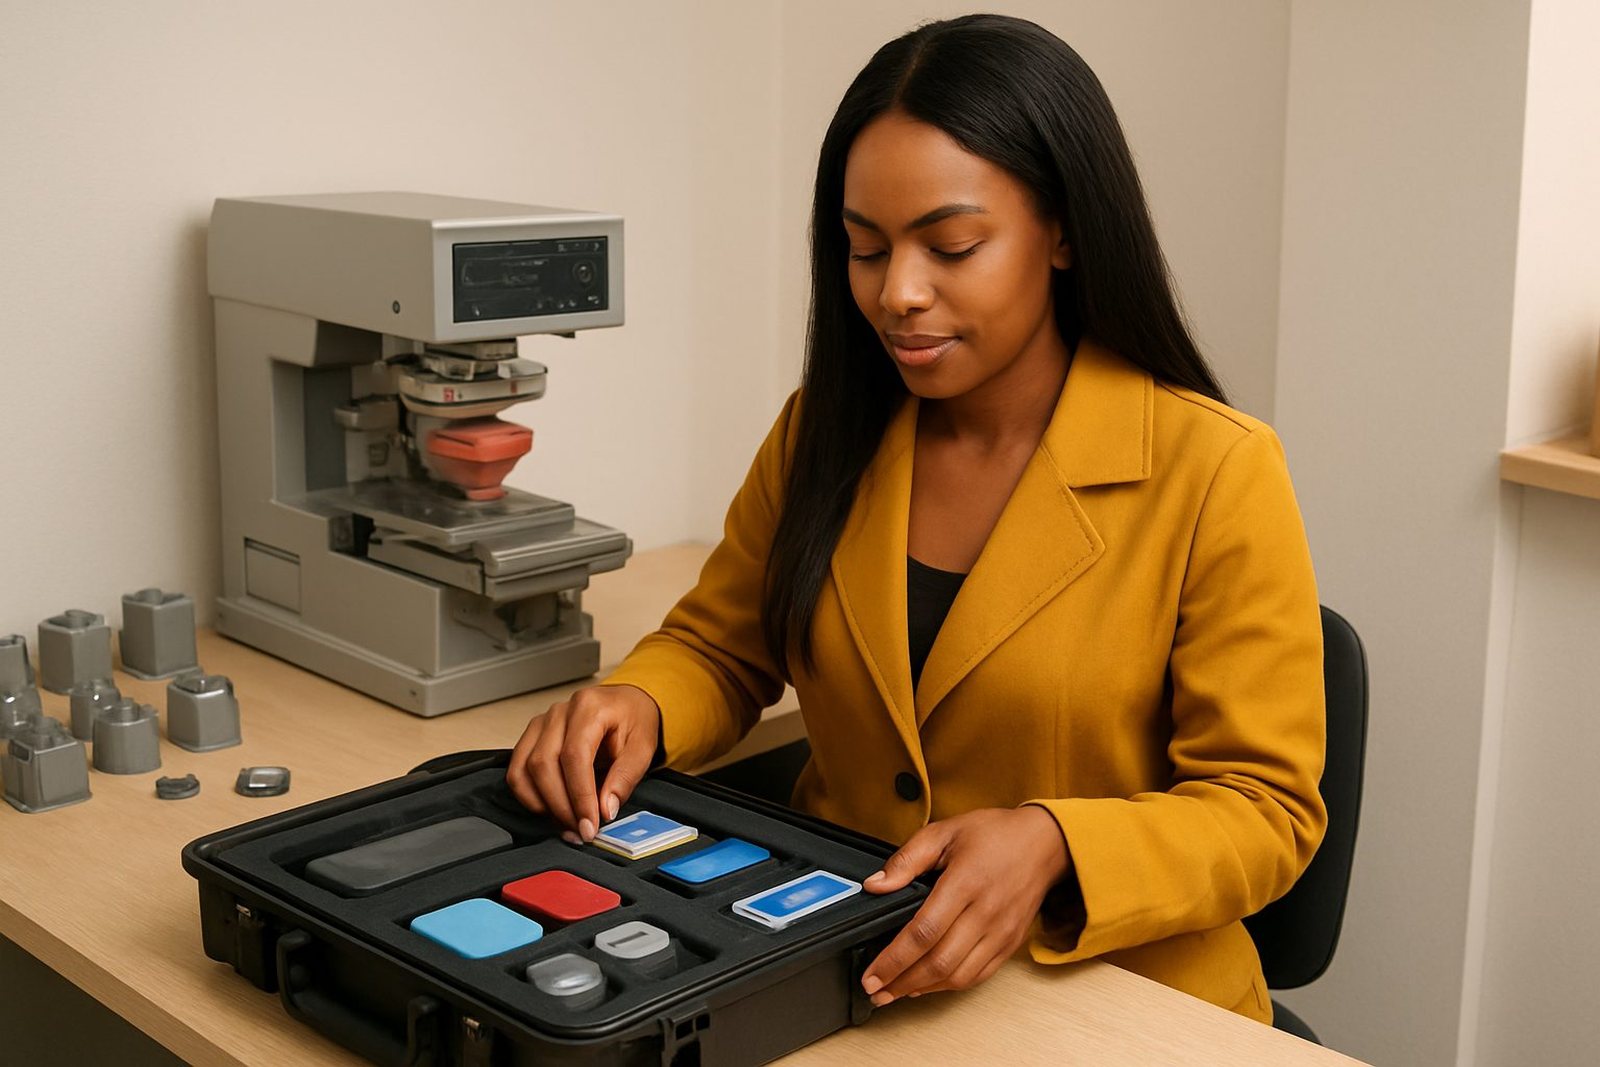
The first step is to check the artwork file and the part itself. For clear marking, we need a clean logo, text and any serial detail sized to the print area on the component. If the file is rough or has low resolution, we can redraw it for pad printing use and set the line weight so fine details transfer properly.
We also plan where the mark will sit on the part. Curved surfaces, recessed areas and small housings often need a different approach to flat parts, so the artwork is adjusted to suit the shape before plate work begins.
- Send the best file you have, even if it needs cleanup
- Confirm the print area and the part material
- Share any colour match requirement or reference sample
- Tell us if the mark must sit away from a screw boss, seam or mould line
What Inks Work Best On Medical And Electronic Parts
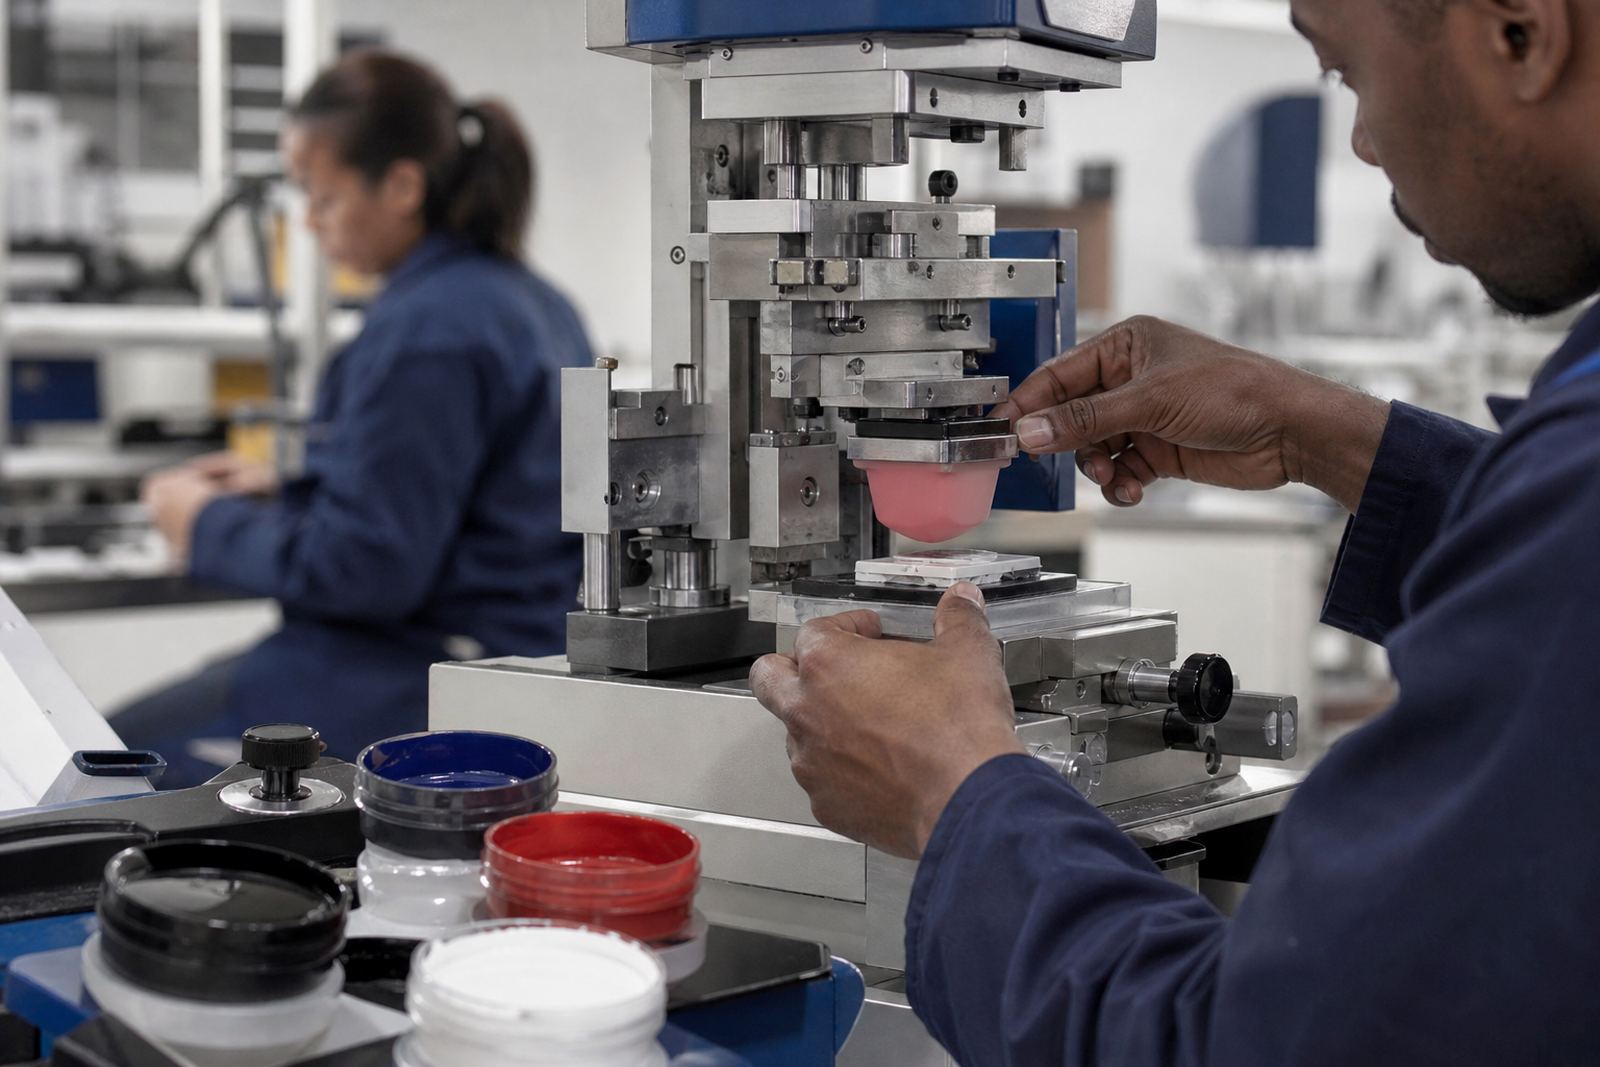
Ink choice depends on the substrate, expected handling and whether the part will be cleaned with alcohol or other common agents. Some plastics accept ink well after simple surface preparation, while others need testing before a production run. That is why adhesion test samples matter. A mark can look good at first but still fail if the ink does not bond to the material properly.
We assess drying method, chemical resistance and the finish required on the part for medical and electronic work. The curing method has to suit the ink and the component, whether that means air drying, heat curing or another controlled process. The customer remains responsible for device compliance and final product approval, but we help by producing a consistent mark that is practical for manufacturing.
- Test the ink on the exact material, not only on a similar sample
- Check colour against the production sample under normal light
- Allow for full curing before packing or assembly
Why Silicone Pads Matter On Small Components
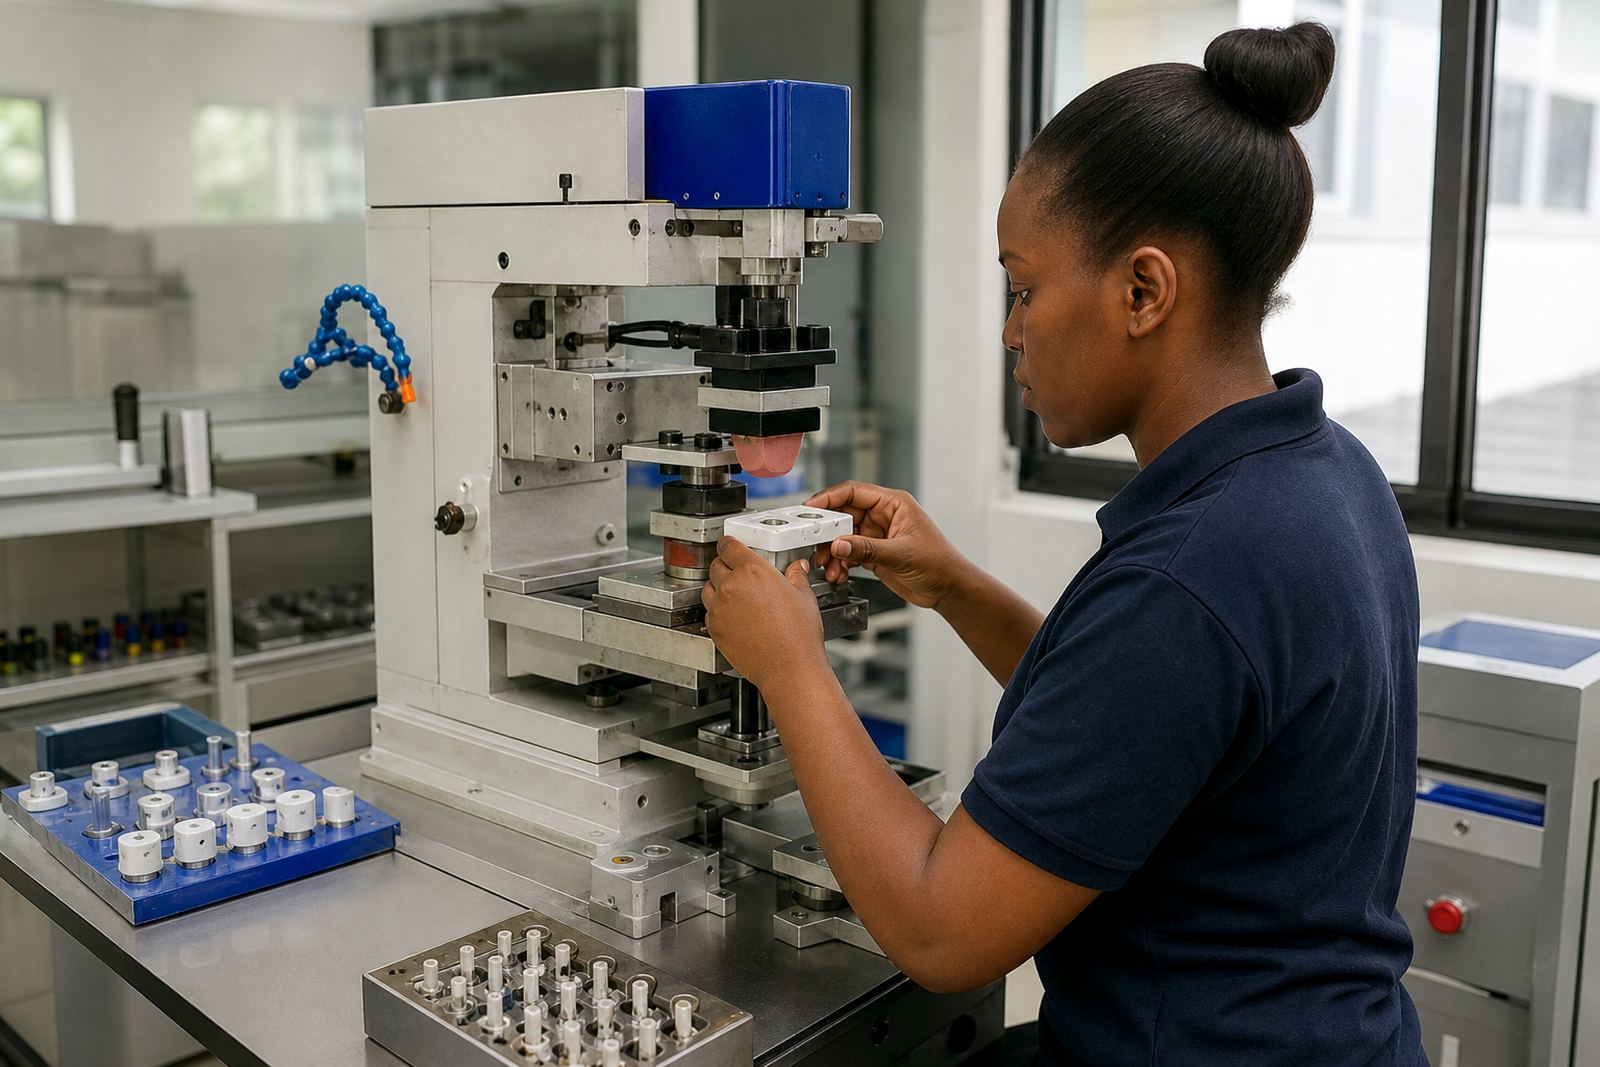
Pad printing uses a silicone pad to pick up the image from the etched plate and transfer it onto the part. That pad has to match the shape of the component, the depth of the mark and the size of the print. On tiny medical housings or electronic controls, the wrong pad size can cause missed corners, smudging or weak transfer.
We choose the pad shape and firmness according to the job. Some parts need a softer pad to follow a curve, while others need a firmer pad for sharper detail. If the geometry is difficult, we may recommend fixture making so the part sits correctly during each print cycle.
- Soft pads suit curved or uneven surfaces
- Firmer pads help on sharper, smaller details
- Fixtures improve repeatability on batch work
What Happens During Plate Exposure And Etching
The plate holds the etched image that the pad picks up. Accurate plate exposure and plate etching are important because the quality of the transfer depends on clean detail in the etched area. If the artwork is too fine, too close together or not adapted to the print area, the result can be patchy or inconsistent.
Our plate work is set up for the actual component and the print method, not only for the drawing on screen. This is where logo redraws, print area planning and trial sample runs save time later. A small correction at plate stage is far easier than correcting a batch after production starts.
- Check line thickness before exposure
- Keep text legible at the smallest size you can safely use
- Approve the trial sample before full run release
How We Plan Trial Runs And Later Reorders
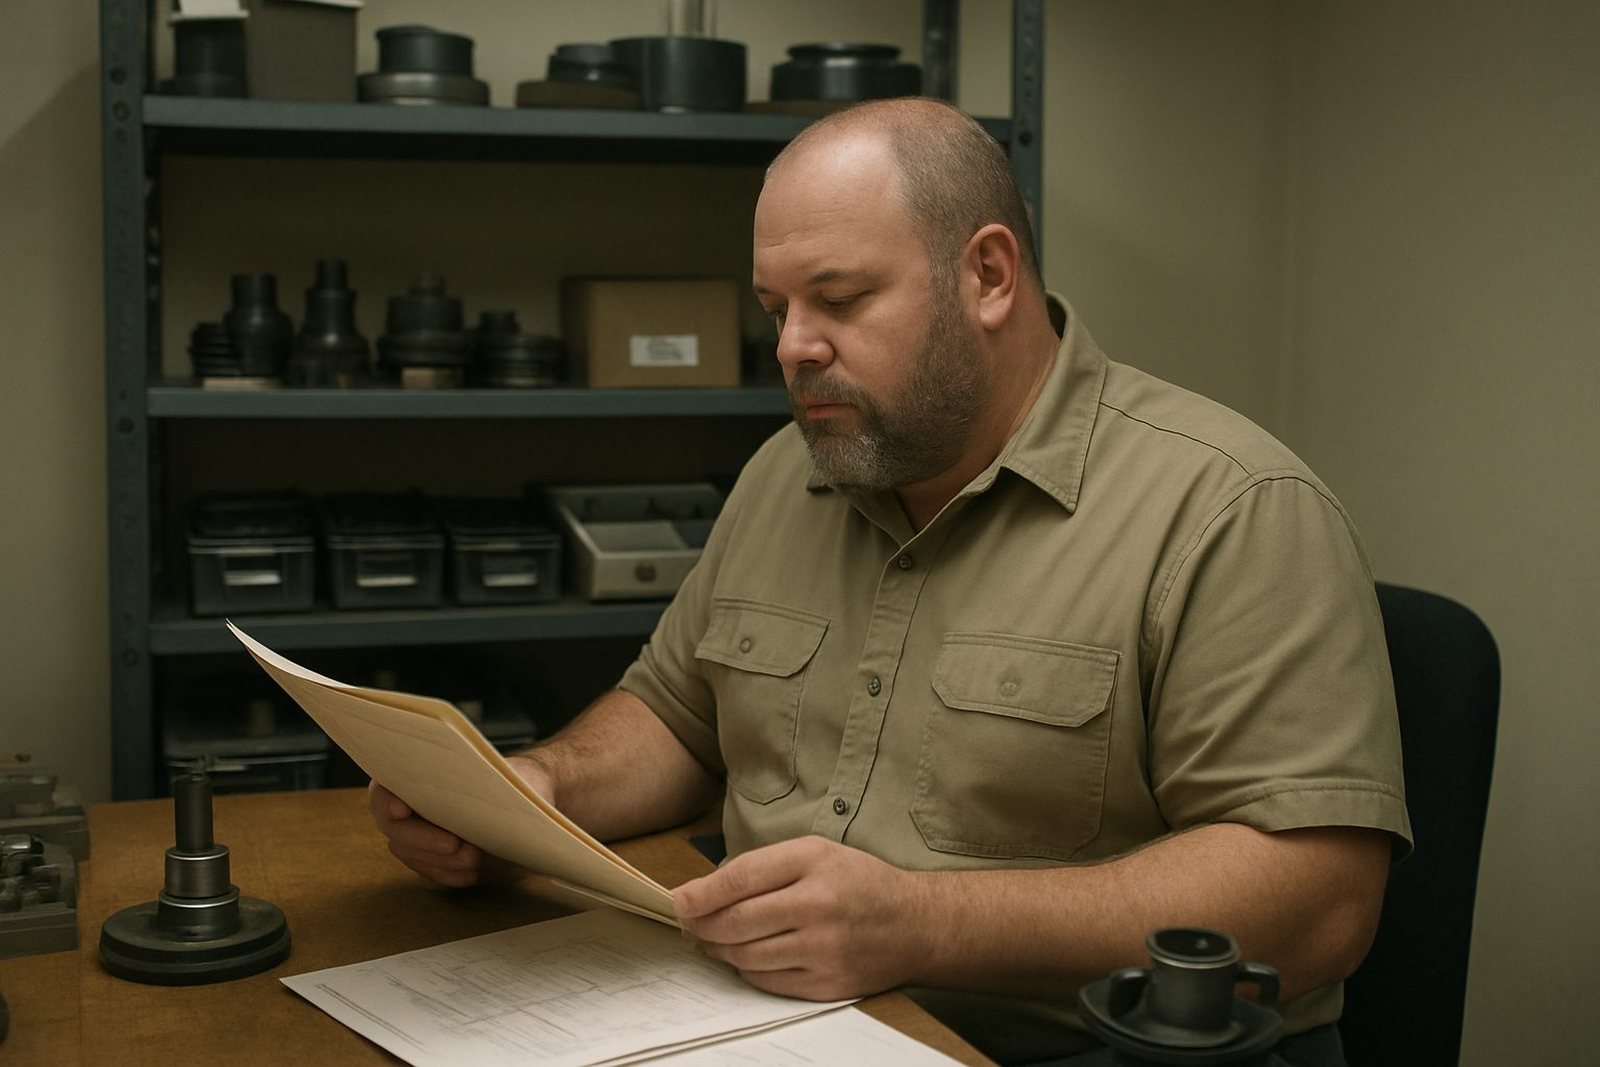
Trial sample runs allow you to check fit, appearance and adhesion before moving into the full order. This is useful for both medical and electronic parts because part tolerances can vary between moulds or suppliers. Once the sample is approved, we keep the job record so rerun job control is simpler and more consistent.
For repeat work, we note the plate details, curing method, fixture settings and pack instructions. That helps keep the same result from one batch to the next, even when production is split across Durban, Johannesburg or Cape Town deliveries. It also reduces delays when a customer needs the same mark months later.
- Use samples to confirm placement and cure finish
- Keep a signed approval step before batch production
- Ask us to pack parts by job, size or batch code
What To Expect On Lead Times, Packing And Dispatch
Lead time depends on artwork readiness, plate work, sample approval and the number of parts to be marked. If the file is ready and the part is stable, production can move faster. If we need redraws, colour checks or adhesion tests, that is built into the planning so there are no surprises.
Before dispatch packing, we check that the parts are fully cured and packed to reduce rubbing in transit. This matters when goods are moving to sites in Pinetown, New Germany, Westville or further afield.
- Allow time for artwork approval and test prints
- Confirm if parts must be packed separately or bulk packed
- Tell us about any deadline linked to assembly or shipping